
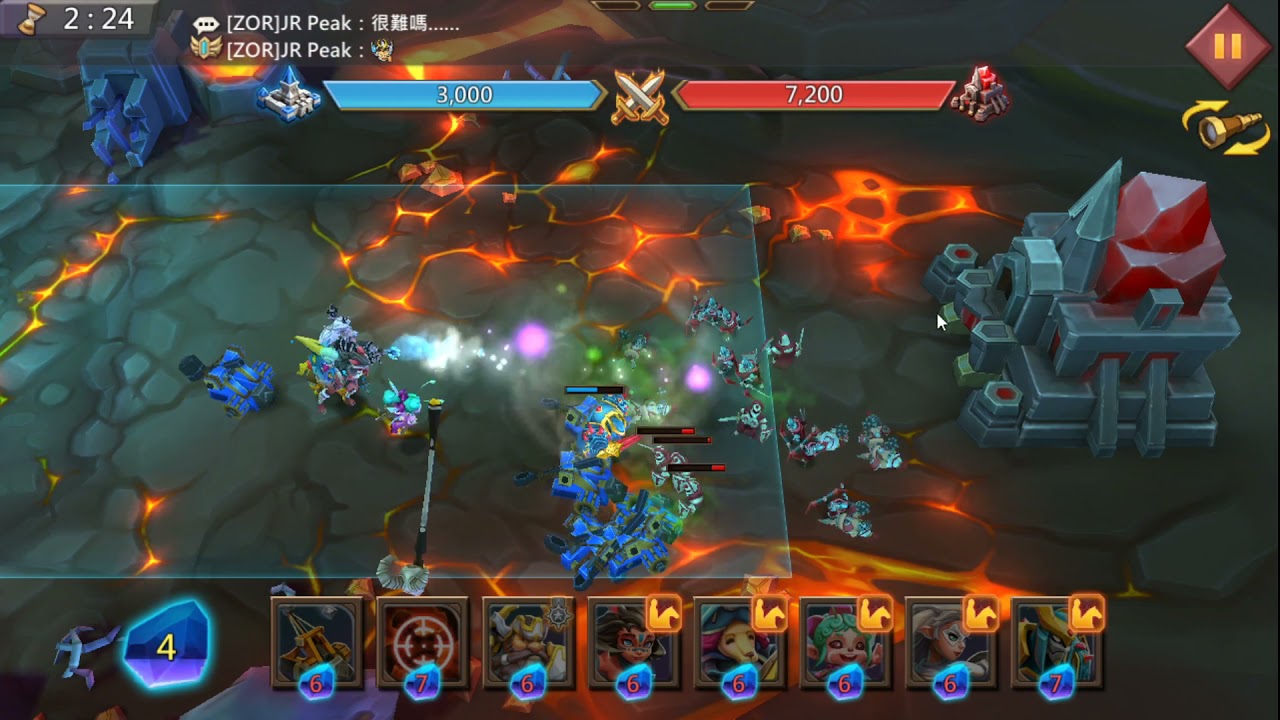
To clear Chapter 4 Stage 10 of The Vergeway in Lords Mobile without premium card upgrades, you must maintain energy discipline, protect your siege weapons behind disposable blockers, and reserve area spells exclusively for enemy swarms. The stage fails if you overextend early or spend energy recklessly before the opening rush is neutralized.
Free-to-Play Deck Composition
Winning without paid upgrades requires a balanced rotation that counters melee charges, eliminates clustered swarms, and outranges defensive fortifications. Avoid high-cost cards that clog your hand during rapid enemy pushes.
- Frontline Barriers and Melee: Bring standard infantry or low-cost barricades. Their only role is to stall enemy chargers and absorb hits away from your towers.
- Long-Range Siege: Include Ballistas or Catapults to attack enemy fortifications from outside defensive firing ranges.
- Defensive Tower: Bring an Arrow Tower or Cannon Tower to anchor lane defense near your portal and intercept fast flankers.
- Crowd Control and Damage Spells: Equip low-cost spells such as Fireball, Arrow Rain, or Freeze to stop high-damage attack animations and clear clustered swarms.
Always hold three to four energy in reserve. Spending your entire energy pool on offensive units leaves your base defenseless against sudden lane rushes.
Step-by-Step Stage Strategy
Managing the tempo of your deployments determines whether your offensive push survives long enough to destroy the enemy base.
| Battle Phase | Priority Cards | Primary Objective |
|---|---|---|
| Opening (0:00–0:30) | Barricades, Defensive Tower | Absorb the initial rush near your base and establish lane control. |
| Mid-Battle (0:30–1:30) | Siege Engines, Crowd Control Spells | Clear advancing swarms and chip down enemy perimeter defenses. |
| Final Siege (1:30+) | Disposable Melee Screens, Direct Spells | Shield active artillery and destroy the enemy stronghold. |
1. Defend the Opening Rush
Hold your deployments until the first enemy wave crosses the midfield threshold. Dropping siege engines immediately will waste your starting energy.
Place a defensive tower slightly behind your frontline spawn mark, then place a cheap barricade or infantry unit directly in the path of incoming melee units. Once hostile units lock onto your barricade, deploy ranged attackers behind the defensive line. This neutralizes the initial charge with minimal energy expenditure.
2. Neutralize Mid-Game Heavy Assault Waves
Between the opening push and the final siege, the stage sends waves of elite units supported by fast runners.
- Target choke points with spells: Cast Freeze, Fireball, or Arrow Rain only when enemy units bunch up in front of your frontline. Do not cast damage spells on single, isolated targets.
- Stagger disposable blockers: Do not waste resources trying to heal or preserve damaged blockers. Let wounded units fall and drop a fresh, low-cost melee unit immediately behind them to keep advancing enemies off your artillery.
3. Dismantle Fortifications and the Stronghold
Once enemy waves thin out, deploy your Ballistas or Catapults at maximum firing range. Enemy defensive towers automatically target the closest unit, so keep a barricade or infantry unit positioned ahead of your siege weapons at all times.
After destroying the forward defensive towers, push your deployment line forward. Continuously drop cheap frontline units to soak hits from the enemy stronghold while your siege engines tear it down before time expires.
Common Mistakes to Avoid
- Deploying Siege Too Early: Placing siege units at the bridge before clearing the opening rush leaves them vulnerable to fast chargers.
- Targeting Towers with Spells: Direct-damage spells deal poor damage to high-health defensive buildings. Save spell energy for mobile troop swarms.
- Panic Deploying Ranged Troops: Never place vulnerable ranged units directly in front of incoming melee enemies, as they will die before finishing an attack animation. Keep melee units or structures in front of them.

Free Lords Mobile Codes
Current active codes and how to redeem them.

Sarah Williams
Sarah specializes in RPG and collection games, explaining team building, character growth, and beginner-friendly ways to avoid expensive early mistakes.
COMMUNITY
Player Comments
32 players commented on this guide.
The tips are practical and easy to follow.
This saved me time in the early game.
This guide answered the exact question I had.
The explanation is clear, especially for beginners.