
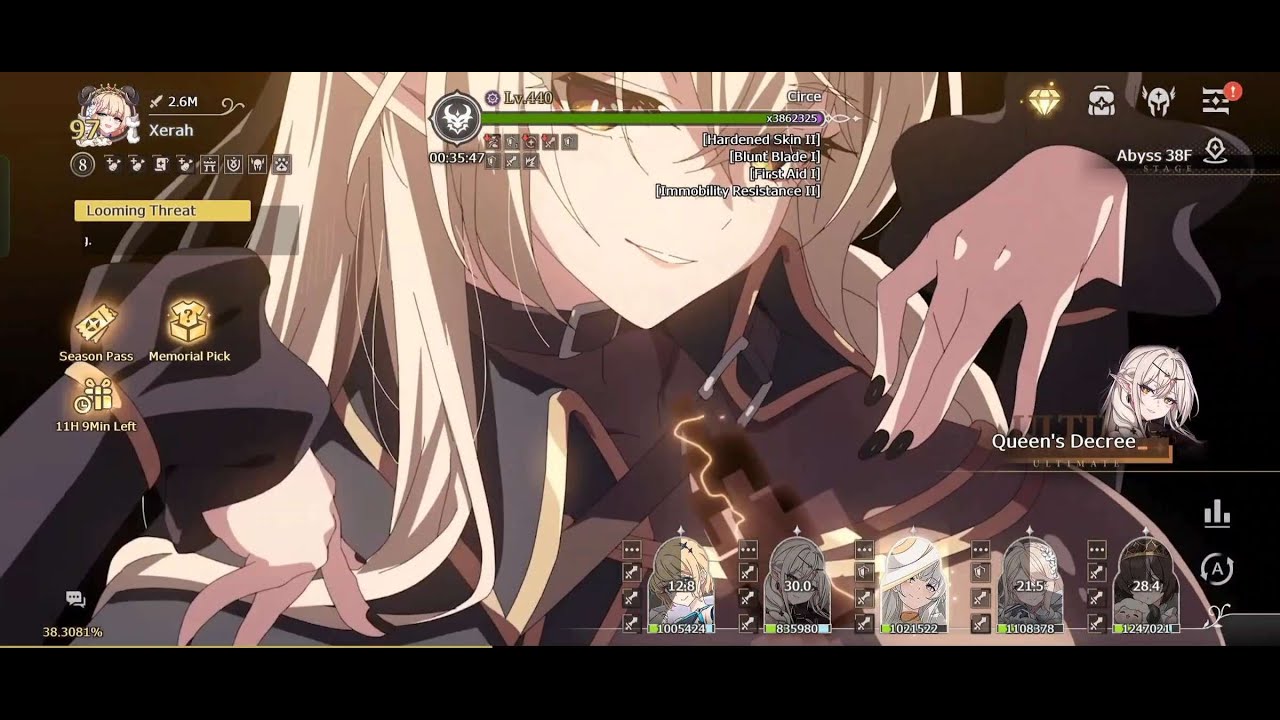
To clear Abyss Floor 38 in Lost Sword, switch from auto-battle to manual skill control, deploy early defensive barriers before your frontline collapses, and hold high-damage ultimate abilities until the initial mob wave clusters around your tank.
Floor 38 functions as both a burst survivability check and a strict enrage timer. Enemy waves deal heavy burst damage within the first ten seconds. If you fail to wipe out the supporting minions quickly, cumulative damage will overwhelm your healer, but running excessive defense will cause you to time out against the central boss.
Recommended Team Composition
A balanced five-character lineup ensures your team survives the opening pressure while outputting enough multi-target damage to beat the floor's timer.
| Role | Primary Function | Floor 38 Tactical Priority |
|---|---|---|
| Main Tank | Frontline anchor | Absorb opening burst, hold aggro, and withstand elite knockbacks |
| Healer | Recovery and sustain | Deploy shields early and keep the frontline above 60% health |
| Main DPS | Area-of-effect damage | Clear clustered minion waves and burn elite health pools |
| Sub-DPS / Buffer | Stat utility | Apply defense shred, attack buffs, or skill energy acceleration |
| Crowd Controller | Stuns and interrupts | Cancel elite wind-up channels and boss skill animations |
Your frontline tank requires innate damage reduction, self-shields, or barrier support to endure the opening barrage. For damage dealers, prioritize carries with wide-arc or area-of-effect (AoE) skills so your attacks damage the central boss and adjacent minions at the same time.
Formation and Positioning
Enemy pathing and projectile paths make unit placement critical:
- Center your tank in the frontline: Placing your main tank in the middle slot draws enemies inward, pulling the mob pack into a tight group directly in front of your damage dealers.
- Offset your backline diagonally: Position squishy carries and healers diagonally opposite the heaviest enemy concentration. This prevents linear piercing attacks and stray cleaves aimed at your tank from hitting backline casters.
Step-by-Step Manual Combat Rotation
Auto-battle logic frequently wastes high-cooldown skills on low-health minions. Take manual control to execute this timing sequence:
- Withhold heavy ultimates at the start: Let basic attacks and low-cooldown skills engage the wave until the enemies run in and pack tightly around your tank.
- Activate defensive barriers immediately: Cast your healer or support shield the moment your tank makes contact with the enemy frontline to smooth out the initial ten-second damage spike.
- Interrupt elite skill channels: Watch for red telegraph lines and enemy wind-up animations. Trigger stuns or knockdowns to interrupt high-damage attacks before they land.
- Unleash offensive combos into the cluster: Once your buffer applies attack increases or enemy defense shred, cast your AoE ultimates back-to-back to wipe out the minions and heavily damage the boss.
Pet Selection Adjustments
Choose your equipped pet based on your specific failure point on the floor:
- Equip a defensive pet with active shields, damage mitigation, or healing triggers if your frontline collapses during the opening wave.
- Equip an offensive pet with flat attack bonuses or defense penetration if your team survives comfortably but fails the floor due to the enrage timer.

Free Lost Sword Codes
Current active codes and how to redeem them.

James Brown
James focuses on Android gaming on PC, emulator setup, controls, performance tuning, and practical troubleshooting for longer play sessions.
COMMUNITY
Player Comments
50 players commented on this guide.
This saved me time in the early game.
This guide answered the exact question I had.
I wish I had read this before upgrading the wrong thing.
This helped me understand early game much better.