
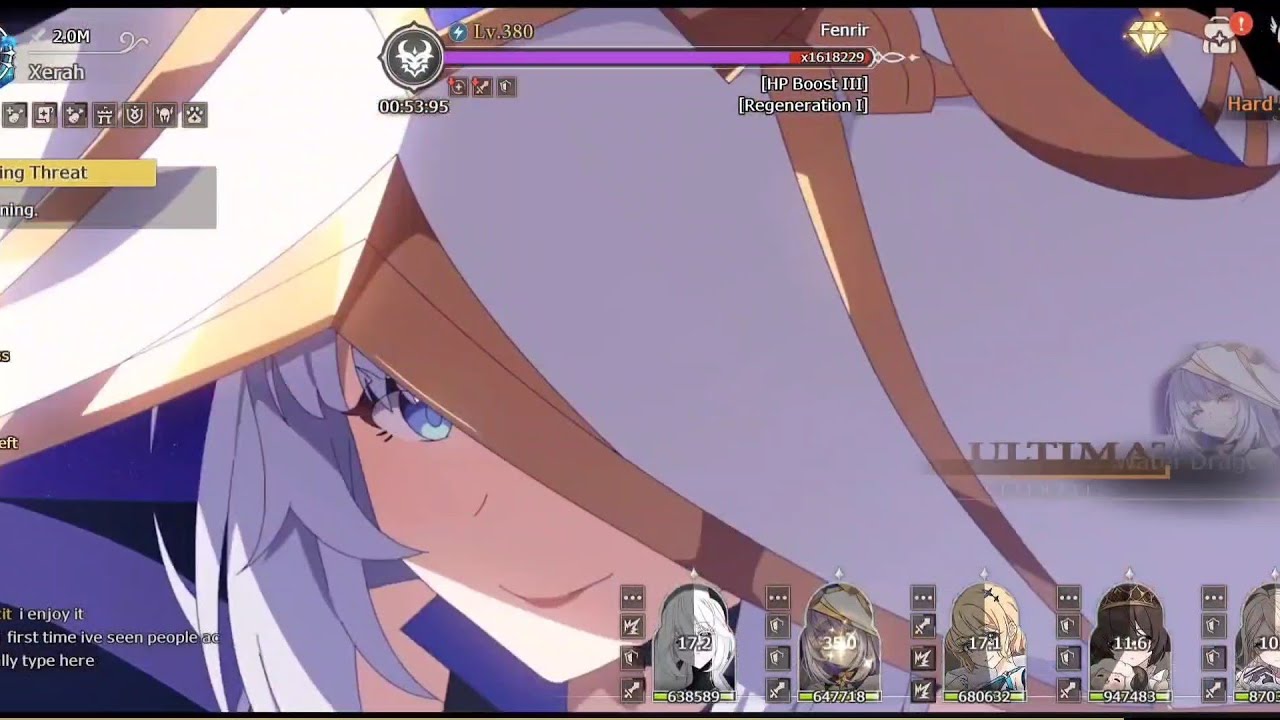
To clear Stage 59-40 Hard against Fenrir in Lost Sword, face the boss away from your team with a durable tank, switch off auto-battle to manually time defensive shields before Fenrir’s heavy hits land, and concentrate single-target damage during debuff windows.
Fenrir features ramping cleave attacks and aggressive melee strings that quickly shred squishy backline heroes if the boss's orientation shifts or if defensive skills are mistimed.
Recommended Team Composition
Stage 59-40 Hard requires sustained mitigation rather than pure offensive burst. Structure your five-person team around four specific roles to survive the boss's attack cycles:
| Role | Primary Function | Stat and Skill Priorities |
|---|---|---|
| Main Tank | Anchors Fenrir and absorbs cleaves | High physical defense, percentage damage reduction, taunt/aggro control |
| Primary Healer | Recovers team HP after multi-target swings | Burst healing, percentage-based shields, cleanses |
| Defensive Buffer | Mitigates incoming skill bursts | Damage reduction auras, crowd control, cooldown reduction |
| Single-Target DPS | Burns Fenrir down before attrition sets in | Armor penetration, critical hit damage, execution skills |
Avoid running glass-cannon area-of-effect damage dealers. Single-target carries with built-in armor penetration are essential to pierce Fenrir’s elevated hard-mode defenses.
Positioning to Prevent Cleave Damage
Fenrir’s standard swings and special attacks hit in a wide frontal cone. Mismanaging boss aggro will wipe mid- and backline allies in seconds.
- Anchor the boss outward: Position your main tank forward so that Fenrir faces away from the rest of the party.
- Keep ranged allies spread: Place your healer and ranged carries across the mid-to-rear formation to avoid incidental splash damage.
- Stagger secondary melee units: If you run an additional melee character, delay their engagement until the main tank firmly establishes aggro. This prevents Fenrir from turning toward the group.
Manual Skill Timing and Execution
Relying on full-auto combat frequently causes defensive buffs to lapse during Fenrir’s most dangerous phases. Play manually and follow this execution sequence:
- Pre-cast shields and mitigation buffs: Watch Fenrir’s energy bar and attack windups. Trigger barriers and defense buffs right before the boss strikes rather than attempting to heal reactively afterward.
- Space out restorative skills: Do not blow all healing skills at once. Stagger recovery abilities across several seconds to counter Fenrir’s follow-up strikes and residual bleed effects.
- Align DPS ultimates with debuffs: Hold your damage dealer’s ultimate abilities until your support units apply defense shred or vulnerability to Fenrir.
Stat Adjustments for Gear Checks
If your team is positioned correctly but still wipes, adjust your character builds to meet the stage's stat checks:
- Tank survivability: Prioritize flat physical defense and percentage damage reduction over maximum HP. Fenrir's multi-hit strings deplete raw health pools rapidly if baseline mitigation is low.
- Support energy recharge: Increase energy regeneration on your primary healer and defensive buffer so their shields reset before Fenrir cycles through consecutive special attacks.
- Carries' penetration: Equip armor-penetration accessories on your primary single-target carry to bypass Fenrir’s high defense rating and prevent the fight from dragging out.

Free Lost Sword Codes
Current active codes and how to redeem them.

Emily Johnson
Emily writes practical mobile strategy guides with a focus on resource planning, base progression, and the early decisions that shape a long-term account.
COMMUNITY
Player Comments
127 players commented on this guide.
I tried this today and it worked better than my old setup.
Nice guide. I am checking the other Lost Sword articles next.
This guide answered the exact question I had.
This saved me time in the early game.