
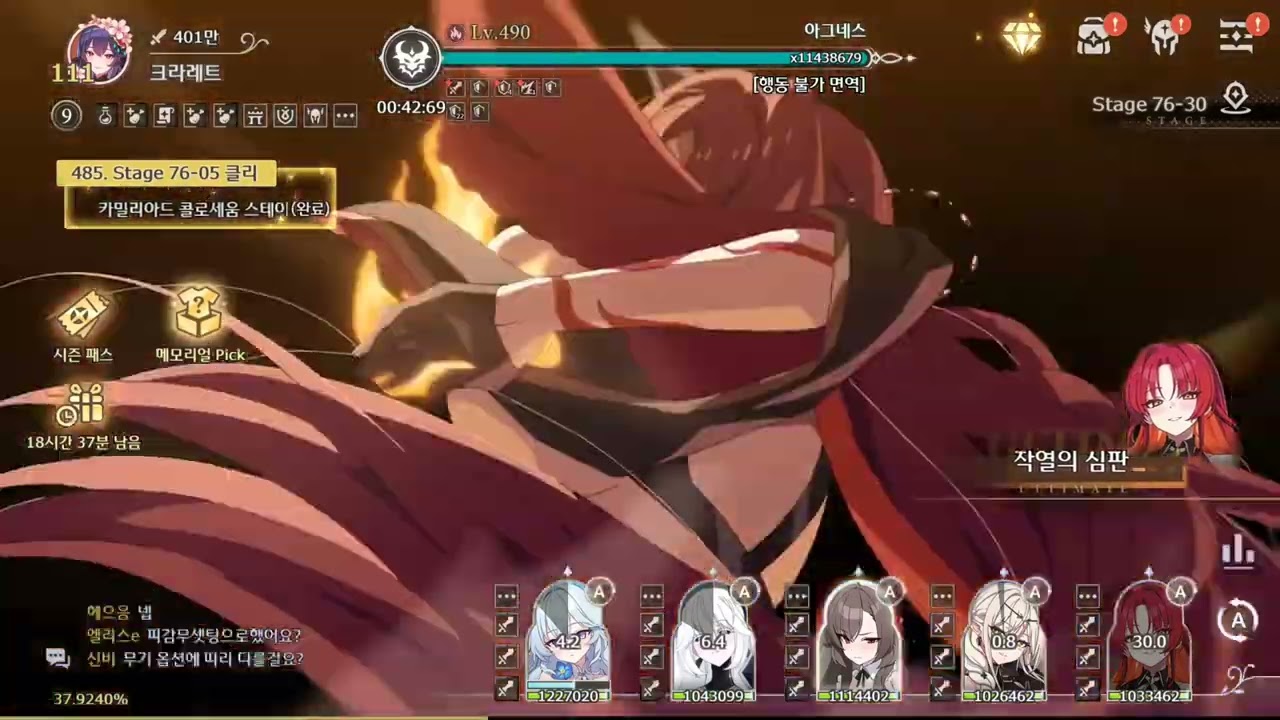
To clear Normal Adventure Stage 76-30 in Lost Sword on Full Auto, run a balanced five-unit composition consisting of one dedicated tank, one off-tank or melee sub-DPS, one high-burst carry, and two sustain supports. Because Full Auto removes manual evasion and ability-holding, your squad must passively absorb the boss's frontline strikes and wide-area cleaves while dealing enough continuous damage to beat the stage timer.
Full Auto Team Composition
Stage 76-30 penalizes teams that replace defensive utility with extra attackers. The AI triggers abilities immediately off cooldown, making continuous passive mitigation and automated healing cycles mandatory.
| Role Slot | Primary Purpose | Key Stat Priorities | Recommended Archetype |
|---|---|---|---|
| Frontline Vanguard | Absorbs single-target boss slams and taunts | Defense, HP, Damage Reduction | High-sustain Knight or Paladin |
| Secondary Bruiser / Sub-DPS | Takes secondary cleaves; inflicts defense debuffs | HP, Attack, Critical Rate | Off-tank Warrior or Melee Brawler |
| Primary Burst Carry | Shreds the boss health pool before enrage or timeout | Attack, Crit Rate, Crit Damage, Armor Pen | Ranged Archer or Single-Target Mage |
| Primary Healer | Recovers team from boss AoE burst; cleanses debuffs | Recovery, Cooldown Reduction, Max HP | Pure Cleric or Regeneration Support |
| Buffer / Utility Support | Provides barriers, stat buffs, and energy charge | Cooldown Reduction, Speed, Survivability | Defensive Enchanter or Energy Battery |
Formation and Positioning
Correct row placement prevents boss cleave attacks from clipping your fragile backline units:
- Front Row: Place your main tank alone in the forward slot to take the opening charge and direct frontal cone abilities away from the rest of the party.
- Middle Row: Position your off-tank or melee sub-DPS offset from the primary tank so they can deal damage without absorbing primary tank strikes.
- Back Row: Anchor your ranged burst carry and primary healer in the rear slots at maximum range to stay out of close-range ground stomps.
Defensive Layering and Auto Settings
Because manual timing cannot cover ability gaps, layer your party's passive defenses:
- Armor and Flat Mitigation: Equip your vanguard with defense and damage-reduction relics. Stacking raw health alone is insufficient against the boss's scaling hit values.
- Barrier Buffers: Run an enchanter or support capable of generating shields either passively or on low-health triggers to shield the team while the main healer's skills recharge.
- Pet Mitigation: Equip a pet that provides automatic healing bursts, emergency shields, or flat percentage damage reduction.
- Auto-Skill Settings: If individual skill toggles are available, ensure shield buffs, cleanses, and heals trigger immediately upon cooldown rather than being delayed.
Troubleshooting Failed Auto Runs
When a run fails, diagnose the timing of your wipe to apply the correct adjustment:
- Frontline collapses within 15 seconds: Your main vanguard lacks baseline resilience. Replace offensive relics with percentage-based Defense and HP items, or add defensive aura passives to the frontline.
- Backline dies to boss area attacks: Your supports are charging energy too slowly, or your rear units lack basic survivability. Reroll accessory substats toward HP and introduce a secondary shielding unit.
- Stage times out before the boss dies: Your squad has adequate sustain but insufficient offensive output. Increase your primary carry's Critical Rate and armor penetration, or replace a defensive unit with a sub-DPS that applies defense reduction.

Free Lost Sword Codes
Current active codes and how to redeem them.

Emily Johnson
Emily writes practical mobile strategy guides with a focus on resource planning, base progression, and the early decisions that shape a long-term account.
COMMUNITY
Player Comments
33 players commented on this guide.
I tried this today and it worked better than my old setup.
Nice guide. I am checking the other Lost Sword articles next.
The tips are practical and easy to follow.
Can you add more details about strategy in a future update?