
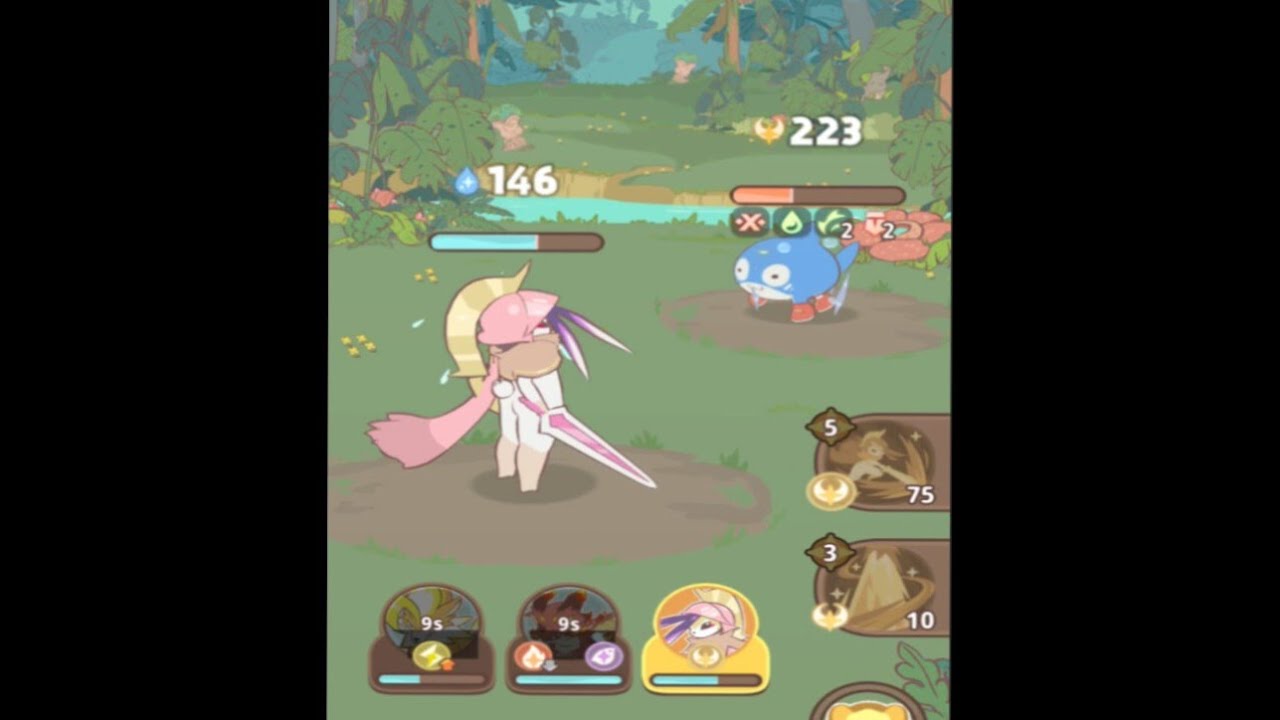
Reaching the Diamond rank in Lumi Master is the ultimate test of your tactical flexibility and resource management. Unlike lower tiers where brute force often suffices, the Diamond climb requires a deep understanding of the Hell Gym—the game’s most punishing combat environment. To succeed, you must move away from static team builds and embrace a dynamic, reactive playstyle that prioritizes elemental counters, ability synergy, and lane pressure.
This guide provides the expert strategies needed to dismantle the toughest waves in Lumi Master and cement your status as a top-tier trainer.
---
Understanding Hell Gym Mechanics
The Hell Gym in Lumi Master isn’t just about having the highest level monsters; it is about efficiency. In these encounters, enemy spawn rates are accelerated, and their health pools scale aggressively. The primary mechanic you must master is Lane Control.
Hell Gyms force players to defend multiple points simultaneously. If you over-commit to one lane, the enemy will inevitably break through the other. To reach Diamond rank, you must view the arena as a fluid system rather than a series of isolated fights. Success is defined by your ability to rotate units based on the "threat-level" of incoming mobs. If an elite unit appears in Lane A, your priority is to shift your high-DPS monsters to that lane while utilizing low-cost "anchor" units to stall in Lane B.
Strategic Unit Deployment for High-Difficulty Waves
Static formations are the downfall of aspiring Diamond players. In the Hell Gym, your deployment should be guided by Elemental Advantage and Role Versatility.
1. Analyze Before Deployment
Before the match begins, survey the enemy composition. If the wave is dominated by Earth-type mobs, your Fire-type units must be positioned to intercept them immediately. Never deploy your core damage dealers in a lane where they suffer an elemental disadvantage, as this forces you to spend more energy on healing and shielding, depleting your resources for late-game pushes.
2. The "Anchor and Shift" Method
- The Anchor: Place a high-defense, crowd-control unit at the front of a lane to slow enemy progression. This is your "Anchor."
- The Shift: Keep your primary damage dealers behind the Anchor. As the enemy wave thins or shifts to a different lane, move your DPS units to the next point of conflict.
- Why it works: This prevents your damage dealers from taking unnecessary chip damage and allows you to conserve your energy for waves that require burst damage.
Mastering Ability Cycles and Cooldown Management
In the heat of a Hell Gym battle, your special abilities are your most precious currency. Using them at the wrong time—or on the wrong targets—is the fastest way to lose your momentum.
The "Bottleneck" Strategy
Wait for mobs to cluster together at your defensive choke points. Activating an Area-of-Effect (AoE) ability when a single unit is nearby is a waste of energy. By allowing the enemy to stack up at your line, you maximize the "damage-per-energy" ratio of your skills.
Coordination and Synergy
Don’t fire all your abilities at once. Instead, chain them for maximum effect:
- Crowd Control (CC) First: Use a freezing or stunning ability to hold the enemy in place.
- Burst Follow-up: Immediately drop your heavy damage abilities while the enemy is stationary.
- The Result: This ensures 100% accuracy and prevents fast-moving enemies from dodging your high-impact attacks.
Scaling Your Roster for Diamond Rank
As you climb toward Diamond, you will notice a significant power spike in Gym defenders. If you find yourself consistently losing, it is rarely due to a lack of effort—it is usually a bottleneck in your monster’s progression.
Prioritize Versatile Monsters
In the Diamond tier, specialty monsters that only do one thing well (e.g., pure damage) are often too fragile. Look for monsters that possess "Utility-DPS" kits. A unit that can debuff an enemy's defense while dealing damage is objectively more valuable than a glass cannon.
Resource Investment Rules
- Upgrade Cores: Focus your materials on your "core" team—the 3–5 monsters you use in 90% of your matches.
- Star-Leveling: Prioritize increasing the star level of your tanks and support units first. A tank that stays alive for ten extra seconds provides more value than a damage dealer that dies before its ultimate ability charges.
Overcoming Combat Thresholds: Common Mistakes
Even the best players hit a wall in Lumi Master. When you stop progressing, stop and evaluate your recent losses.
- Mistake 1: Ignoring the "Utility Slot." Many players fill their team with pure power. Replace your weakest damage dealer with a support or crowd-control unit. You will be surprised at how much easier the Hell Gym becomes when you can manipulate enemy movement.
- Mistake 2: Holding onto "Perfect" Cooldowns. Don't hold your ultimate ability for the "perfect" moment if your base is under heavy fire. Emergency ability usage is often the difference between a loss and a narrow victory.
- Mistake 3: Failing to Watch Replays. If a specific wave beats you twice, watch the replay. Identify exactly which monster was overwhelmed first and adjust your positioning accordingly.
Final Thoughts for Aspiring Diamond Players
Reaching Diamond rank in Lumi Master is not a sprint; it is a marathon of refinement. The Hell Gym is designed to force you to learn the game’s mechanics at a granular level. By focusing on reactive deployment, disciplined ability cycles, and versatile monster compositions, you will eventually find that the "unbeatable" waves become manageable challenges.
Remember, every loss in the Hell Gym provides data. Map out enemy patterns, refine your team’s synergy, and don’t be afraid to experiment with off-meta units to find the perfect counter to the current season's meta. Your path to Diamond starts with the next battle—make it count.

Free Lumi Master Codes
Current active codes and how to redeem them.

James Brown
James focuses on Android gaming on PC, emulator setup, controls, performance tuning, and practical troubleshooting for longer play sessions.
COMMUNITY
Player Comments
59 players commented on this guide.
Good guide for Lumi Master players. The strategy part was useful.
The explanation is clear, especially for beginners.
This saved me time in the early game.
Nice guide. I am checking the other Lumi Master articles next.