
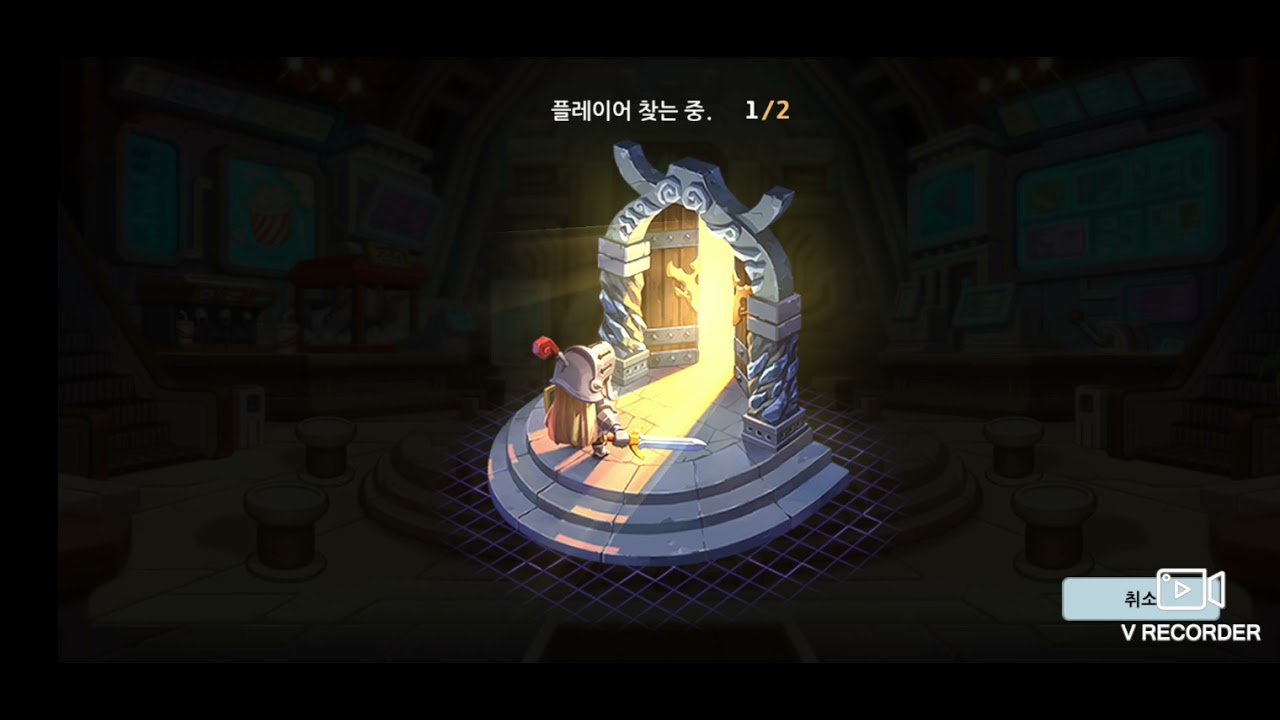
Reaching Diamond 1 in Lumi Master represents a significant turning point in your progression. As you move out of the mid-tier ranks, you will find that aggressive, "glass cannon" strategies—which may have carried you through earlier levels—often crumble against the refined, high-synergy team compositions of veteran players. To bridge the gap between Diamond and Master rank, you must pivot your mindset from initiating direct damage trades to maintaining a defensive, utility-heavy presence. By emulating the "Oghma" playstyle—a focus on damage mitigation, peeling, and tactical disruption—you can secure consistent wins even against superior stat-checked opponents.
Understanding the Diamond 1 Skill Ceiling
The transition into Diamond 1 is defined by the diminishing returns of raw offense. In lower tiers, you can often win by simply out-gearing or out-damaging your opponent. However, at the Diamond 1 threshold, opponents utilize advanced equipment synergies and optimized team compositions that punish reckless aggression.
"Match-dealing," or the act of trading hits directly with an opponent, becomes a losing proposition in this bracket. High-level players excel at baiting cooldowns and punishing overextensions. If you find yourself frequently losing units in the early stages of a fight, it is likely because your playstyle is too linear. Success at this level requires you to stop viewing your units as individual damage sources and start viewing them as components of a cohesive defensive engine.
The "Oghma" Playstyle: Mastering Disruption
The "Oghma" playstyle is the gold standard for high-tier defensive play in Lumi Master. Named for its focus on absorption and crowd control, this strategy prioritizes surviving the opponent's initial burst and turning their momentum against them.
How to Implement the Oghma Approach:
- Peeling for Priority Units: If you are running a high-damage companion, your defensive units should never be at the front of the screen. Position your sturdier units to block enemy paths, forcing them to burn their gap-closers or long-range cooldowns just to reach your primary carry.
- The Bait and Switch: Wait for the enemy to initiate. When they commit their major abilities, use your defensive cooldowns to mitigate that damage. Once they are "naked" (lacking defensive options), that is your window to counter-attack.
- Forcing Suboptimal Trades: Use your positioning to force enemies into tight corridors or unfavorable terrain where their mobility is restricted. By forcing them to fight in areas where they cannot easily retreat, you gain a massive tactical advantage.
Adapting to the Diamond 1 Meta
To climb, you must be willing to sacrifice raw DPS for survivability. This is often the hardest adjustment for players to make, as it feels counterintuitive to lower your damage output to win more fights.
1. Rebuild Your Equipment Loadouts
If you are struggling to stay alive in lane, take a look at your accessories. In the Diamond 1 meta, a 10% increase in survivability is often more valuable than a 5% increase in attack power. Swap out pure offensive stat modifiers for health-scaling items or defensive passives that trigger upon taking damage.
2. Master the Art of Cooldown Tracking
In Lumi Master, the team that controls the cooldowns controls the match. Do not engage until you have visually confirmed that the enemy has used their primary defensive utility. If you see the opponent waste a high-value skill on a minion or a low-priority target, that is your cue to apply maximum pressure.
3. Terrain Utilization
Movement is your greatest asset. High-tier players do not linger in the center of the lane. Use the edges of the map to create "defensive zones." If you are being chased, rotate toward your own defensive structures or backline companions. Never let the enemy choose the engagement zone for you.
Managing Unit Limitations
Every unit has a breaking point. A common mistake in the Diamond bracket is forcing a unit to play a role it wasn't designed for. If your favorite companion is a glass cannon, do not try to turn them into a tank. Instead, build your team composition to cover that unit's weaknesses.
- Complementary Drafting: If your primary unit lacks defensive utility, pair them with a companion that specializes in stuns, slows, or shields.
- The Pivot: If a unit is failing to secure kills in a direct trade, stop trying to force the kill. Use that unit’s secondary status effects—such as poison, burn, or debuffs—to soften the target, allowing your secondary units to finish the job.
Achieving Consistency Through Discipline
The jump from Diamond 1 to Master is not about flashiness; it is about consistency. An 8-win, 2-loss record is the result of disciplined, repeatable decision-making. "Coin-flip" trades—where both players trade high damage and hope for the best—are the enemy of progress.
To move up, you must play with a "zero-risk" mentality. Ask yourself before every engagement: "What is my exit strategy if this goes wrong?" If you don't have one, do not commit. By waiting for the opponent to make the first mistake, you effectively lower the variance of your games. You don't need to win every single micro-engagement; you only need to win the engagements that matter.
Summary Checklist for Success
- Prioritize Defensive Stats: If you are dying too fast, re-gear for health and mitigation.
- Peel, Don't Push: Protect your carries rather than overextending for aggressive plays.
- Wait for the Cooldown: Only strike after the opponent has exhausted their defensive utility.
- Control the Environment: Use terrain to dictate where fights happen.
- Consistency Over Highlights: Avoid "coin-flip" plays; focus on high-probability, low-risk engagements.
By adopting these defensive principles, you will find that the game slows down, allowing you to make better decisions and capitalize on the errors of your opponents. The path to Master rank is long, but with a disciplined approach and a focus on utility over raw power, you can consistently overcome the challenges of the Diamond bracket in Lumi Master.

Free Lumi Master Codes
Current active codes and how to redeem them.

Michael Smith
Michael covers live-service games, events, reward systems, and efficient daily routines, turning frequent updates into clear actions for players.
COMMUNITY
Player Comments
42 players commented on this guide.
Good guide for Lumi Master players. The strategy part was useful.
This guide answered the exact question I had.
The explanation is clear, especially for beginners.
Can you add more details about strategy in a future update?