
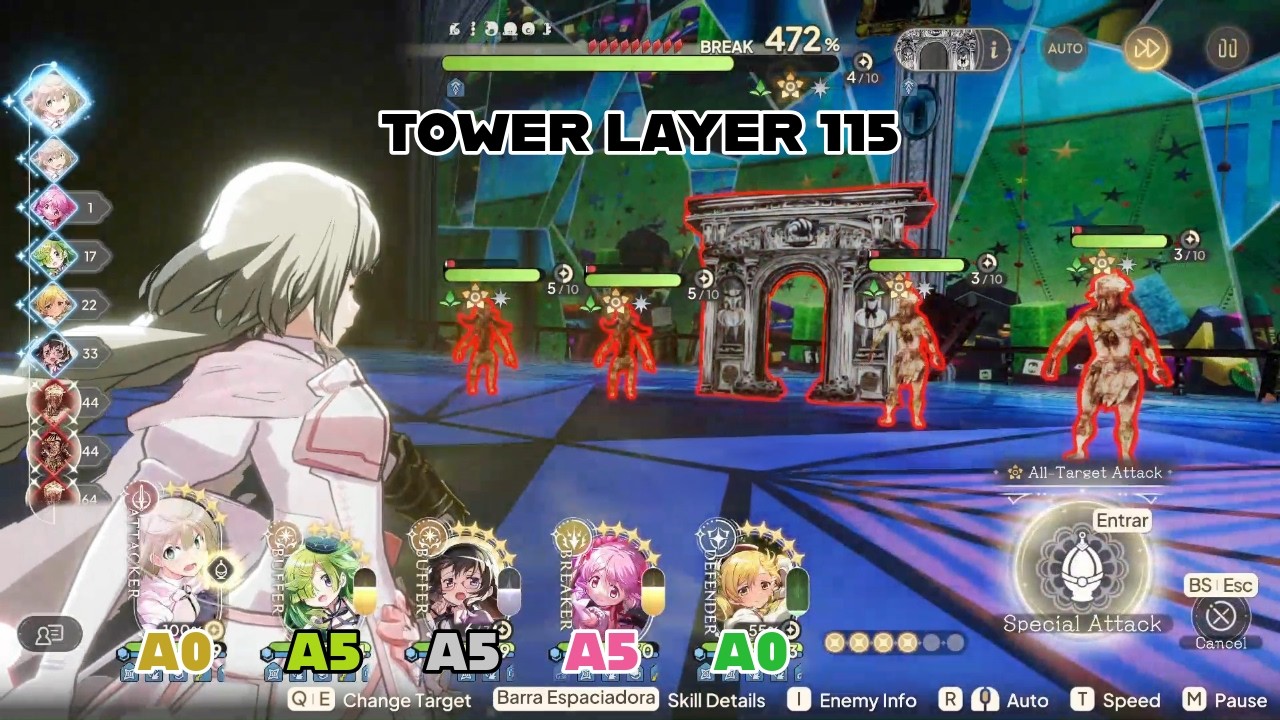
Tower Layer 115 in Madoka Magica Magia Exedra serves as a definitive "DPS check" for players. Unlike earlier floors that allow for defensive play, Layer 115 imposes a strict time limit that punishes teams lacking aggressive optimization. To succeed, you must shift your focus from mere survivability to maximizing your "Damage Per Second" (DPS) window, ensuring every action contributes to depleting the boss’s health pool as efficiently as possible.
The DPS Check: Why Time is Your Greatest Enemy
On Layer 115, the clock is not just a timer; it is a mechanic that invalidates stall tactics. If you are running a team with multiple healers or defensive tanks, you will likely find yourself hitting the time limit with a portion of the boss’s health remaining.
To clear this stage, you must transition into a "Burst-Heavy" mindset. This means evaluating your characters based on their attack modifiers rather than their survivability stats. If your team consistently survives the encounter but fails due to the timer, you are running too much utility. Swap your weakest defensive unit for a secondary DPS character to increase your output. In Madoka Magica Magia Exedra, the best form of defense is often ending the fight before the boss can unleash their most devastating ultimate abilities.
Leveraging Elemental Synergies for Maximum Impact
Elemental alignment in Madoka Magica Magia Exedra provides a massive multiplier to your damage output. Attempting to brute-force Layer 115 with neutral-element characters is significantly less effective than running a team that specifically exploits the boss’s weakness.
- Inspect the Boss: Before entering the battle, view the boss's elemental affinity.
- Prioritize Advantage: A character with a strong elemental advantage will deal substantially more damage and take less incoming damage, effectively serving as both an offensive and semi-defensive choice.
- Avoid Sub-Optimal Gear: Ensure your main DPS units are equipped with high-tier gear that enhances their specific elemental damage. Even a lower-rarity character with a strong elemental advantage and upgraded equipment will often outperform a higher-rarity unit that lacks elemental synergy.
Mastering Skill Rotations and Burst Windows
The timing of your abilities is where expert players distinguish themselves from the average. Layer 115 features specific phases where the boss is more susceptible to damage or where specific boss mechanics make it unsafe to attack.
- Phase Identification: Observe the boss's attack patterns. Do they have a "shielded" phase or a phase where they gain increased defense? Save your high-damage ultimate abilities for when these shields drop.
- Cooldown Management: Do not blindly spam skills. Use your basic attacks to build up your ultimate gauge, and then unleash your entire party’s skills in a rapid, synchronized "burst window."
- Utility Timing: Save your defensive buffs or heals for the moments immediately preceding the boss’s heavy-hitting attacks, rather than using them on cooldown. This keeps your team alive without sacrificing precious seconds of offensive pressure.
Recommended Team Composition for Layer 115
To maintain the balance between staying alive and meeting the DPS threshold, we recommend the following archetype structure:
| Role | Responsibility |
|---|---|
| Main DPS | Your primary source of damage; must match the boss’s elemental weakness. |
| Secondary DPS | Provides consistent chip damage and fills the "cooldown gaps" of your main DPS. |
| Offensive Support | Provides party-wide attack buffs or critical rate increases to amplify your burst windows. |
| Survivability Flex | A character providing shields or damage mitigation to survive the boss’s "nuke" mechanics. |
By adhering to this structure, you minimize the number of "dead" turns where your team is doing nothing but waiting for cooldowns.
Eliminating Progression Roadblocks
If you find yourself stuck at Layer 115 despite having the right team structure, you have likely hit a progression ceiling. Rather than grinding for new characters, focus on these tactical refinements:
- Invest in Passive Stats: Check your character's passive skill tree. Often, small investments in base attack or critical damage stats are the difference between a timeout and a victory.
- Refine Your Gear: Ensure your best equipment is not spread thin. Strip your secondary or tertiary characters of their top-tier gear and funnel those resources into your primary DPS unit.
- Focus, Don't Spread: In Madoka Magica Magia Exedra, it is much more effective to have one "maxed-out" team of four than a broad roster of moderately leveled characters. Pour your experience materials and skill books into your core four to ensure they are at the level cap.
Final Strategic Advice
Success on Tower Layer 115 requires patience and precise execution. If you fail, analyze the death: Did you run out of time, or did your team die? If you ran out of time, replace a defensive unit for an offensive one. If your team died, look at your gear—are your main damage dealers equipped with enough health-scaling or damage-mitigation gear to survive the boss’s rotation?
Treat every attempt as a learning experience. By identifying the boss’s attack patterns and aligning your skill usage to exploit their vulnerable phases, you will move past this roadblock and continue your climb through the tower. Remember: in Madoka Magica Magia Exedra, tactical adjustments often yield better results than simply trying to brute-force a stage with higher stats.

Free Madoka Magica Magia Exedra Codes
Current active codes and how to redeem them.

Emily Johnson
Emily writes practical mobile strategy guides with a focus on resource planning, base progression, and the early decisions that shape a long-term account.
COMMUNITY
Player Comments
111 players commented on this guide.
The tips are practical and easy to follow.
This helped me understand strategy much better.
This saved me time in the early game.
Nice guide. I am checking the other Madoka Magica Magia Exedra articles next.