
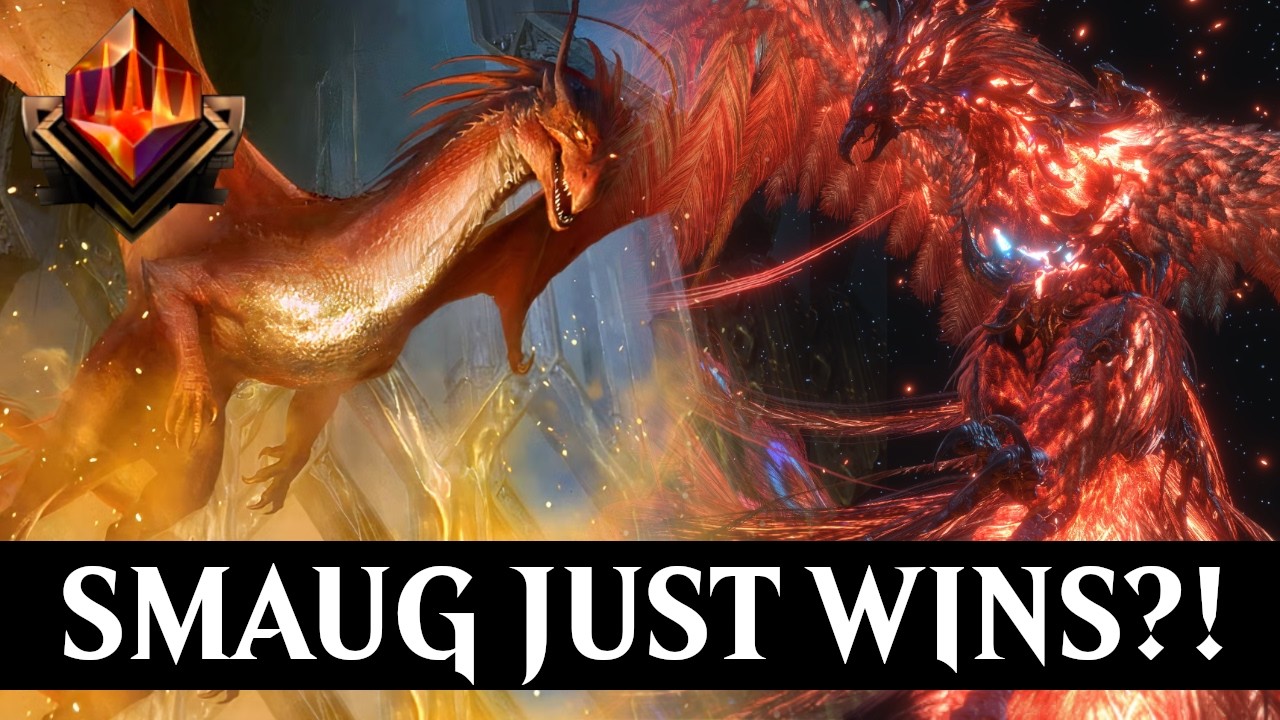
In the evolving meta of Magic: The Gathering Arena, Smaug has emerged as a powerhouse for control-oriented players. While many players view Smaug simply as a high-mana creature, expert pilots recognize it as a specialized engine that bridges the gap between early-game survival and late-game dominance. By combining Smaug’s treasure-generating potential with the recurring pressure of Phoenixes and the reset button of board wipes, you can create a deck that thrives in long, grindy matches.
This guide breaks down the mechanics, strategies, and decision-making processes required to turn Smaug from a thematic inclusion into a meta-crushing threat.
Leveraging Smaug for Resource Acceleration
The primary reason to include Smaug in a competitive Magic: The Gathering Arena control deck is its unique ability to weaponize the board state. Smaug provides a "treasure ramp" effect that allows you to bypass traditional mana curves.
The Mechanics of Treasure Ramp
When Smaug hits the battlefield, your goal is not just to attack with a massive flying creature, but to manipulate the tempo of the game. Treasure tokens are essentially "stored mana." In a control shell, this is vital because it allows you to:
- Hold up interaction: You can tap out for Smaug while keeping treasure tokens available to cast instant-speed removal or counterspells on your opponent's next turn.
- Accelerate into higher-cost finishers: If your deck runs expensive utility spells or other heavy dragons, the treasure tokens allow you to cast them turns earlier than expected.
- Punish over-commitment: Opponents who try to race you often play into board wipes. Because Smaug generates resources upon creation or through specific triggers, you can recover from a self-inflicted board wipe faster than your opponent can recover from your threat density.
Expert Tip: Never use your treasure tokens prematurely. Treat them as a "mana reserve" that exists solely to force your opponent into making sub-optimal choices. If your opponent knows you have floating mana, they are less likely to commit their best threats to the board.
Integrating Phoenixes for Recurring Pressure
A control deck with only heavy finishers is often vulnerable to targeted removal. By integrating Phoenixes into your Smaug deck, you create a "recursive engine" that demands constant answers from your opponent.
Why Phoenixes Work
Phoenixes excel because they thrive in the graveyard. In a typical match, your opponent will expend their best removal spells—like Go for the Throat or Leyline Binding—to deal with your initial threats. If those threats are Phoenixes, you can simply bring them back to the battlefield by meeting their specific casting requirements.
- The Grind Factor: By utilizing the graveyard as a secondary hand, you ensure that your opponent will eventually run out of removal. This forces them to play defensively, which is exactly where a dragon control deck wants the game state to be.
- Synergy with Board Wipes: This is the most crucial interaction in the deck. You can cast a board wipe (like Sunfall or Deadly Cover-Up) to reset the game state, knowing that your Phoenixes can return to the battlefield once the dust settles. You effectively clear the opponent's board while maintaining your own pressure.
Managing the Mid-Game Board State
The mid-game is where most control decks live or die. Against aggressive decks, your first four turns are about damage mitigation. Against other control decks, your turns are about resource management.
Survival Tactics
- Prioritize Life Total as a Resource: Don’t be afraid to take damage early if it allows you to set up a board wipe that clears three or more creatures. A 3-for-1 trade is almost always worth the loss of 5–10 life points in the early game.
- Strategic Trading: If you have Smaug on the board, protect it at all costs. It is your primary engine for both offense and mana generation. Use your smaller creatures or early-game blockers to absorb damage so Smaug can remain active to generate value.
- Knowing When to Pivot: You must recognize the shift from "defensive survival" to "offensive pressure." Once you have successfully stabilized the board and generated a surplus of treasure tokens, you should stop playing defensively. Transitioning to aggression too early leaves you vulnerable; transitioning too late allows your opponent to recover.
Navigating Trade-offs and Limitations
No deck in Magic: The Gathering Arena is without its weaknesses. Recognizing these limitations is what separates elite players from casual ones.
The "Dead Draw" Problem
Control decks often suffer from "dead draws"—situations where you pull a high-mana dragon but have no way to impact the board because you are behind on tempo. To mitigate this:
- Looting and Filtering: Include cards that allow you to discard high-cost cards early in the game to dig for land drops or early interaction. You can often bring those cards back later using graveyard recursion.
- Balance the Curve: If you find you are losing to aggro decks before turn five, reduce the number of high-cost dragons and increase your early-game removal, such as Cut Down or Play with Fire.
Vulnerability to Aggro
Aggro decks aim to win by turn four. If your deck relies too heavily on Smaug, you will lose before you can cast it. A balanced Smaug control build should have at least 12–15 pieces of interaction (removal, counterspells, or sweepers) that cost three mana or less. This ensures you can survive the initial onslaught, stabilize, and eventually transition into the late-game dragon dominance that the deck is designed for.
Strategic Decision-Making Summary
To master this archetype, keep these core principles in mind:
- Information Management: Use the threat of your treasure tokens to bluff. If your opponent believes you have a counterspell, they may play around it, allowing you to develop your board safely.
- Respect the Mana: In Magic: The Gathering Arena, tempo is everything. If you are forced to tap out for a board wipe, ensure you have a plan for the following turn. Treasure tokens are the perfect bridge to ensure you are never truly "tapped out."
- Patience: Control is a war of attrition. Do not get frustrated if your first few threats are removed. If your deck is built correctly, the quality of your late-game threats will eventually overwhelm your opponent’s depleted hand.
By mastering the interaction between your treasure-generating dragons and your recursive threats, you will find that Smaug is not just a card—it is the centerpiece of a highly effective, resilient, and deeply rewarding control strategy in Magic: The Gathering Arena.

Free Magic: The Gathering Arena Codes
Current active codes and how to redeem them.

Emily Johnson
Emily writes practical mobile strategy guides with a focus on resource planning, base progression, and the early decisions that shape a long-term account.
COMMUNITY
Player Comments
65 players commented on this guide.
Good guide for Magic: The Gathering Arena players. The strategy part was useful.
Nice guide. I am checking the other Magic: The Gathering Arena articles next.
I wish I had read this before upgrading the wrong thing.
This helped me understand strategy much better.