
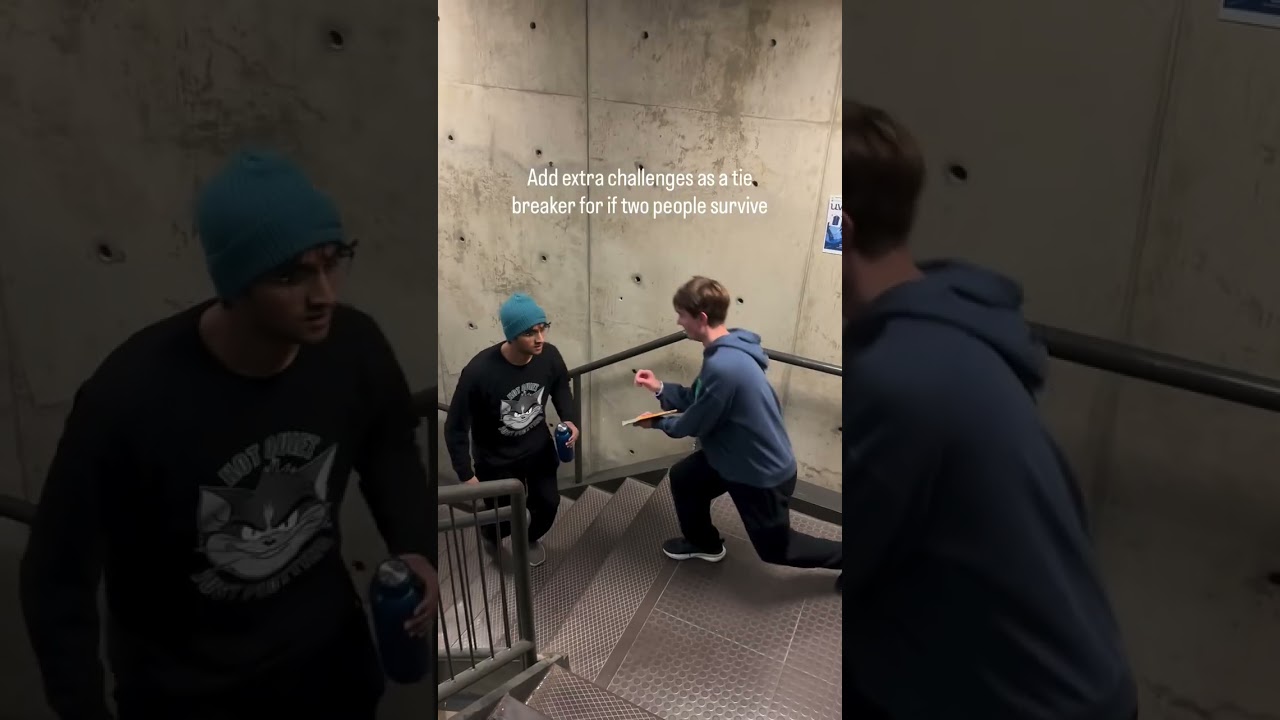
To complete an in-match side quest in Manhunt: Hide & Seek without getting tagged, break cover immediately after a GPS location ping reveals your stale coordinates, finish the objective before the next ping cycle, and relocate to an entirely new hiding sector. Completing optional challenges forces you out of stationary concealment, making transit timing and route discipline essential to staying in the game.
Assessing Terrain and Risk Before Leaving Cover
Only leave your hiding spot when you have verified that the nearest hunters are searching elsewhere and that the route ahead provides continuous physical cover. Leaving cover while hunters are actively sweeping your sector leads to an immediate tag.
Before initiating a run, evaluate the route between your current shelter and the objective:
- Cover Transitions: Prioritize paths lined with solid structures, pillars, partition walls, and dense hedges. Avoid wide plazas, illuminated clearings, and open courtyards where line-of-sight tracking is unobstructed.
- Objective Exposure: Challenges situated in alcoves, behind buildings, or near recessed structures carry much lower exposure risk than objectives located on open walkways or isolated benches.
- Hunter Density: If hunter markers indicate multiple trackers congregating nearby, hold your stationary position until the patrol rotates toward a different boundary zone.
Timing Your Run with Hunter GPS Pings
Hunters rely heavily on periodic GPS location pings to coordinate their search patterns. Initiating your movement right as a ping drops lets you advance while pursuers head toward the location you just vacated.
| Ping Phase | Hunter Activity | Optimal Hider Action | Risk Level |
|---|---|---|---|
| Ping Trigger | Navigating toward stale coordinates | Break cover immediately; move at a brisk pace | Moderate |
| Mid-Interval | Sweeping the old ping perimeter | Approach the objective quietly; scan sightlines | Low |
| Pre-Ping | Realizing target location is vacant | Interact with the side quest; complete the task | High |
| Ping Refresh | Receiving updated GPS broadcast | Disengage into deep cover; break line of sight | Critical |
Pace your movement during this window to conserve sprint stamina. Use a brisk walk through covered corridors to monitor surroundings quietly, preserving your full sprint meter exclusively for an emergency escape if a hunter intercepts you.
Securing the Objective Zone
Walking blindly into an objective area invites an ambush, as hunters frequently check prominent landmarks. Take deliberate steps to secure the immediate surroundings before initiating the task.
- Perform Perimeter Reconnaissance: Pause behind hard cover roughly twenty yards from the objective for three to five seconds. Visually sweep left and right vantage points and listen for approaching foot traffic.
- Minimize Dwell Time: Once you verify the area is clear, step in and complete the required action immediately. Whether snapping a photo or interacting with an item, keep exposure to the bare minimum duration.
- Orient Toward an Exit Corridor: Position your body facing your planned retreat path while interacting with the objective. As soon as the task registers, move directly into your exit route without pausing.
Breakaway Sequence When Intercepted
If a hunter approaches while you are engaging an objective, abort the side quest instantly. Surviving the round always takes precedence over finishing an optional task.
- Abandon the Objective: Drop the task immediately upon hearing footsteps or spotting an approaching pursuer.
- Break Line of Sight: Sprint behind the nearest solid structure, corner, or dense barrier to sever direct visual contact.
- Execute a 90-Degree Turn: Cut sharply down a perpendicular corridor rather than fleeing in a straight path along the primary route.
- Take Low-Profile Cover: Duck into a shadowed alcove, narrow stairwell, or recessed nook to let the pursuer sprint past your diversion point.
Relocating After Completion
Never return to the hiding spot you occupied prior to starting the side quest. Hunters tracking the objective area naturally sweep backward along the corridors connecting the target to nearby hiding clusters.
Navigate directly toward an unvisited sector of the boundary map. Seek out secondary cover options—such as utility alcoves, recessed entryways, or landscaping boundaries—that lie outside the main thoroughfares. Once secured in this fresh position, monitor the next GPS ping cycle and remain stationary until hunter traffic disperses.

Free Manhunt: Hide & Seek Codes
Current active codes and how to redeem them.

James Brown
James focuses on Android gaming on PC, emulator setup, controls, performance tuning, and practical troubleshooting for longer play sessions.
COMMUNITY
Player Comments
58 players commented on this guide.
This helped me understand strategy much better.
The tips are practical and easy to follow.
This saved me time in the early game.
I tried this today and it worked better than my old setup.