
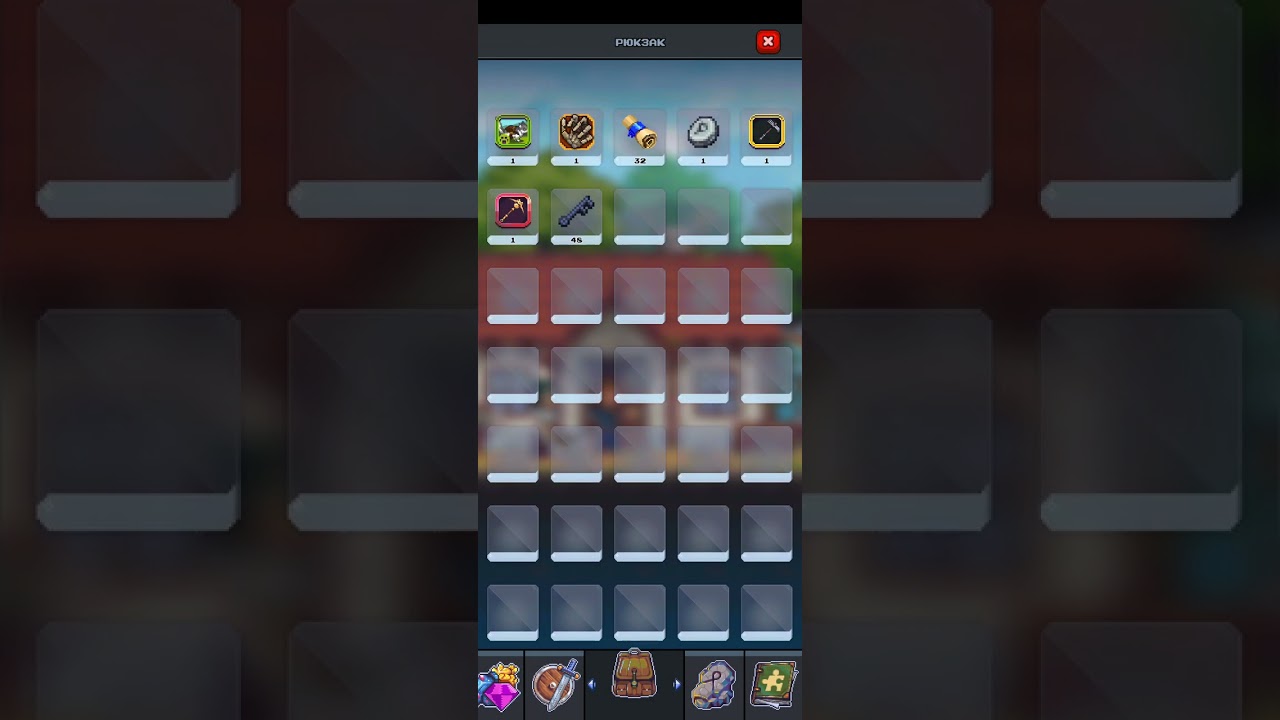
To farm feathers and shards efficiently in the Miners Settlement Tower, clear floor bands where you can defeat enemy waves in under 30 seconds without burning heavy consumables, then reset your run before encountering lethal damage spikes.
Unlike open-world mining nodes that yield standard stone and ores, Tower encounters consist of wave-based combat drops. Feathers provide materials for tailoring, charm crafting, and specialized consumables, while shards are required to upgrade weapon damage and advance equipment tiers.
Step-by-Step Tower Farming Route
Pushing as high as possible reduces your farming efficiency because high-tier enemies drastically slow your clear times and drain recovery items. Follow this sequence to maximize item drops per minute:
- Empty Your Inventory: Clear your bag of stone, timber, and unrelated quest items before entering to avoid running out of inventory space mid-run.
- Find Your Threshold Floor: Climb until a single floor drains more than half of your maximum health or forces you to use multiple emergency healing potions. The floor directly below this point is your reset threshold.
- Track Your Clear Speed: Aim for clear times under 30 seconds per floor. If an encounter takes 45 to 60 seconds or longer, drop back five floors to a faster bracket.
- Collect All Floor Drops: Ensure defeated enemies drop their loot before advancing so no feathers or shards are left behind.
- Reset the Run: Exit or reset the Tower once you reach your threshold floor. Resetting keeps your potion consumption low and avoids death penalties.
Floor Bracket Drop Targets
Focus your runs on the specific floor bracket that drops the material tier you currently need.
| Material | Target Floors | Settlement Uses |
|---|---|---|
| Common Feathers | Floors 1–15 | Basic tailoring, basic charms, and early arrow bundles |
| Refined Feathers | Floors 16–35 | Advanced armor reinforcement, stat relics, and town upgrades |
| Lesser Shards | Floors 1–20 | Early blacksmith gear ranks and basic weapon crafting |
| Greater Shards | Floors 21+ | High-tier weapon enhancements, socket unlocks, and major building upgrades |
If you only need Common Feathers or Lesser Shards, speed-clearing the first 15 to 20 floors yields more materials per hour than grinding higher levels where mob defenses slow your pace.
Combat Preparation Checklist
Before burning entry attempts, set up your character build to sustain continuous combat:
- Prioritize Defensive Sustain: Equip gear providing block chance, passive life regeneration, or lifesteal. Sustained recovery outperforms pure glass-cannon burst damage against continuous waves.
- Balance Resistances: Equip armor that balances physical protection with magic resistance to counter mixed damage types found on higher floors.
- Equip Stuns or Interrupts: Use abilities or weapons with crowd control to interrupt attack animations on tougher single targets found on milestone floors.
- Pre-pot Low Health: Use healing potions before your health bar drops into the red zone to prevent unexpected burst deaths. Conserve expensive high-tier buff food for actual dungeon boss progression rather than routine farming runs.

Free Miners Settlement Codes
Current active codes and how to redeem them.

Emily Johnson
Emily writes practical mobile strategy guides with a focus on resource planning, base progression, and the early decisions that shape a long-term account.
COMMUNITY
Player Comments
78 players commented on this guide.
This guide answered the exact question I had.
I wish I had read this before upgrading the wrong thing.
Can you add more details about strategy in a future update?
Nice guide. I am checking the other Miners Settlement articles next.