
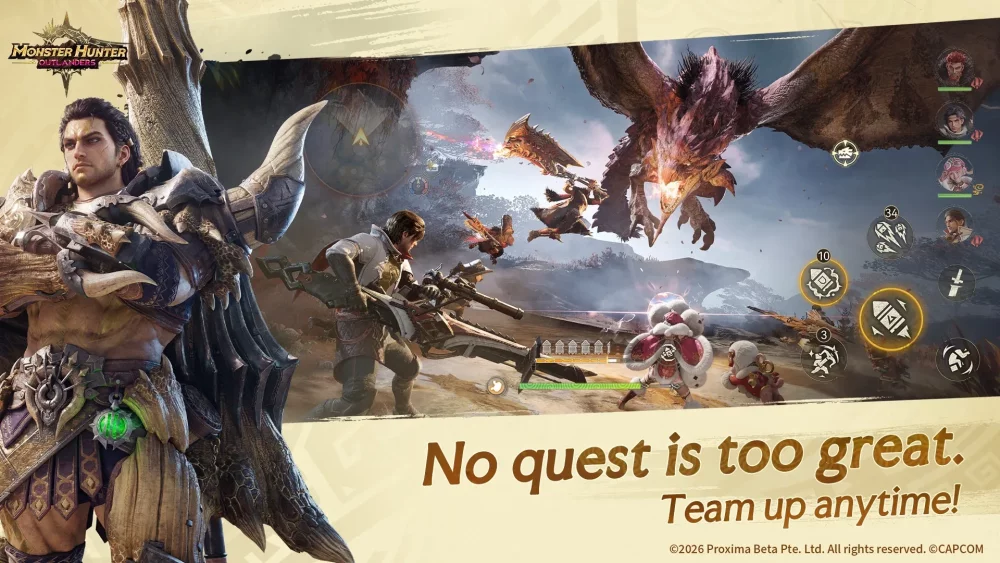
To defeat the Radiant Prismatic Dragon (also referred to as the Prism Wyvern) in Monster Hunter Outlanders without pulling Midori, equip the free Protagonist with a Heavy Bowgun and fight from mid-to-long range while your Otomo companion holds frontline aggro.
Midori relies on high-risk, close-quarters offense that demands strict dodge timing against sweeping hitboxes. Shifting to a ranged Heavy Bowgun neutralizes the boss's close-range spin attacks and ground bursts. This setup lets you read attacks from a safe distance and fire into vulnerable recovery frames without requiring premium gacha characters or frame-perfect reaction dodges.
Loadout Requirements and Companion Setup
Because the Protagonist does not require specific gacha banner talents, focus your loadout entirely on crafting progression and aggro management:
- Protagonist Weapon: Craft and upgrade any accessible Heavy Bowgun with manageable recoil and standard normal or piercing ammunition. Prioritize base attack and ranged damage scaling over complex status requirements.
- Hunter Armor: Equip defensive gear that provides enough health buffer to withstand occasional projectile or charge damage.
- Otomo Companion: Give your Otomo companion your most durable armor alongside threat-generating abilities. Your companion must absorb melee attention so the boss stays occupied facing away from you.
Ranged Attack Telegraphs and Counterplay
Operating two to three roll distances away renders most of the Radiant Prismatic Dragon's close-range attacks ineffective. Instead of burning stamina on emergency iframe rolls, use simple lateral repositioning to avoid frontal assaults:
| Boss Attack | Melee Hazard | Heavy Bowgun Response |
|---|---|---|
| Linear Crystal Beam | Sweeping blast across the frontline | Strafe laterally while moving; the beam fires in a straight path and misses completely. |
| Ground Crystal Eruptions | Explosive crystal clusters detonate underfoot | Stand outside the blast circle and treat the animation as a damage window. |
| 360-Degree Tail Swipe | Broad circular swing around the torso | Stay at range; the tail cannot reach past immediate melee distance. |
| Aerial Dive and Charge | Rapid repositioning and tracking on close targets | Walk sideways as the boss takes flight, then roll once upon touchdown. |
| Forward Claw Slam | Quick frontal strike that staggers close hunters | Hold spacing outside the impact area and punish the recovery animation with heavy shots. |
Step-by-Step Combat Sequence
- Establish Companion Aggro: Enter the combat zone and let your Otomo land the first hit. Do not open fire until the dragon commits its attacks toward your companion.
- Set Your Firing Distance: Back up to medium-to-long range, roughly two to three dodge rolls away from the monster. Keep yourself oriented toward the center of the arena rather than the boundary walls.
- Aim for Weak Points: Target the dragon's head and wing joints with primary shots to build stagger damage and work toward part breaks.
- Punish Attack Recovery: When the boss locks into its linear beam or attacks your companion, plant your stance to deliver high-impact shots during its recovery frames.
- Disengage When Targeted: If the dragon turns its head toward you, immediately stop long firing animations. Strafe in a wide arc until it directs its attention back to the Otomo, then resume shooting.
Positioning Rules and Mistakes to Avoid
The Heavy Bowgun strategy exchanges the rapid burst speed of top-tier units like Midori for defensive consistency. To prevent failure, manage these common mechanical pitfalls:
- Animation Locks: Heavy Bowgun heavy shots feature long recovery times. Never initiate a heavy or charged volley while the boss is facing your hunter.
- Straight Backpedaling: Moving directly backward will eventually trap you against arena boundaries, leaving you with no escape route against aerial dives. Always strafe in wide circles around the edge of the arena center.
- Stamina Depletion: Avoid sprinting or rolling preemptively. Normal walking speed is sufficient to sidestep the linear crystal beam, leaving your stamina pool available if you need to dodge an aerial dive.

Free Monster Hunter Outlanders Codes
Current active codes and how to redeem them.

Sarah Williams
Sarah specializes in RPG and collection games, explaining team building, character growth, and beginner-friendly ways to avoid expensive early mistakes.
COMMUNITY
Player Comments
34 players commented on this guide.
Nice guide. I am checking the other Monster Hunter Outlanders articles next.
This saved me time in the early game.
This helped me understand strategy much better.
Good guide for Monster Hunter Outlanders players. The strategy part was useful.