
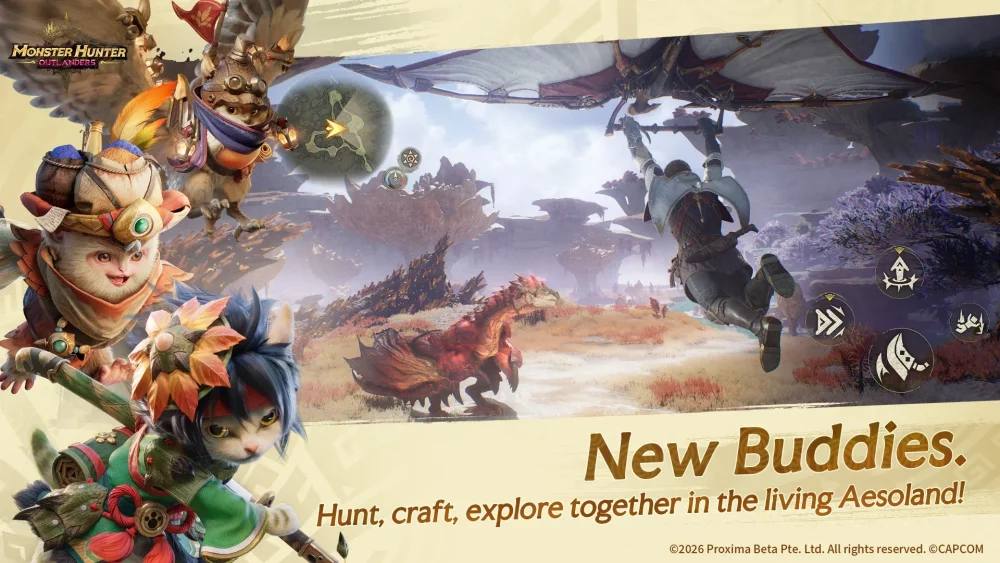
Focus your early progression resources on a single T0 companion—either Kojiro or Tiaotiao—matched to your primary weapon type. In Monster Hunter Outlanders, splitting companion experience snacks and skill manuals across multiple SSR Otomo dilutes your combat power during early hunts. Pick one top-tier partner that enhances your weapon's damage windows, and keep auxiliary units at baseline levels.
SSR Otomo Tier Overview
Companions fall into distinct tiers based on offensive amplification, crowd control consistency, and team utility.
| Tier | Companion / Archetype | Primary Role | Best Weapon Synergy |
|---|---|---|---|
| T0 | Kojiro | Critical Buffs / Direct Burst | Long Sword, Dual Blades, Bow |
| T0 | Tiaotiao | Crowd Control / Stun / Mobility | Greatsword, Hammer, Heavy Bowgun |
| T1 | Defensive Shielders | Damage Mitigation / Aggro Draw | Lance, Charge Blade |
| T1 | Elemental Enablers | Elemental Anomaly / Status Infliction | Rapid-hitting Elemental Builds |
| T2 | Pure Utility / Gathering | Resource Recovery / Minor Heals | Solo Farming / Open Exploration |
T0 units provide scaling benefits that fit almost every monster encounter. T1 options provide reliable defensive or status counters for specific monster matchups, while T2 utility units should not receive scarce combat skill books.
Choosing Between Kojiro and Tiaotiao
Your main weapon determines whether Kojiro or Tiaotiao deserves your primary investment.
When to Pick Kojiro
Choose Kojiro if you play fast, multi-hit weapons such as the Long Sword, Dual Blades, or Bow. Kojiro provides affinity enhancement and direct offensive burst tracking. For early-game accounts lacking high-affinity gear substats, Kojiro's active buffs help bridge the stat gap, ensuring your spirit gauge dumps and Demon Mode flurries land frequent critical hits during narrow stagger windows.
When to Pick Tiaotiao
Choose Tiaotiao if you wield slow, heavy-hitting weapons such as the Greatsword, Hammer, or Heavy Bowgun. Tiaotiao relies on high-impact knockdown skills, gap-closing actions, and aggro disruption. By creating knockdowns and peeling monster aggro, Tiaotiao gives heavy weapon users the necessary breathing room to execute fully charged attacks, such as True Charged Slashes, without taking trade-off hits.
Roles for T1 and T2 Companions
While you should not prioritize them over T0 units, T1 and T2 Otomo fulfill specific supportive functions:
- Defensive Shielders (T1): Draw monster aggro and deploy protective barriers. These units buy time to sharpen weapons, consume potions, and reset positioning during prolonged attrition hunts against aggressive monsters.
- Elemental Enablers (T1): Speed up status anomalies such as paralysis or blast. They work best alongside matching elemental weapon loadouts to force predictable monster down states.
- Gathering and Sustain Units (T2): Provide gradual healing and resource-gathering bonuses during open exploration. Their lack of offensive pressure makes them ineffective for timer-restricted boss fights.
Companion Resource Investment Priority
Upgrade materials become scarce once initial launch milestones are cleared. Follow this upgrade order to keep your main companion combat-ready:
- Funnel companion EXP into one T0 partner: Raise your chosen primary combat companion to your hunter's current level cap before spending experience materials on secondary units.
- Target core active skills first: Use premium skill books specifically on Kojiro's affinity buff or Tiaotiao's knockdown triggers rather than spreading manuals across passive stats.
- Use selector chests for breakthrough duplicates: When opening launch reward selectors, pick duplicate copies of your primary T0 companion to unlock breakthrough nodes instead of unlocking unused T2 units.
- Leave secondary units at base thresholds: Keep situational defensive or elemental Otomo at the minimum level required to unlock their active swap skills, avoiding heavy gold investments until your main carry is maxed.

Free Monster Hunter Outlanders Codes
Current active codes and how to redeem them.

James Brown
James focuses on Android gaming on PC, emulator setup, controls, performance tuning, and practical troubleshooting for longer play sessions.
COMMUNITY
Player Comments
50 players commented on this guide.
This helped me understand base building much better.
Nice guide. I am checking the other Monster Hunter Outlanders articles next.
I wish I had read this before upgrading the wrong thing.
Good guide for Monster Hunter Outlanders players. The base building part was useful.