
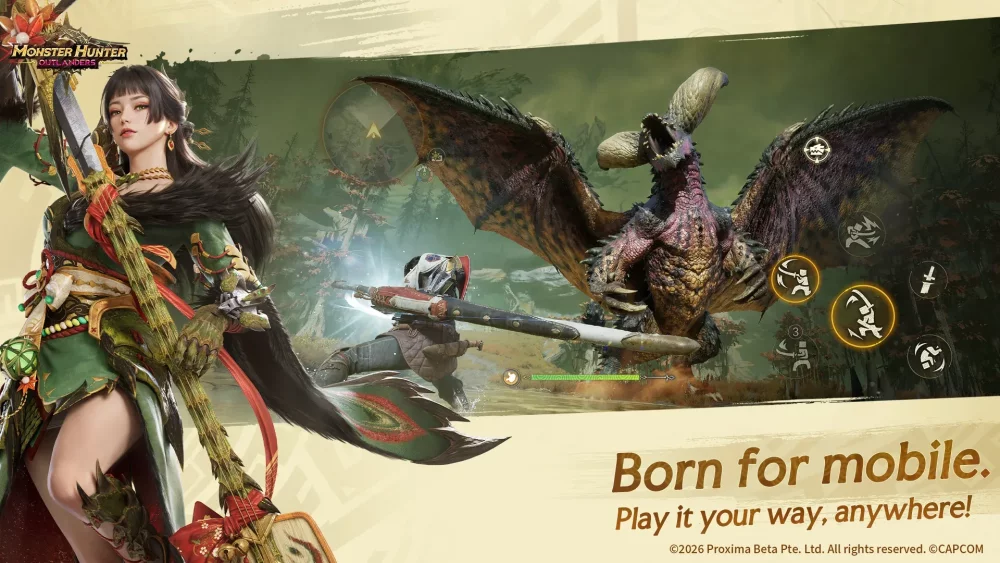
To establish efficient early-game progression in the Monster Hunter Outlanders beta test, balance resource gathering with reactive combat by scanning map biomes from elevated positions, conserving stamina before entering monster territory, and reacting to enemy attack animations rather than button-mashing.
Exploration and Stamina Management
Navigating open-world maps without constant loading screens requires deliberate movement and stamina monitoring. Sprinting continuously across open zones leaves your character without stamina if an encounter triggers unexpectedly.
- Gain Height Early: Climb to elevated vantage points across different biomes to spot nearby gathering nodes and monster spawn locations.
- Clear Peripheral Zones: Secure smaller, low-density areas before moving into monster-heavy environments to prevent getting flanked while gathering.
- Conserve Movement Energy: Avoid depleting your stamina bar entirely while traveling. Preserve a reserve so you can dodge immediately if you pull aggro from a high-level creature.
Combat Positioning and Telegraph Cues
Combat in Monster Hunter Outlanders relies on reading visual tells and managing attack timing on mobile controls. Over-committing to long attack sequences often leads to severe damage.
- Observe Telegraph Animations: Watch for specific wind-up motions and heavy hit preparations before committing to offensive combos.
- Test Weapon Reach: Practice basic attacks in low-risk zones to understand weapon range, movement speed, and lock-in windows.
- Target Weak Points: If monsters frequently hit you mid-combo, reposition relative to their weak spots instead of forcing continuous damage uptime.
- Manage Enraged and Fleeing States: When a monster enters a rage state or attempts to flee at low health, disengage temporarily to sharpen your weapon or consume healing items.
Resource Gathering and Inventory Priorities
Storage space limits how many items you can carry during an expedition. Periodically clear common materials from your inventory to ensure room for rare crafting drops.
| Gathering Node | Map Indicator | Primary Use |
|---|---|---|
| Mining Outcrops | UI Highlight | Provides mineral deposits required for weapon and armor upgrades. |
| Herb Patches | UI Highlight | Yields interactable flora used to craft recovery items. |
| Harvesting Points | UI Highlight | Drops creature-specific materials needed for targeted equipment trees. |
Check your blacksmith menu regularly to track required components, and cycle through different biomes on gathering runs to avoid resource bottlenecks.
Customizing HUD and Interface Feedback
The user interface displays critical combat indicators, including health reserves, stamina meters, and weapon status such as charge levels or sharpness.
If visual notifications obscure enemy movements during combat, open the settings menu to reduce HUD clutter and prioritize core metrics. Effective combat management requires checking health and sharpness peripherally while keeping your main focus on monster positioning and field hazards.

Free Monster Hunter Outlanders Codes
Current active codes and how to redeem them.

Emily Johnson
Emily writes practical mobile strategy guides with a focus on resource planning, base progression, and the early decisions that shape a long-term account.
COMMUNITY
Player Comments
88 players commented on this guide.
The tips are practical and easy to follow.
I wish I had read this before upgrading the wrong thing.
This saved me time in the early game.
Good guide for Monster Hunter Outlanders players. The strategy part was useful.