
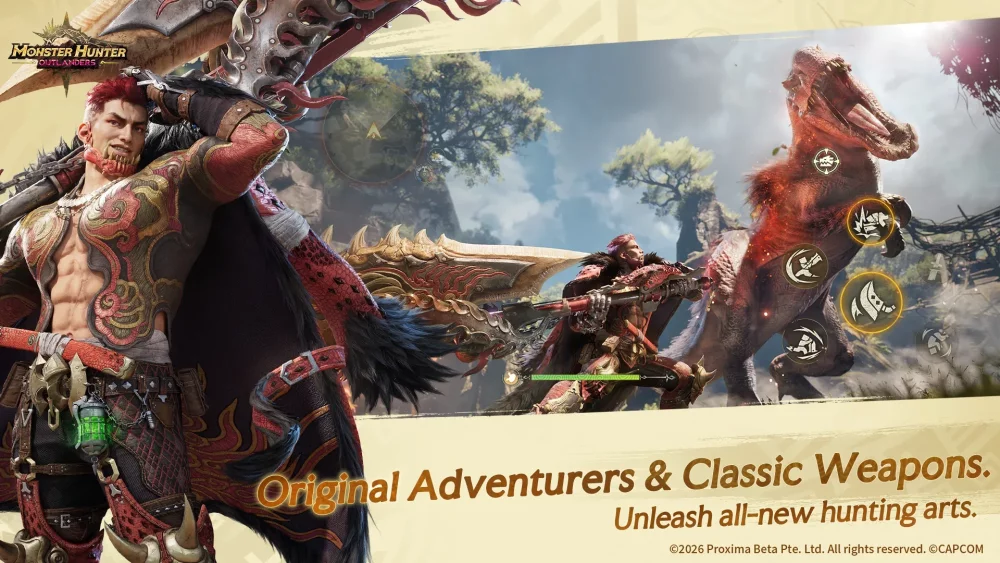
To deal effective damage with the Bow in Monster Hunter Outlanders, you must charge your attacks before releasing them rather than tapping basic shots. Holding a charge increases both the power and the number of arrows fired per volley, and that charge level also amplifies the hit count and damage of your active weapon skills.
Pairing charged shots with evasive repositions lets you maintain damage output from medium range while evading counterattacks.
How Bow Charging and Arrow Volleys Work
Charging is the primary mechanic governing the Bow’s damage output. Drawing the Bow and holding the attack button cycles the weapon through distinct charge tiers, indicated by visual aura changes around your hunter.
Releasing an attack at different charge levels alters its output:
- Uncharged Shot: Releases a single arrow with low base damage, useful only for minor chip damage or quickly tagging targets.
- Charged Shot: Releases a concentrated volley of multiple arrows simultaneously. Landing every arrow in the spread on a single weak hitzone significantly outperforms rapid tapping.
- Charged Weapon Skill: Activating Bow abilities while holding an elevated draw multiplies the number of projectiles or hits generated, delivering maximum burst damage against stationary or staggered monsters.
Because higher-tier volleys spread multiple projectiles horizontally or in tight clusters, you must align your firing angles directly with wide monster parts, such as wings or heads, so every arrow connects.
Mobility, Evasion, and Firing Distance
The Bow requires active footwork to stay safe without sacrificing offensive momentum. Standing still while drawing leaves you vulnerable to sweeps and charges, while firing from the wrong distance penalizes arrow damage.
| Action | Input Objective | Combat Function |
|---|---|---|
| Tap Shot | Quick release without holding draw | Deals minor chip damage without commitment |
| Charged Volley | Release at elevated visual charge tier | Fires multi-arrow clusters into weak hitzones |
| Charging Sidestep | Directional dodge performed while aiming | Repositions around attacks while preserving weapon readiness |
| Charged Skill | Trigger weapon ability at full draw | Unleashes maximum projectile count during vulnerability windows |
Maintain a medium critical distance from your target. Firing from extreme range causes damage falloff, while standing at point-blank range eliminates your reaction buffer against physical attacks.
Executing the Bow Combat Loop
Use mobility to bait attacks during neutral combat, then unleash charged skills once the monster creates an opening.
- Circle at Medium Distance: Maintain critical range around the monster’s flanks while monitoring incoming windups.
- Evade and Reposition: When the monster attacks, use a directional sidestep to clear the strike area and establish a clean angle on an exposed weak point.
- Draw to Higher Charge Tiers: Hold your shot until your visual charge indicator signals maximum arrow capacity.
- Target Soft Hitzones: Aim for protruding weak points such as the head or wings, releasing the volley when the entire arrow cluster can connect.
- Capitalize on Vulnerability Windows: When a monster topples, breaks a part, or is incapacitated, approach optimal critical distance, draw to full charge, and immediately activate your Bow skills to unleash high-yield multi-arrow bursts.

Free Monster Hunter Outlanders Codes
Current active codes and how to redeem them.

Sarah Williams
Sarah specializes in RPG and collection games, explaining team building, character growth, and beginner-friendly ways to avoid expensive early mistakes.
COMMUNITY
Player Comments
85 players commented on this guide.
I tried this today and it worked better than my old setup.
Can you add more details about strategy in a future update?
This helped me understand strategy much better.
This guide answered the exact question I had.