
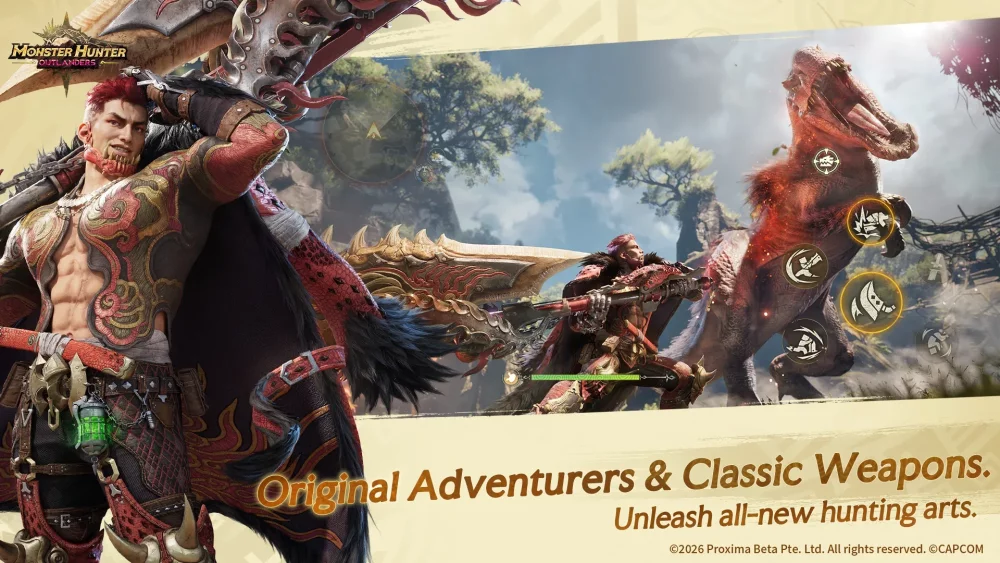
To clear a Difficulty 5 Marathon Hunt with the Greatsword in Monster Hunter Outlanders, you must maintain a rapid clear pace to stay ahead of the continuous quest timer while conserving healing consumables across consecutive monster spawns. Success requires absorbing incoming monster roars and minor hits with shoulder tackles, accelerating directly into True Charged Slash combos during staggers, and prepping weapon sharpness before the next beast appears.
Marathon Hunt Structure and Timer Management
Marathon Hunts test sustained multi-target endurance rather than isolated boss execution. A single timer runs uninterrupted from the moment the first monster spawns until the final objective falls. Every second spent chasing monsters across the zone or playing overly defensive drains the time cushion needed for late-stage encounters.
Key differences from standard hunts include:
- Persistent Resources: Your healing item stock and hunter resources do not automatically refill between slain monsters. Damage taken in early waves carries directly into subsequent fights.
- Unified Timer: The quest countdown does not pause during monster death animations or target transitions.
- Escalating Threat: Early targets should be dispatched quickly with minimal consumable usage to preserve high-tier healing items for dangerous final encounters.
Greatsword Tackle Flow and Super Armor
The Greatsword relies on shoulder tackle hyper-armor to maintain offensive pressure without resetting combo strings. Rolling away from every incoming hit bleeds time, whereas tackling through an attack preserves your position and advances your charge tier.
- Absorbing Attacks: Use shoulder tackles to ignore hitstun from monster roars, tail swipes, and minor physical charges.
- Managing Red Health: Tackling mitigates hit impact but converts part of the blow into red chip damage. Avoid tackling through heavy elemental bursts or sweeping ultimate attacks, as cumulative chip damage across multiple monsters will drain your health bar.
- Disengaging: Use lateral rolls to avoid heavy, wide-area attacks that inflict too much chip damage to safely absorb.
Stagger Punishes and Charge Scaling
Because Difficulty 5 targets possess expanded health pools, uncharged basic attacks deal insufficient damage to beat the mission timer. Maximize your damage output by capitalizing on knockdowns, stuns, exhaustion states, and leg breaks.
- Fast Charge Shortcuts: Skip slow early swings by using kick-into-tackle transitions or wide slashes to accelerate straight toward high-damage charge levels.
- Hit the Weak Spots: Direct fully committed True Charged Slash finishers into primary hitzones, such as the monster's head or severed tail joints.
- Avoid Overcharging: Release the attack button immediately when the charge flash peaks. Holding the charge past its visual cue drops the attack to an earlier, weaker damage tier.
- Take Safe Mid-Tier Charges: If an agile monster begins recovering before you reach a full charge, release a mid-tier charged slash immediately rather than whiffing a fully committed combo.
Target Transitions and Resource Allocation
The seconds immediately following a monster's defeat dictate your readiness for the next fight. Rather than standing idle during death animations, execute these actions immediately:
| Transition Phase | Tactical Action | Resource Priority |
|---|---|---|
| Early Monsters | Force fast staggers with aggressive tackle chains | Rely on standard recovery items; save high-tier restoratives |
| Spawn Transition | Sheathe instantly, use a Whetstone, and sprint to the next spawn point | Restore maximum weapon sharpness to eliminate attack deflection bounces |
| Final Encounter | Target primary weak points and tackle roars safely | Maintain health above 70% to endure enrage spikes and burst damage |
Entering a fight with degraded sharpness lowers your damage output and risks weapon rebounds against tough monster hides, leaving you open to counterattacks. Resetting sharpness and arriving at the spawn point early ensures your Greatsword can immediately start charging attacks as the next monster drops into the arena.

Free Monster Hunter Outlanders Codes
Current active codes and how to redeem them.

James Brown
James focuses on Android gaming on PC, emulator setup, controls, performance tuning, and practical troubleshooting for longer play sessions.
COMMUNITY
Player Comments
78 players commented on this guide.
Good guide for Monster Hunter Outlanders players. The strategy part was useful.
Can you add more details about strategy in a future update?
This saved me time in the early game.
I wish I had read this before upgrading the wrong thing.