
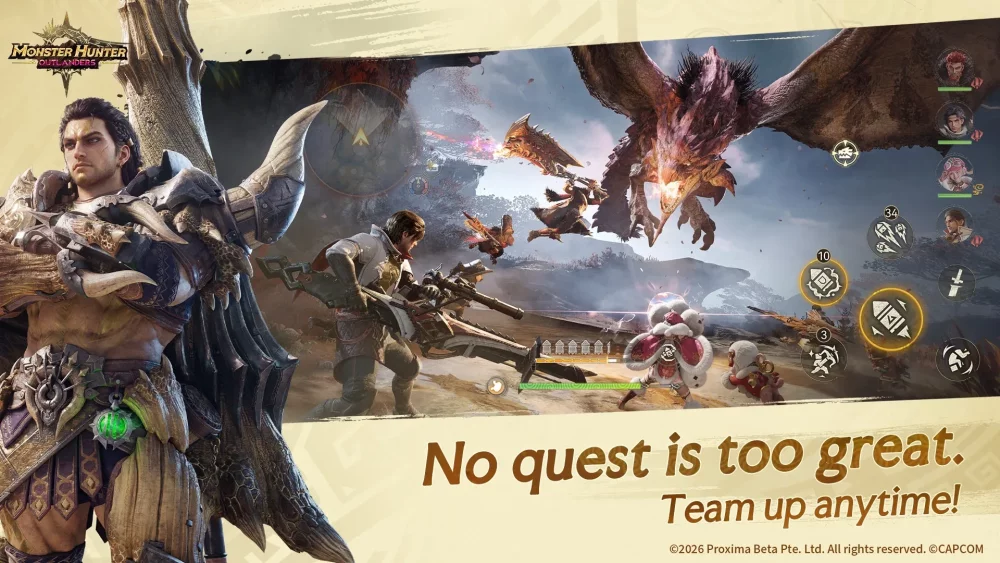
To farm Nergigante efficiently in Monster Hunter Outlanders, you must transition from reactive survival to proactive dominance. The key to reducing clear times lies in manipulating the Elder Dragon’s unique spike-growth mechanics, which dictate the rhythm of the entire encounter. By forcing flinches through targeted damage and mastering the telegraphs of its most dangerous attacks, you can transform a grueling battle into a consistent, high-yield farming loop.
Decoding the Spike-Growth Cycle
Nergigante’s combat behavior is governed by the growth and hardening of its regenerative spikes. Understanding this cycle is the single most important factor for success.
- White Spikes (The Weakness): These are soft, vulnerable, and susceptible to heavy damage. When you focus fire on white spikes, you force Nergigante into a flinch state.
- Black Spikes (The Hazard): If left unchecked, white spikes harden into black, armor-plated spikes. These drastically increase the monster's defense and enable its most punishing retaliation moves.
Pro Strategy: Your goal is to keep the monster in a constant cycle of breaking white spikes before they transition to black. If you ignore the spikes, Nergigante becomes a damage sponge that can wipe an unprepared party in seconds. Never prioritize "raw" damage over "part-break" damage if it means letting the spikes harden.
Strategic Positioning and Team Synergy
In Monster Hunter Outlanders, group composition often determines the speed of your farm. Because Nergigante possesses a wide reach, standing in a tight cluster is the fastest way to fail.
- The Semi-Circle Rule: Spread your team in a semi-circle around the monster. This forces Nergigante to commit to one target, leaving its rear or flanks exposed for other hunters.
- Role Specialization: If you are a ranged user, your priority is to target the wings or tail—areas often neglected by melee users. Melee hunters should focus on the forelimbs and head to force frequent staggers.
- Aggro Management: If you are targeted, do not retreat behind other players. Pull the monster away from the group to provide your teammates with a safe window to sharpen, consume buffs, or launch sustained combo strings.
Mastering the Dive-Bomb Avoidance
The dive-bomb is the "fail-state" mechanic of the Nergigante fight. It is designed to punish greedy players who overstay their welcome.
- The Tell: Watch for the vibration animation. Nergigante will crouch low and begin to tremble before launching itself across the arena.
- The Emergency Dive: If you are caught in the middle of a combo, stop immediately. Do not attempt to roll through the impact unless you have specific evasion-boosting skills. Sheathe your weapon and perform an emergency "Superman" dive away from the monster.
- Shield Tactics: If you are using a weapon with a shield (like the Lance or Gunlance), do not try to dodge. Position yourself to block, but ensure you have enough stamina to sustain the impact, as the dive-bomb deals significant chip damage through shields if your stamina is low.
Maximizing Damage Windows
Farming efficiency is defined by how you spend the "downed" state after a successful part-break. When Nergigante falls, follow these rules:
- Damage, Don't Heal: Unless you are at critical health, use this window to execute your highest-DPS rotation. If you must heal, use quick-consume items or wait for the monster to start its recovery animation.
- Target Rotation: If the head is already broken, immediately switch targets to the wings or tail. Over-damaging a broken part provides diminishing returns on material yields.
- The "Reset" Warning: As Nergigante rises from a knockdown, it often performs a sweeping tail swipe. Be ready to roll or block immediately after your burst damage window concludes.
Loadout and Preparation for Farming
Consistency is the goal of any farm. Your gear should be tuned specifically to exploit Nergigante’s weaknesses rather than just providing generic high stats.
- Elemental Advantage: Nergigante is notably weak to Thunder and Dragon elements. Using a weapon element that matches its weakness significantly speeds up the rate at which you break white spikes.
- Consumable Economy: Carry a full stack of Flash Pods. These are invaluable for interrupting the monster when it transitions to its most aggressive phase or to save a teammate who is caught in a bad position.
- Stamina Management: Because this fight requires constant movement and reactive dodging, prioritize armor skills that increase stamina regeneration or reduce stamina consumption. A hunter who runs out of stamina is a hunter who cannot dodge the dive-bomb.
Common Mistakes to Avoid
- Greeding for Hits: Many players cart because they try to finish one last strike before dodging. In Monster Hunter Outlanders, Nergigante’s recovery speed is deceptive. Always leave a "safety margin" in your combo chain.
- Ignoring Part Breaks: Focusing solely on the head for potential rare drops is inefficient if you aren't also breaking the limbs to keep the monster staggered. A consistent clear is better than a rare drop chance that results in a failed mission.
- Over-reliance on Auto-Targeting: While convenient, mobile controls can sometimes lock your camera into a position where you cannot see the monster’s wind-up animations. Learn to toggle the camera manually so you can keep the entire arena in view, especially during high-intensity phases.
By adhering to these strategies, you move from merely participating in the hunt to controlling the encounter. Focus on the spike cycles, maintain your spacing, and treat every knockdown as a high-priority damage phase. With practice, you will find that Nergigante becomes a manageable, routine part of your end-game progression.

Free Monster Hunter Outlanders Codes
Current active codes and how to redeem them.

James Brown
James focuses on Android gaming on PC, emulator setup, controls, performance tuning, and practical troubleshooting for longer play sessions.
COMMUNITY
Player Comments
35 players commented on this guide.
The tips are practical and easy to follow.
This saved me time in the early game.
I wish I had read this before upgrading the wrong thing.
This helped me understand strategy much better.