
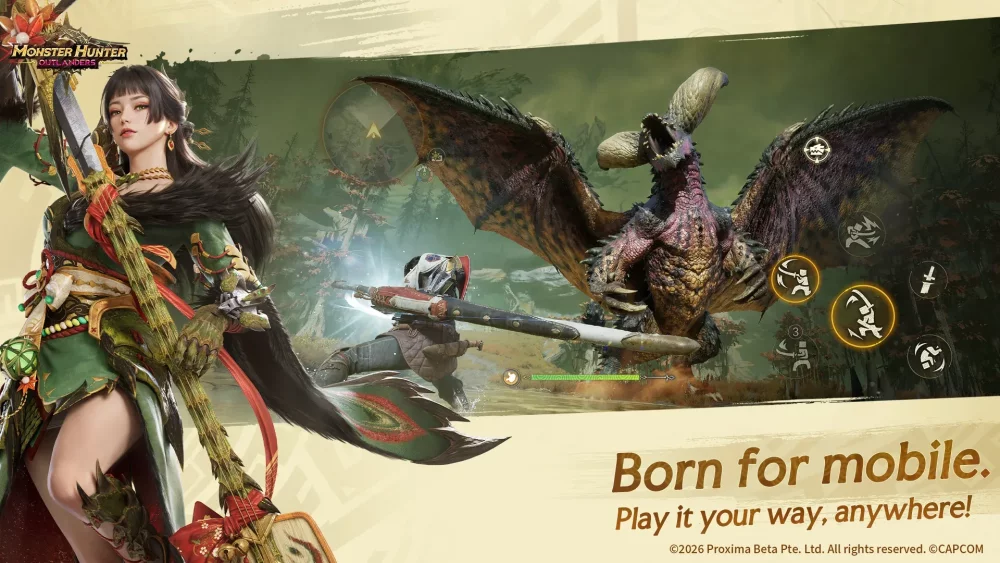
To play Feia effectively in the Monster Hunter Outlanders closed beta, rely on shoulder tackle cancels to skip early charge tiers and absorb incoming hits, then release her charged slashes at the peak aura pulse to punish monster recovery windows.
Feia operates as a high-commitment burst attacker. Her kit alters baseline Greatsword pacing by offering accelerated charging pathways through active skills while requiring precise read-and-react timing to manage heavy recovery animations.
Feia vs. Standard Greatsword Mechanics
Feia's kit diverges from standard Greatsword play by emphasizing faster burst access and active skill stance cancels rather than relying strictly on neutral True Charged Slash loops.
| Combat Factor | Feia (Closed Beta) | Standard Protagonist Greatsword |
|---|---|---|
| Primary Role | Frontline burst punisher | Sustained melee and draw-slash poke |
| Charge Access | Skill-accelerated intervals and tackle skips | Traditional three-tier linear charging |
| Defensive Armor | Shoulder tackle hyper-armor and poise skills | Baseline shoulder tackle cancel |
| Damage Window | Roars, knockdowns, and committed recoveries | Constant rolling draw slashes and openings |
| Recovery Options | Active skill cancel out of slash recovery | Roll cancel or neutral recovery frames |
Charge Slash Timing and Combo Rotations
Maximizing Feia's damage requires releasing slashes at the exact moment of full charge rather than holding the input indefinitely.
- Avoid Overcharging: Releasing an attack after the maximum charge threshold causes the slash to degrade into a weaker damage tier, losing critical multiplier value. Release the attack button the moment the visual charge aura pulses at peak intensity.
- Tackle to Skip Tier One: From a weapon-drawn stance, open with a draw slash and immediately cancel into a shoulder tackle. This bypasses the basic first-tier charge and directly advances you into the secondary charge tier, significantly reducing setup time against active targets.
- Settle for Stage Two on Moving Targets: If a monster is turning or preparing to reposition, release a fully charged second-stage slash instead of overcommitting to an unassisted final stage strike that might miss.
- Skill-Cancel Recovery Frames: Feia's active weapon skills can be activated immediately after a heavy grounded slash lands. This cancels the weapon's prolonged post-swing recovery animation, resetting her combat stance and enabling immediate repositioning.
Defensive Tackle and Roar Exploitation
Feia's shoulder tackle provides hyper-armor frames that absorb monster attacks, tremors, and roars. While Feia still takes reduced chip damage during the tackle, she ignores knockback and preserves her current charge tier progression.
Monster Attack / Roar Telegraph
  │
  ├──► Mobile / Distant Target: Roll away and reposition
  │
  └──► Committed In-Range Attack: Execute Shoulder Tackle Cancel
         │
         ├── Absorbs hit or roar via hyper-armor (takes chip damage)
         └── Chains immediately into high-tier follow-up slash
Monster roars offer guaranteed punishes. When a monster winds up its roar animation, begin charging and immediately cancel into a tackle. The hyper-armor negates the ear-covering stun animation entirely, placing Feia directly beside the monster's head with an advanced charge ready while the monster remains locked in its vocalization.
Knockdown Windows and Team Coordination
Confirmed knockdowns—such as stumbles, part breaks, or environmental topples—give Feia a four-to-six second window of monster immobility to execute full terminal strings.
- Reposition During the Fall: Move directly to a high-value weak point, such as the head or severed tail, while the collapse animation is still playing.
- Pre-Charge the Terminal String: Begin the draw slash and tackle sequence as the monster settles so that the final overhead strike connects at full charge on the grounded target.
- Absorb Wake-Up Sweeps: When the monster begins its standing recovery animation, buffer a shoulder tackle to absorb any get-up counter-attacks without losing offensive pressure.
In cooperative hunts, coordinate with status-focused teammates wielding paralysis weapons or Bowguns to keep the monster centered within a single combat area. When an ally inflicts sleep, reserve the initial wake-up strike for Feia's fully charged final slash to apply the single-hit sleep damage multiplier to her highest-damaging attack.

Free Monster Hunter Outlanders Codes
Current active codes and how to redeem them.

Emily Johnson
Emily writes practical mobile strategy guides with a focus on resource planning, base progression, and the early decisions that shape a long-term account.
COMMUNITY
Player Comments
99 players commented on this guide.
This guide answered the exact question I had.
Nice guide. I am checking the other Monster Hunter Outlanders articles next.
The explanation is clear, especially for beginners.
This saved me time in the early game.