
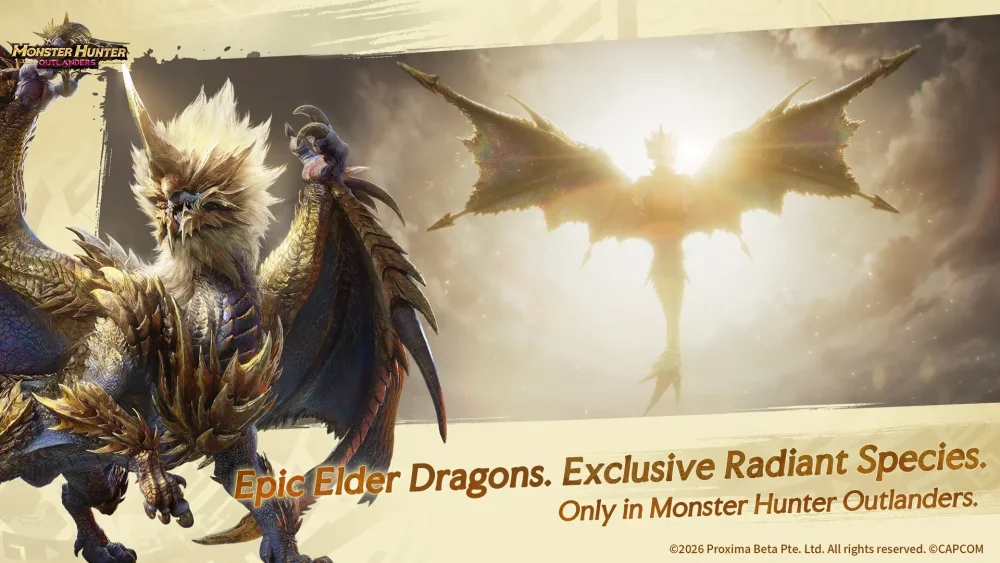
In Monster Hunter Outlanders, the thrill of the hunt extends beyond the battlefield and into the summoning screen. For players looking to optimize their roster and manage their resources effectively, understanding the Gacha system’s visual feedback is essential. The game uses specific cinematic flourishes, lighting changes, and camera dynamics to signal the rarity of a pull before the character is fully revealed. By learning to decode these indicators, you can immediately gauge the quality of your summons and better understand the reward structure governing your progression.
Decoding Summoning Rarity Cues
The summoning sequence in Monster Hunter Outlanders is designed to build anticipation. When you initiate a summon, the game executes a pre-rendered cinematic that serves as a "tell" for the rarity of the drop. While the outcome is determined the moment you tap the summon button, the animation acts as a real-time indicator of what is headed your way.
As a general rule, rarity tiers are tied to the intensity of the visual feedback. Low-tier or common items will typically feature a standard, quick transition with minimal screen effects. Conversely, high-tier Hunters—specifically those in the highest rarity bracket (SSR)—trigger elaborate, multi-stage sequences. If you see the screen shift dramatically or notice background elements that aren't present during standard summons, you are likely looking at a high-value acquisition.
Analyzing Cinematic Flourishes and Color Shifts
The most reliable way to identify a high-rarity pull is by tracking the color palette and lighting shifts throughout the summon. Monster Hunter Outlanders utilizes a color-coding system that mirrors the rarity of the Hunters, often previewing the character's tier through the ambient lighting of the summoning chamber.
Key Visual Markers to Watch:
- Background Color Shifts: Pay attention to the primary color that dominates the screen during the initial "activation" phase. A shift to gold, purple, or a unique iridescent hue is a hallmark of a high-rarity pull.
- Particle Density: High-rarity summons are accompanied by a significant increase in particle effects. Look for glowing embers, magical dust, or elemental flourishes that linger longer than those found in lower-tier sequences.
- Camera Dynamics: The game’s camera is a tell-tale sign of a "jackpot" pull. A sudden, dynamic zoom-in or a sweeping pan during the reveal phase signifies that the game engine is highlighting a significant, high-value Hunter.
- Soundscape Changes: Don't just watch; listen. High-rarity summons often feature unique audio cues, such as a more dramatic orchestral swell or a distinct sound effect change compared to the standard, repetitive click of a common summon.
Managing Expectations Through Visual Feedback
Resource management is the backbone of success in Monster Hunter Outlanders. By learning to read these animations, you gain a layer of transparency regarding your "luck" and the current state of your summon pool. This is especially useful during "pity" cycles—the internal game mechanics that guarantee a high-rarity drop after a certain number of attempts.
If you are performing bulk summons, the absence of high-tier animation cues across multiple pulls can serve as a tactical signal to pause. While it is tempting to continue until you hit a legendary pull, recognizing the lack of high-rarity indicators allows you to step back, re-evaluate your currency reserves, and avoid the "sunk cost" trap of burning all your resources in a single session. Always let the full animation play out for a few seconds; the game engine is designed to deliver that "weight" of the drop, and rushing through the menu can sometimes lead to missing visual cues that confirm your progress.
The Role of Animations in Reward Perception
The developers of Monster Hunter Outlanders utilize these animations to foster a sense of accomplishment. A high-rarity summon is intended to feel like a significant event, akin to downing a major Elder Dragon in the field. The visual feedback loop reinforces the value of your currency expenditure, making the receipt of a new, powerful Hunter feel tangible and rewarding.
When you trigger a low-energy animation, use that time to quickly transition to the next summon, keeping your session momentum high. However, when the high-intensity animation triggers, take a moment to engage with the reveal. This practice isn't just about the thrill; it keeps you familiar with the game’s UI and helps you build a mental "rarity database." Over time, you will find yourself able to predict the outcome of your summons within the first second of the sequence, allowing you to manage your time and emotions more effectively while playing.
Common Mistakes When Summoning
Many players make the mistake of skipping animations, which can lead to a disjointed experience where you lose track of which characters you have pulled and how close you are to your next pity threshold. To avoid this, keep these tips in mind:
- Don't Spam-Click: Clicking rapidly through the summon screen can cause you to miss the subtle particle changes that signal a rare drop. Let the animation breathe.
- Ignore "Placebo" Myths: While some players believe that tapping at a certain time influences the result, Monster Hunter Outlanders uses a server-side random number generator. The animation is a result of the roll, not a factor that determines it.
- Cross-Reference with the Pity Counter: Always track your summon count in the game’s menu. If your animation cues have been "standard" for 50+ pulls, checking your pity counter helps you understand how close you are to a guaranteed drop, turning the randomness into a predictable strategy.
Strategic Takeaways for Hunters
Ultimately, the Gacha animations in Monster Hunter Outlanders are more than just eye candy; they are a vital component of the game’s user experience. By mastering the ability to distinguish between common, rare, and legendary summoning sequences, you can navigate the game’s monetization systems with greater confidence. Use these visual markers to stay informed, manage your resources wisely, and ensure that every pull feels like a step toward building the ultimate monster-hunting team. Whether you are a free-to-play player or a regular purchaser, understanding these cues will make your journey through the open world of Monster Hunter Outlanders significantly more efficient and enjoyable.

Free Monster Hunter Outlanders Codes
Current active codes and how to redeem them.

James Brown
James focuses on Android gaming on PC, emulator setup, controls, performance tuning, and practical troubleshooting for longer play sessions.
COMMUNITY
Player Comments
64 players commented on this guide.
Nice guide. I am checking the other Monster Hunter Outlanders articles next.
The tips are practical and easy to follow.
This saved me time in the early game.
I wish I had read this before upgrading the wrong thing.