
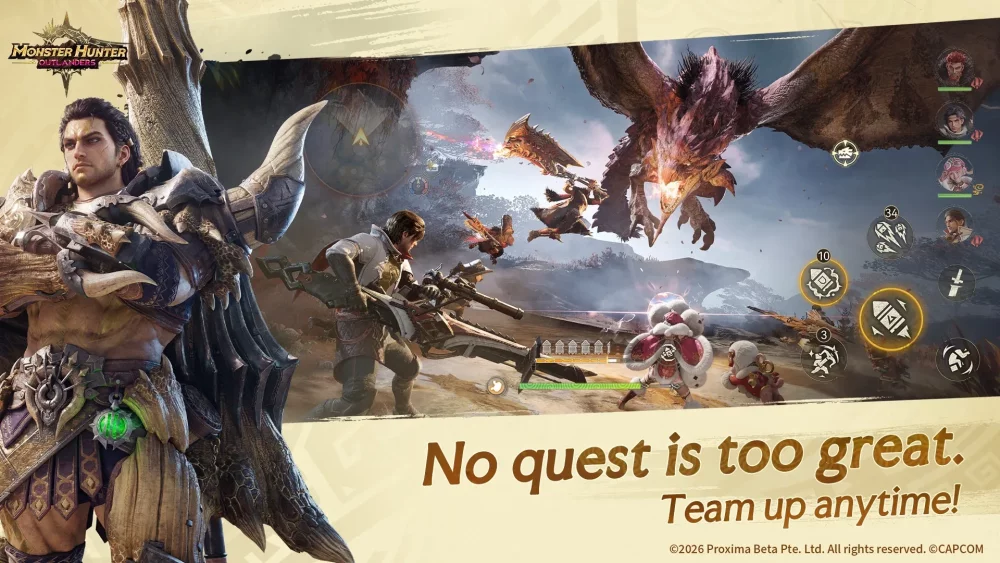
To maximize Hammer damage in Monster Hunter Outlanders, maintain mobile charge positioning to punish monster attack recoveries, target the head with blunt attacks to trigger knockdowns, and save your full Big Bang combo strictly for immobilized states.
Unlike heavy weapons that lock you in place during charge animations, the Hammer allows you to charge while moving. This lets you circle monster hitboxes safely, release high-impact blunt attacks during recovery windows, and build stun without trading damage. However, blunt damage cannot sever monster tails, meaning you will need slicing damage from teammates or Otomo companions to carve tail-specific materials.
Hammer Charge Levels and Combat Applications
The Hammer advances through three charge stages while holding the charge input. Choose your release tier based on the monster's current animation and head height.
| Charge Level | Movement State | Primary Combat Application |
|---|---|---|
| Level 1 | Neutral or Moving | Delivers a quick poke and fast reset during tight combat windows. |
| Level 2 | Moving Forward | Lunges forward with an upswing to close distance and strike high monster heads. |
| Level 3 (Stationary) | Stationary Release | Lands a heavy overhead slam for maximum burst damage on long recovery windows. |
| Level 3 (Moving) | Moving Release | Spins through broad hitboxes for multi-hit damage before a Golf Swing finish. |
Use the Level 2 Charged Upswing as your default neutral approach. The forward step closes distance quickly, and the upward swing angle consistently connects with raised monster heads to accumulate KO stun. Save the stationary Level 3 Charged Slam for moments when a monster commits to a long attack animation or whiffs a heavy recovery.
Knockdown Combo Rotations
The Big Bang combo generates the Hammer's highest burst damage during a knockdown, but missing any strike in the sequence immediately causes your hunter to stumble and ends the combo.
When a monster collapses from a KO stun or trip, follow this execution sequence:
- Sprint to the head: Close distance immediately without charging so you do not waste the immobilization window.
- Start the Big Bang chain: Tap the attack button repeatedly while keeping your movement stick centered to avoid drifting away from the head hitzone.
- Land every hit: The initial three hits lock your hunter in place while building combo momentum. Adjust your initial spacing so flinch animations do not push the head out of reach.
- Complete the finisher: The fourth input triggers a double strike that chains directly into the high-damage fifth slam.
- Roll-cancel the recovery: Evade immediately after the fifth strike lands to cancel the weapon's end-lag and reposition before the monster recovers.
If the knockdown window is too short to complete all five Big Bang hits, use the standard Triple Pound combo instead. It finishes with a Golf Swing to deliver safe, rapid burst damage without the risk of a stumble animation.
Stamina Control and Evade Canceling
Holding a Hammer charge continuously depletes your stamina gauge. Depleting the gauge entirely drops your primed charge, triggers an exhaustion animation, and prevents you from evading incoming attacks.
Apply these rules to protect your stamina:
- Charge reactively: Begin charging only after a monster starts an attack animation that leaves an opening, rather than running around with a pre-charged weapon.
- Roll-cancel bad openings: If a monster repositions or starts a tracking attack, roll immediately to drop the charge. Rolling halts continuous stamina drain and allows your gauge to recharge.
- Release early when low: If your stamina falls low while holding a Level 3 charge, release a Level 2 Upswing instead of waiting for the full charge slam. You must keep enough stamina in reserve to perform an evasive roll immediately after the swing.
Head Positioning and Stun Management
Blunt damage only builds KO stun when striking a monster's head. While leg hits contribute to part damage, head hits are required to force full stun knockdowns.
- Maintain a 45-degree angle: Stand roughly 45 degrees off the monster's snout rather than directly in front of its mouth. This angle allows your upswings to hit the head while keeping you clear of straight charges and direct breath attacks.
- Account for threshold increases: The first KO stun requires only a few Level 2 Upswings and a Charged Slam. Subsequent stuns require significantly more head impacts as the monster's status resistance increases.
- Punish legs during erratic phases: When an enraged monster moves too fast for consistent head targeting, land Level 2 Upswings on its legs to trigger a trip stagger, then rotate back to the head for your full combo.

Free Monster Hunter Outlanders Codes
Current active codes and how to redeem them.

Sarah Williams
Sarah specializes in RPG and collection games, explaining team building, character growth, and beginner-friendly ways to avoid expensive early mistakes.
COMMUNITY
Player Comments
38 players commented on this guide.
This saved me time in the early game.
This helped me understand strategy much better.
Good guide for Monster Hunter Outlanders players. The strategy part was useful.
Can you add more details about strategy in a future update?