
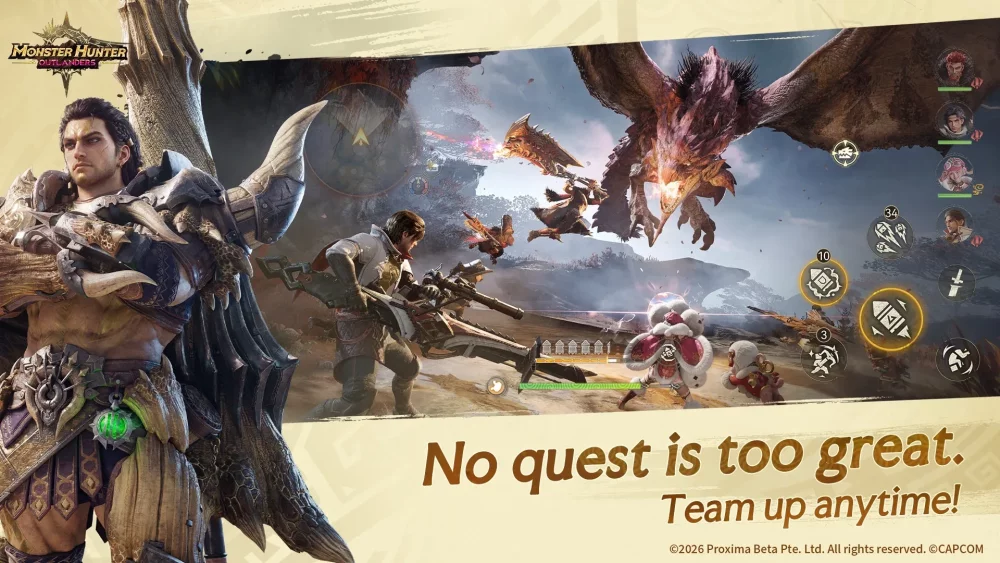
The Great Girros is a mid-game gatekeeper in Monster Hunter Outlanders that forces players to move away from "button-mashing" and toward tactical, rhythm-based combat. Unlike larger, slow-moving beasts, the Great Girros relies on rapid lunges and status-effect crowd control to overwhelm hunters. To survive this encounter, you must treat the fight as a dance, prioritizing evasion over raw aggression and neutralizing the environmental hazards posed by its pack.
The Threat of Paralysis: Decoding Great Girros Mechanics
The primary reason players fail against the Great Girros is the Paralysis status effect. Once inflicted, your hunter is rendered immobile for several seconds, leaving you as a sitting duck for the monster’s high-damage follow-up attacks.
In Monster Hunter Outlanders, status effects are tied to specific hitboxes. The Great Girros channels its paralysis through its fangs. You can identify the incoming threat by watching for these visual cues:
- The Head Twitch: Before a lunge, the Great Girros will snap its head and lower its body. This is the telegraph for its signature paralyzing bite.
- The Toxic Mist: When enraged, the Great Girros occasionally releases a lingering paralysis mist. Avoid standing in these zones at all costs.
Counter-Strategy: Do not attempt to block this lunge unless you are using a high-shield weapon like the Lance. For most melee weapons, a lateral dodge is your safest bet. If you find yourself frequently caught, prioritize "Paralysis Resistance" skills on your armor set or carry Nulberries if available in your current inventory rotation.
Managing the Pack: Don’t Fight Alone
The Great Girros is rarely solo; it is almost always accompanied by smaller Girros minions. These minions are not just background flair—they actively inflict minor paralysis and interrupt your healing animations.
Many hunters make the fatal mistake of ignoring the pack to focus solely on the boss. This is a trap. If you are mid-potion and a minion clips you, the healing is canceled, and you remain at low health while the Great Girros prepares its next attack.
Expert Tip: Spend the first 30 seconds of the encounter clearing the minions with wide-arc attacks (like the Long Sword’s Spirit Blade or Hammer’s sweep). By thinning the herd, you gain the "breathing room" required to track the boss's movement without being staggered by chip damage.
Positioning and Hitbox Exploitation
The Great Girros is a "hit-and-run" predator. If you chase it, you will lose. Instead, use positioning to force the monster to come to you.
- The Flank Strategy: Aim to stay at the monster’s side, specifically near its hind legs. This position makes you immune to its frontal biting lunge and leaves you relatively safe from its lateral tail swipe.
- Head Targeting: While the head is the most dangerous place to be, it is also the most rewarding. Landing enough damage on the Great Girros’s head will result in a "stagger" or "trip," providing you with a 5-to-10-second window to unleash your weapon’s highest DPS combos.
- Stamina Management: Never deplete your stamina bar completely. In Monster Hunter Outlanders, if you reach zero stamina, you cannot perform the emergency roll needed to exit a paralysis combo. Always keep one dash’s worth of stamina in reserve.
Weapon Selection and Optimal Playstyles
Your choice of weapon significantly changes the difficulty of this fight.
- Fast Weapons (Dual Blades/Sword & Shield): Ideal for this fight. Their mobility allows you to weave in and out of the Great Girros’s reach, and their speed makes it easy to clear the pack of minions quickly.
- Heavy Weapons (Great Sword/Hammer): These require patience. Do not overcommit to a fully charged attack unless the Great Girros has just finished its long recovery animation after a missed lunge. Focus on hit-and-run tactics; land one big hit, then sheath your weapon to reposition.
Essential Preparation Table
Before departing for the hunt, ensure your loadout is optimized to mitigate the specific risks of this area.
| Preparation Step | Why It Matters |
|---|---|
| Armor Skills | Prioritize Paralysis Resistance or Quick Sheath to recover faster. |
| Stamina Consumables | Increased stamina regeneration allows for more frequent evasive rolls. |
| Clearing Minions | Reduces the chance of being staggered during crucial recovery windows. |
| Environmental Awareness | Stay away from the narrow corridors where the Great Girros can pin you. |
Common Mistakes to Avoid
- Chasing the Monster: The Great Girros is faster than you. Let it finish its animation, then strike when it stops to gloat or reset.
- Over-committing to Combos: If you are halfway through a long animation and the monster begins its lunge, you will get hit. Learn the "limit" of your weapon’s animation time.
- Ignoring the Enrage State: When the Great Girros’s eyes glow and its movements become erratic, it is enraged. Its damage and speed increase. Play defensively during this phase until it tires out.
Mastering the Rhythm of the Hunt
The key to mastering Monster Hunter Outlanders combat is recognizing that every monster has a "loop." The Great Girros operates on a loop of: Approach -> Lunge/Bite -> Recovery -> Reposition.
Your goal is to identify the Recovery phase. This is the moment the boss lands after a failed lunge and stands still for roughly two seconds. This is your window to deal damage. By waiting for this exact moment rather than swinging at the monster while it is active, you transform a chaotic, dangerous fight into a predictable, manageable hunt.
As you become more comfortable, you will start to anticipate the Great Girros’s movements before they happen. Use this to your advantage—positioning yourself where the monster will be after its lunge rather than where it currently is. With these techniques, you will transition from a hunted player to a master hunter, consistently securing the materials needed to upgrade your gear and progress to the next challenge in Monster Hunter Outlanders.

Free Monster Hunter Outlanders Codes
Current active codes and how to redeem them.

Emily Johnson
Emily writes practical mobile strategy guides with a focus on resource planning, base progression, and the early decisions that shape a long-term account.
COMMUNITY
Player Comments
119 players commented on this guide.
This guide answered the exact question I had.
The tips are practical and easy to follow.
Can you add more details about strategy in a future update?
Nice guide. I am checking the other Monster Hunter Outlanders articles next.