
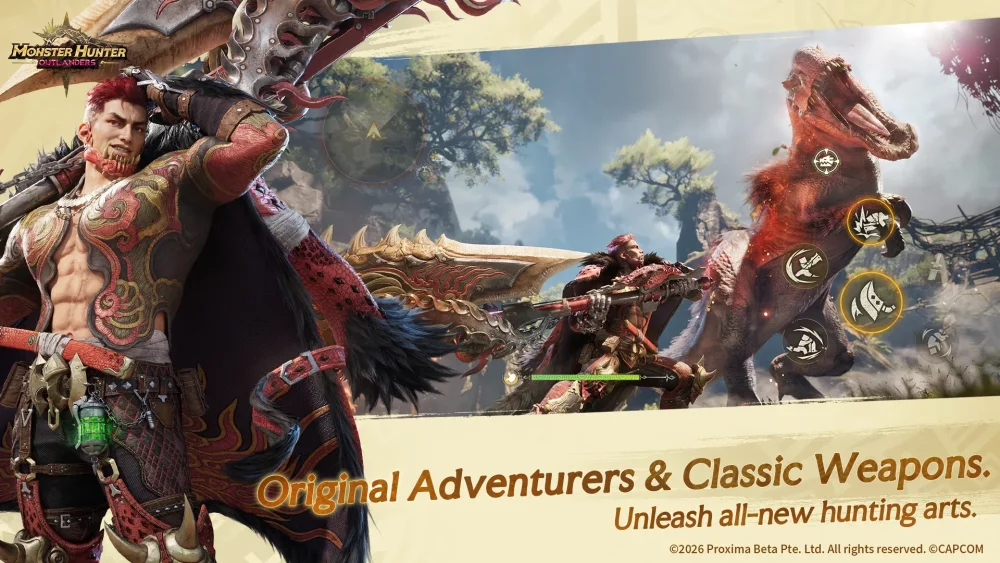
Achieving peak combat performance in Monster Hunter Outlanders requires more than just high-damage gear; it demands a deep understanding of the synergy between your weapon’s move set, animation timing, and the environmental factors of the open world. As the game enters its third Closed Beta Test (CBT3), the combat meta has shifted toward high-precision engagements where resource management determines the difference between a successful hunt and a costly retreat.
This guide breaks down the core mechanics of combat, helping you transition from a reactive player to a proactive hunter who controls the pace of every encounter.
Mastering Animation Commitment and Attack Windows
In Monster Hunter Outlanders, every weapon has a unique "animation commitment" profile. This refers to the duration your character is locked into a specific attack string. Understanding this is the most critical step to avoiding unnecessary damage.
When you initiate a heavy attack, you are essentially committing to a frame window where you cannot dodge or block. To maximize your damage output (DPS), follow these rules:
- The Probing Phase: During the start of a fight, use quick, low-commitment attacks to gauge the monster’s recovery time.
- The Punish Window: Once a monster finishes a signature move—like a tail sweep or a heavy stomp—there is a brief "recovery frame" where they are vulnerable. Only commit to your high-damage, long-animation combos during these specific windows.
- Interrupting Your Own Rhythm: If you realize you have over-committed, look for weapon-specific "sheathe" or "evade" cancel windows. While not all weapons allow this, learning your specific tool's ability to bail out of a combo can save your health bar.
Strategic Stamina Management for Evasive Maneuvers
Stamina is your lifeblood in Monster Hunter Outlanders. Because the game features large, open-world environments, players often waste stamina sprinting toward a target, only to find themselves defenseless when the monster retaliates.
Golden Rules of Stamina Usage:
- Reserve for Defense: Never drop your stamina below 30% while in close proximity to a monster. That remaining slice is your buffer for an emergency dodge.
- Use Traversal to Your Advantage: Instead of sprinting toward a monster, use the game’s mounting or ledge-climbing mechanics to gain elevation. Jumping into combat from a height not only saves stamina but often provides an opening for a jump-attack, which can trigger staggers or mounts.
- Disengage to Recover: If your stamina is empty, do not try to "dodge-roll" through the monster's attack. Instead, sprint away from the monster’s line of sight, put an obstacle between you, and wait for a full recharge.
Leveraging Target-Lock and Precise Camera Control
The open-world nature of Monster Hunter Outlanders means combat is often chaotic. The Target-Lock system is a powerful tool, but it should be used strategically rather than as a crutch.
- Locking onto Weak Points: Use the lock-on feature to focus your attacks on specific breakable parts (like the head or tail). Breaking these parts not only yields better rewards but often causes the monster to "flinch," providing a massive opening for your team.
- Manual Toggle: Be prepared to toggle the target-lock off during massive AoE (Area of Effect) attacks. If the camera is locked on a monster's head, you may lose sight of a sweeping tail attack coming from behind or the side. Situational awareness is always superior to a focused camera angle.
Analyzing Monster Telegraphs and Attack Patterns
Success in Monster Hunter Outlanders is predicated on your ability to read the "telegraph"—the subtle animation a monster performs before its attack hits. Every monster in the CBT3 has a specific set of movements that identify what they are about to do.
- The Roar/Pause: Many monsters pause and emit a roar or a specific sound before a high-damage attack. This is your cue to move to the monster's flank or rear.
- Weight Shifting: Watch the monster's center of gravity. If it leans back on its haunches, it is likely preparing a lunge or a jump. If it twists its torso, a sweeping attack is imminent.
- The Exhaustion Phase: After a prolonged period of aggression, monsters will visibly pant or slow their movement speed. This is the "Exhaustion Phase." This is when you should expend all your resources and perform your longest, most damaging combos.
Balancing Aggression with Defensive Positioning
A common mistake new players make in Monster Hunter Outlanders is "greed"—staying in the fight for one extra hit when they should be repositioning.
Decision-Making Framework:
- The Mid-Range Reset: If you are unsure of a monster’s next move, move to "mid-range." This is far enough to avoid melee hits but close enough to react to incoming projectiles or charge attacks.
- Corner Awareness: Never let a monster back you into a wall or a narrow corridor. The camera may clip, and your ability to dodge will be severely restricted. If you find yourself in a corner, prioritize movement over damage until you have reached an open area.
- Healing Safely: There is no shame in running a full screen away to sharpen your weapon or consume a potion. Taking an extra 10 seconds to recover ensures you remain in the hunt, whereas dying forces a respawn penalty that hurts your team’s overall efficiency.
By internalizing these combat mechanics, you will find that Monster Hunter Outlanders becomes much more manageable. Focus on observing the monster, managing your stamina as your primary defensive asset, and only committing to your heaviest attacks during the clear windows provided by the monster's recovery frames. Mastering these basics will not only improve your survival rate but will also accelerate your progression through the ranks of the hunter guild.

Free Monster Hunter Outlanders Codes
Current active codes and how to redeem them.

Michael Smith
Michael covers live-service games, events, reward systems, and efficient daily routines, turning frequent updates into clear actions for players.
COMMUNITY
Player Comments
119 players commented on this guide.
The explanation is clear, especially for beginners.
This saved me time in the early game.
Nice guide. I am checking the other Monster Hunter Outlanders articles next.
I wish I had read this before upgrading the wrong thing.