
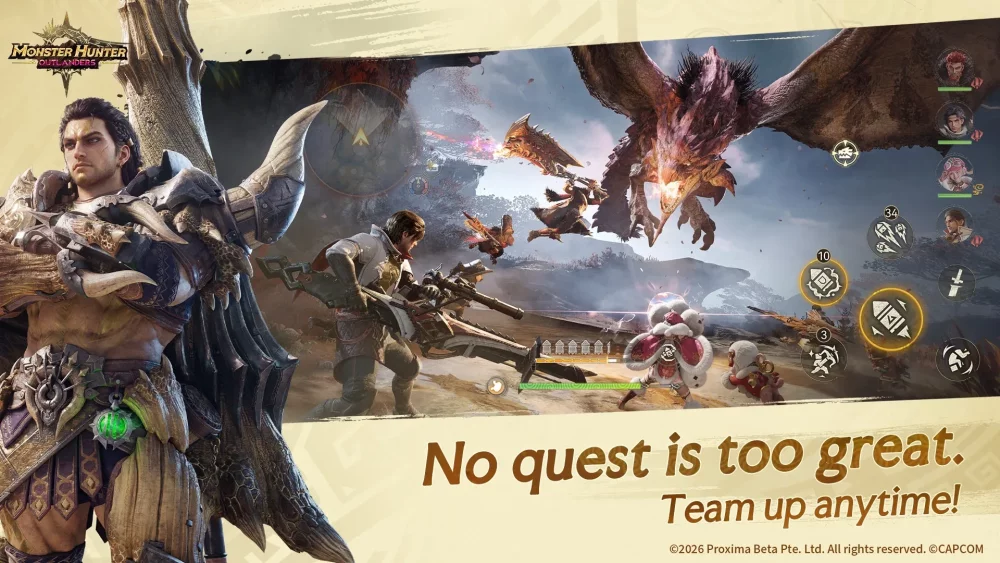
To succeed in the expansive world of Monster Hunter Outlanders, you must shift your mindset from a traditional session-based hunter to an adaptable survivalist. Unlike previous entries in the series where preparation occurs strictly before the hunt, Monster Hunter Outlanders emphasizes the importance of field-based resource management. Mastering the delicate balance between gathering raw materials, synthesizing essential consumables on the fly, and managing your inventory is the key to maintaining momentum in the wild.
The Foundation: Efficient Field Gathering Mechanics
In Monster Hunter Outlanders, the environment is your primary source of longevity. Survival is not just about defeating monsters; it is about ensuring you have the supplies to withstand the trials of the wilderness.
- Node Recognition: Learn to spot the visual cues for harvestable nodes. Herbs, minerals, and bone piles often have distinct glows or textures that differ from the surrounding flora and fauna.
- Integrated Pathing: Do not treat gathering as a separate activity. Instead, incorporate it into your movement. When traveling between quest markers or tracking a monster, hug the edges of the map or explore rocky outcrops where rare resources frequently spawn.
- Prioritization: Not all materials are created equal. In the early game, focus on primary medicinal herbs and sharpening stones. As you progress into higher-tier biomes, prioritize rare ores and monster-specific drops that are required for upgrading your primary gear sets.
By making gathering a passive habit rather than a dedicated chore, you ensure your resource pouches remain stocked, preventing the need for costly trips back to base camp.
Mastering Mid-Hunt Item Synthesis
The hallmark of Monster Hunter Outlanders is the ability to craft items while in the field. This system allows for "infinite" expeditions if managed correctly, as you can replace used consumables using materials scavenged nearby.
The Synthesis Workflow
To effectively manage synthesis during a hunt, keep these strategies in mind:
- Hotkey Management: Familiarize yourself with the crafting menu shortcuts. In the heat of combat, you cannot afford to navigate complex sub-menus. Assign your most frequently crafted items—such as Potions, Mega Potions, and Whetstones—to your quick-access slots.
- Resource Cycling: Maintain a "baseline" inventory. Always keep a reserve of basic materials (like herbs and blue mushrooms) that can be instantly combined into healing items. Never let your stock of base ingredients drop to zero.
- Inventory Pruning: As your inventory fills, you will eventually reach a capacity limit. Periodically review your bag and discard low-tier items that are easy to re-acquire, such as common insects or low-grade ores, to make room for rare monster parts that you cannot harvest twice.
Leveraging Environmental Tools for Tactical Advantage
The open-world design of Monster Hunter Outlanders offers more than just gathering nodes; it provides interactive environmental elements that can drastically shift the tide of a battle.
- Hazardous Flora: Many environments contain explosive or poisonous plants. If you can lure a monster into these hazards, you can trigger massive bursts of damage or status effects without wasting your own resources.
- Terrain-Based Trapping: Use your crafted traps in chokepoints. If you are being pursued or need a window to sharpen your weapon, leading a monster into a narrow corridor where you have placed a trap is a hallmark of an expert hunter.
- Resource Conservation: The more you use the environment to chip away at a monster's health, the less you rely on your weapon's sharpness and your limited ammunition supply. This "tactical synergy" is what separates veteran players from novices.
Strategic Decision Making: Exploration vs. Combat
The most common mistake players make in Monster Hunter Outlanders is neglecting the environment in favor of rushing toward the target monster. If you arrive at a boss encounter with a depleted inventory and no materials to craft replenishment items, your hunt will likely end in a failure.
The "Gathering Loop" Strategy
To maintain a high success rate, adopt the "Gathering Loop" rhythm:
- The Approach: Spend the first 5–10 minutes of every expedition gathering materials relevant to the biome. Look for items that replenish your consumables.
- The Engagement: Once your health and stamina reserves are topped off, proceed to track your target.
- The Recovery: After a phase transition or a monster fleeing, use the brief window of downtime to scavenge the immediate area again. This ensures you are always prepared for the final phase of the fight.
Avoiding Common Pitfalls
- Hoarding Mentality: Do not save your rare items for a "better time." In Monster Hunter Outlanders, if you are in a difficult fight, use your high-tier traps and buffs. The materials to craft them are meant to be consumed and replaced.
- Ignoring Crafting Requirements: Before embarking on a quest, check which items are required for your specific build. If your weapon requires a lot of sharpening, prioritize gathering whetstone materials before searching for the monster.
- Inventory Clutter: A full bag is a death sentence. If you are struggling to manage your inventory, spend time at base camp sorting your materials into your chest. Only carry what is essential for the specific biome and monster you are targeting.
By mastering these survival mechanics, you transform Monster Hunter Outlanders from a daunting challenge into a rewarding experience of preparation and execution. Whether you are hunting small prey or tracking apex monsters, your ability to thrive off the land is your greatest weapon. Keep your materials stocked, your synthesis quick-access list clean, and your eyes on the environment, and you will dominate the wilds.

Free Monster Hunter Outlanders Codes
Current active codes and how to redeem them.

Michael Smith
Michael covers live-service games, events, reward systems, and efficient daily routines, turning frequent updates into clear actions for players.
COMMUNITY
Player Comments
120 players commented on this guide.
I tried this today and it worked better than my old setup.
This helped me understand strategy much better.
Good guide for Monster Hunter Outlanders players. The strategy part was useful.
The explanation is clear, especially for beginners.