
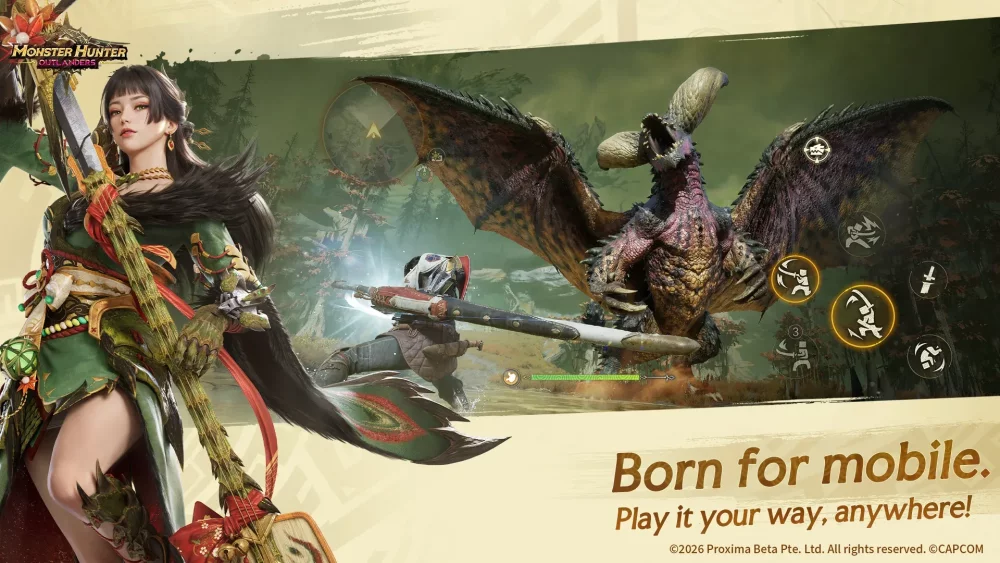
In Monster Hunter Outlanders, the Great Sword is the quintessential weapon for hunters who value precision, heavy impact, and deep mechanical knowledge over raw speed. While its movement speed while drawn is sluggish, the weapon compensates with unparalleled burst damage and the ability to shatter monster parts with ease. To truly master the Great Sword, you must shift your mindset from a reactive combatant to a proactive strategist who dictates the rhythm of the fight by exploiting monster recovery windows.
Understanding the Great Sword Mechanics
The Great Sword operates on a simple but punishing system: high-commitment animations that deal devastating damage. Unlike faster weapons like the Dual Blades or Sword and Shield, which rely on cumulative DPS, the Great Sword is an "opportunity-cost" weapon.
Every swing requires a significant animation lock. If you initiate a swing without verifying the monster’s state, you are likely to be punished. The core mechanic involves managing your Charge Levels. By holding the attack button, you trigger multiple stages of charging. Releasing at the third stage—the "True Charge"—deals significantly more damage than a standard swing. The key to success is identifying exactly how long a monster remains stationary after a signature attack and timing your hold so the blade connects at the peak of its charge exactly when the monster is most vulnerable.
Strategic Positioning and Spacing
Because you cannot dance around the monster, you must learn to "pre-position." Effective Great Sword users in Monster Hunter Outlanders do not chase the monster; they wait for the monster to come to them.
- The Medium-Distance Rule: Keep your character at a medium distance while the weapon is sheathed. This allows you to sprint into position the moment the monster finishes an attack.
- Peripheral Circling: Never stand directly in front of a monster's face unless you are committed to a strike. Circle the monster's perimeter, keeping an eye on its head movements.
- Anticipatory Movement: If a monster is about to perform a sweeping breath attack, rotate your character to where the monster’s head will end up after the animation, not where it is currently. This allows you to begin your charge early and release just as the monster finishes its turn.
Mastering Animation Commitments
The biggest trap for new Great Sword players is the "greedy hit"—trying to fit in a third charge when the monster only gives you enough time for a level one.
- Read the Telegraph: Every monster in Monster Hunter Outlanders has distinct "wind-up" animations. Learn these. If a creature tenses its muscles, it is preparing for a high-damage counter.
- The Sheathe-Run Strategy: Never move long distances with the weapon drawn. If you need to reposition, sheathe the weapon immediately. You move significantly faster while sheathed, which is essential for escaping area-of-effect (AoE) attacks.
- Commitment Mitigation: If you realize you have mistimed your charge, do not be afraid to release early or roll out of the animation if the game mechanics permit. Taking a smaller hit is always better than taking a full-force monster attack while locked in a slow swing.
Part Breaking and Tactical Target Selection
One of the most satisfying aspects of the Great Sword is its ability to break monster parts—such as wings, tails, or horns—more efficiently than most other weapons. This is vital for farming rare materials in Monster Hunter Outlanders.
- Focus Fire: Do not spread your damage across the monster’s body. Pick one weak point (the head is often the most vulnerable) and stick to it for the duration of the fight.
- The Stagger Chain: Landing heavy charged attacks on a monster’s legs or head can trigger a "stagger" or "trip." Once you learn the damage threshold required to cause these staggers, you can effectively "lock" a monster in place, creating a loop where your damage output prevents the monster from ever retaliating.
Advanced Combat Tips for Challenging Bosses
When facing high-tier bosses like the Radiant Prismatic Dragon, standard tactics may need to evolve. These monsters often have hyper-aggressive phases that leave very little downtime.
- Observe Teammate Synergy: In group hunts, let your faster-attacking teammates draw the monster's aggression. While the monster is focused on them, you have the freedom to position yourself for a full-charge strike on the tail or head.
- Environmental Awareness: Use the terrain to your advantage. If the map has slopes or ledges, utilize jumping attacks to build up mounting damage. A mounted monster is the ultimate opening for a Great Sword user to land a full combo without fear of interruption.
- Resource Management: Keep an eye on your stamina. Even though the Great Sword doesn't use stamina for standard swings, you need it for dodging. If you are low on stamina, play defensively until you have enough to perform a quick roll after your strike.
Common Mistakes to Avoid
- Over-Charging: Just because you can charge to the maximum level doesn't mean you should. A level-one charge that actually hits the monster is infinitely better than a level-three charge that misses because the monster moved away.
- Neglecting Sheathing: Staying in the fight with your weapon drawn when you should be running is the fastest way to get carted. Master the habit of sheathing as soon as your attack lands or if the situation turns dangerous.
- Ignoring Weak Spots: The Great Sword is a precision instrument. Hitting a hardened shell will result in significant damage reduction and potentially bounce your blade, leaving you open. Always target the glowing or fleshy parts of the monster to ensure maximum damage.
By focusing on these principles—patience, perfect timing, and surgical part-targeting—you will transform from a novice hunter into a formidable force in Monster Hunter Outlanders. Remember, the Great Sword is not about how many times you swing, but how much impact each swing carries. Stay patient, observe your prey, and wait for the perfect moment to strike.

Free Monster Hunter Outlanders Codes
Current active codes and how to redeem them.

Michael Smith
Michael covers live-service games, events, reward systems, and efficient daily routines, turning frequent updates into clear actions for players.
COMMUNITY
Player Comments
44 players commented on this guide.
This helped me understand strategy much better.
This guide answered the exact question I had.
The explanation is clear, especially for beginners.
This saved me time in the early game.