
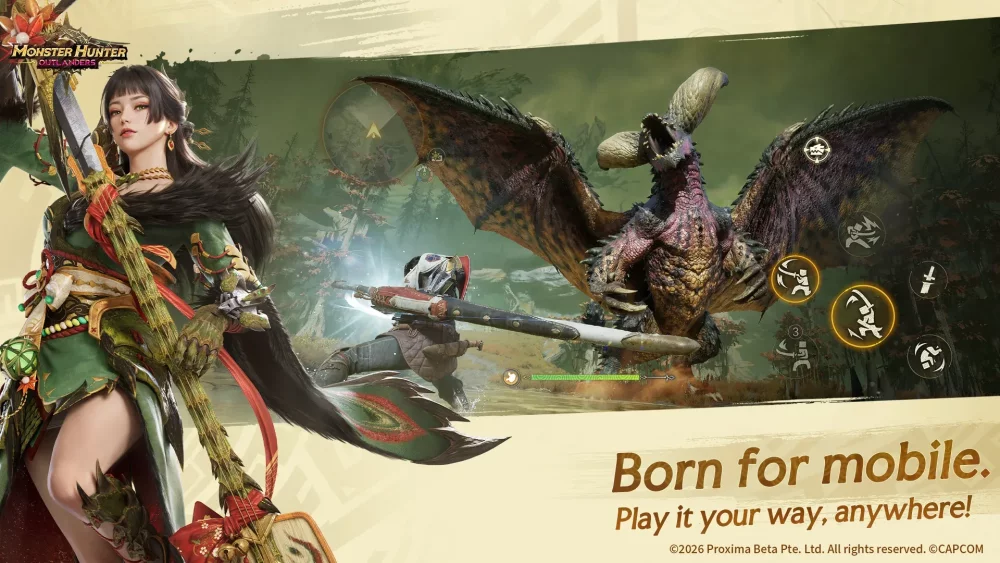
In Monster Hunter Outlanders, the Great Sword is the quintessential weapon for hunters who value methodical precision over chaotic button-mashing. While other weapons rely on constant movement or rapid-fire combos, the Great Sword functions as a surgical tool, demanding that you understand the rhythm of a monster's aggression to land devastating, heavy-hitting strikes. Success with this weapon is not about how many times you swing, but how effectively you position yourself to maximize the damage of every singular charge.
Understanding the Great Sword Evasion Rhythm
The Great Sword’s mobility is deceptive. Because your movement speed while unsheathed is significantly reduced, you cannot rely on "panic rolling" to escape danger. Instead, you must treat your evasion as a fundamental component of your offensive cycle.
In Monster Hunter Outlanders, an effective dodge is not just a defensive maneuver; it is a repositioning tool that puts you directly into the monster's "blind spot" or weak zone. To master this rhythm:
- Study the Telegraph: Every monster in Monster Hunter Outlanders has a specific "wind-up" animation before a major attack. Learn to distinguish these from minor movements.
- The "Wait-and-Dodge" Approach: Avoid rolling early. If you roll too soon, you’ll be in your recovery animation exactly when the monster’s hitbox lands. Practice dodging into or past the attack to minimize the distance you need to cover to reach the monster’s head or tail.
- Stamina Management: Since the Great Sword requires stamina for both dodging and charging, never burn your entire bar on defensive rolls. Always keep a sliver of stamina available to perform a charged strike immediately after the monster finishes its animation.
Maximizing Damage Through Charge Timing
The Great Sword’s true power is unlocked through its charged attacks. Mastering the timing of these charges is the difference between chipping away at a monster and breaking its parts for massive damage.
When you hold the attack button, your character enters a charging stance. You will notice distinct pulses or "stages" as the sword glows. Releasing the button at the peak of this charge delivers a massive motion-value multiplier.
- Don’t Greed the Charge: It is better to land a Level 2 charge that hits a weak spot than a Level 3 charge that misses because the monster moved.
- Visual and Audio Cues: Monster Hunter Outlanders provides clear visual feedback on your weapon when a charge is optimal. Train your eyes to watch your character model’s posture and the weapon's shimmer rather than the monster itself during the charge.
- The "Commitment" Rule: If a monster begins to charge an attack of its own while you are mid-swing, learn to abort or transition into a defensive roll if possible. Great Sword users who overcommit to a full charge against an aggressive boss often find themselves "carting" before they can finish their animation.
Implementing Reactive Counter-Attack Strategies
The "Adept-style" of play, which emphasizes last-second evades to trigger powerful follow-up counters, is highly effective in Monster Hunter Outlanders. This strategy relies on your knowledge of the weapon's reach.
To implement this, you must stop viewing the monster’s attack as a reason to retreat. Instead, view it as an opportunity to set up your own swing. As a monster lunges, perform your dodge at the last possible frame to trigger your evasion window. If timed correctly, you should be perfectly positioned to begin your charge attack while the monster is still stuck in the recovery frames of its own move.
This reactive style of play is what separates novice hunters from masters. By clipping the monster’s hitbox with the tip of your sword during their recovery phase, you maintain constant, high-pressure DPS that forces monsters into a "flinch lock" state.
Limitations and Trade-offs: When to Sheathe
The most common mistake new Great Sword players make in Monster Hunter Outlanders is staying unsheathed for too long. If you aren't in the middle of a combo, you should generally be looking to sheathe your weapon.
- Mobility: A sheathed weapon allows you to sprint, which is necessary for dodging wide-area-of-effect (AoE) attacks and repositioning quickly across the arena.
- The Engagement Loop: The standard loop for an expert Great Sword user is: Sheathe -> Sprint to Weak Point -> Draw Attack -> Combo/Charge -> Dodge -> Sheathe.
- Managing Aggression: If you find yourself constantly hit by a boss like the Radiant Prismatic Dragon, you are likely failing to sheathe. Treat the Great Sword like a sniper rifle rather than a submachine gun; you are not looking for sustained contact, but for the perfect moment to deliver a high-damage blow before resetting your position.
Advanced Tips for Challenging Boss Encounters
When fighting massive bosses, your target priority should always be the monster's weak points. In Monster Hunter Outlanders, weak point hits don't just deal more damage; they often contribute to "part breaks," which can stagger the monster and provide you with a long window for a full, uninhibited combo.
Decision-Making Table for Combat
| Situation | Recommended Action | Why? |
|---|---|---|
| Monster is reeling/staggered | Full Charge (Level 3) | Maximum DPS opportunity. |
| Monster is mid-combo | Sheathe and Sprint | Avoid damage; reset position. |
| Monster is winding up a slow attack | Last-second dodge to counter | Punishes the monster's recovery frames. |
| You are out of stamina | Defensive repositioning | Never trade blows if you cannot dodge out. |
Final Thoughts: The Discipline of the Great Sword
Mastering the Great Sword in Monster Hunter Outlanders is a journey of discipline. You must learn to ignore the urge to attack constantly. Instead, focus on the flow of the hunt: observe the monster, identify the opening, deliver a heavy blow, and immediately reposition. By balancing your uptime with the necessity of sheathing, you will find that the Great Sword is not just a slow, heavy tool, but a precise instrument of destruction capable of taking down the most fearsome monsters in the game. Keep practicing your timing, watch the monster’s animations, and never underestimate the power of a well-placed, fully charged strike.

Free Monster Hunter Outlanders Codes
Current active codes and how to redeem them.

Sarah Williams
Sarah specializes in RPG and collection games, explaining team building, character growth, and beginner-friendly ways to avoid expensive early mistakes.
COMMUNITY
Player Comments
107 players commented on this guide.
I wish I had read this before upgrading the wrong thing.
This helped me understand strategy much better.
This guide answered the exact question I had.
Nice guide. I am checking the other Monster Hunter Outlanders articles next.