
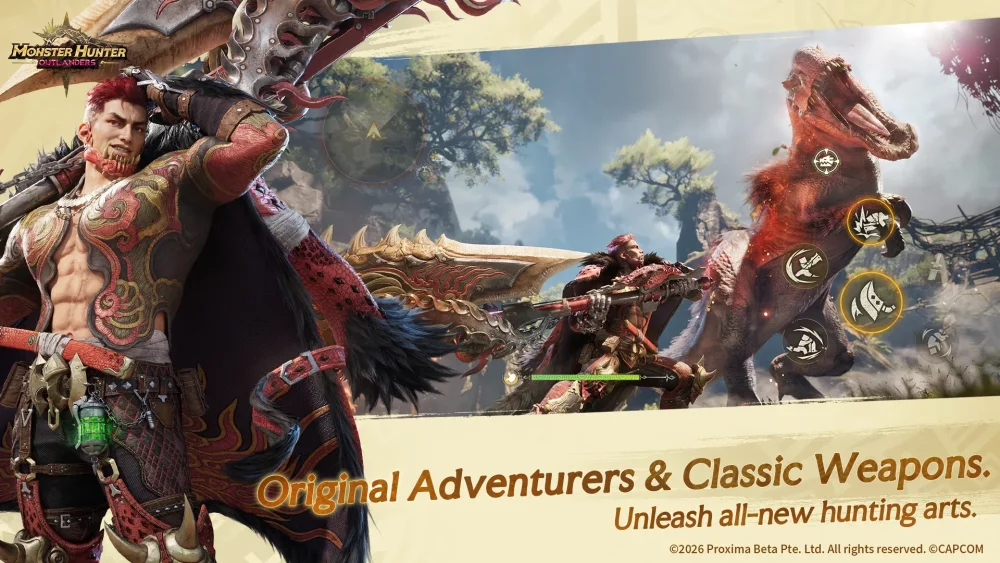
To conquer the most daunting challenges in Monster Hunter Outlanders, players must transition from a casual playstyle to one rooted in precision, patience, and tactical awareness. Much like the high-stakes legacy of the mainline series, this mobile entry demands that hunters treat every encounter as a calculated dance rather than a button-mashing exercise. Success is not determined by raw damage output alone, but by your ability to read complex monster patterns, leverage the terrain, and manage your defensive resources under extreme pressure.
The Philosophy of Reactive Combat
The primary hurdle in Monster Hunter Outlanders is the shift in monster behavior during late-game encounters. Bosses are designed to punish over-commitment; if you are caught mid-animation during a long combo when a monster begins its telegraph, you will likely take significant damage or faint.
- Study the Wind-up: Every high-difficulty monster has distinct animation cues before a major attack. Spend your first few attempts at a new boss strictly observing these cues rather than trying to optimize your DPS.
- The Hit-and-Run Protocol: Adopt a rhythmic approach. Engage only when the monster finishes a sequence. Landing two safe hits is always superior to landing a full combo that leaves you vulnerable to a follow-up attack.
- Prioritize Uptime Over Burst: If you find yourself consistently fainting, prioritize defensive uptime. You cannot deal damage while you are knocked out or running back to the arena.
Mastering Spatial and Environmental Awareness
In Monster Hunter Outlanders, the battlefield is your greatest weapon. High-difficulty monsters possess wide-reaching hitboxes that can track you through standard dodges. To survive, you must master the verticality and interactable elements of the map.
Utilizing Environmental Triggers
Always scout the arena before engaging. Look for:
- Traps and Flora: Many biomes contain natural hazards that can stun or inflict status effects on large monsters. Luring a boss into a trap creates a "damage window" where you can focus on weak points without fear of retaliation.
- Verticality: If a monster is using a wide-area sweeping attack, use terrain elevation to your advantage. Jumping from a ledge or utilizing a slope to initiate an aerial attack can often put you in a blind spot where the monster’s primary attack animations cannot reach you.
Advanced Resource Management: The Art of Healing
One of the most common mistakes in Monster Hunter Outlanders is "panic healing." When your health drops below 40%, the temptation to immediately use a potion is high, but this is often when the monster is most aggressive.
- The Safe Window Rule: Never consume a healing item unless you have successfully dodged a monster's attack or it is currently mid-recovery animation.
- Animation Canceling: Learn the specific timing of your character’s item usage. If you are caught healing while the monster is tracking you, you are essentially gifting them a free hit.
- Passive Mitigation: If a specific boss is consistently wiping your team, re-evaluate your gear. While offensive builds are popular, slotting in armor with improved stamina regeneration or elemental resistance can provide the "buffer" you need to survive a mistake that would otherwise result in a quest failure.
Adapting to Evolving Monster Aggression
As you progress, monsters will shift into "enraged" states. During these phases, their movement speed increases, and their attack telegraphs become significantly shorter.
Recognizing State Changes
Watch for visual indicators—such as glowing eyes, smoke, or a change in roar volume—that signal a monster has entered an enraged state. During this time:
- Switch to Evasion: Shift your mindset from aggressive pursuit to defensive survival. Do not attempt to land heavy finishers; instead, look for openings to land quick, light strikes.
- Manage Stamina: Enraged monsters force you to roll more often. Monitor your stamina bar closely; if you run out of stamina while trying to dodge an enraged boss’s follow-up attack, you will be unable to block or iframe through the hit.
- Patience Wins: Remember that an enraged state is temporary. If you play defensively and avoid taking damage for a set duration, the monster will eventually exhaust itself, creating the perfect opportunity for you to unleash your heaviest attacks.
Decision Making: The "Greed" Factor
The most frequent cause of defeat in Monster Hunter Outlanders is greed. Players often attempt to squeeze in "just one more hit" before a monster’s recovery animation ends.
To break this habit, ask yourself: Is this hit worth the risk of taking a major counter-attack? If the monster is near death, the urge to finish the fight quickly is strong, but dying at 5% health is a catastrophic outcome. Play with the same caution at the end of the fight as you did at the beginning. By dictating the pace of the encounter—moving from reactive defense to calculated offense when the monster is exhausted—you retain control of the combat flow, ensuring that even the most difficult bosses become manageable through strategy rather than sheer luck.
Final Expert Tips for Success
- Watch the Pros: If you are struggling with a specific boss like the Radiant Prismatic Dragon, watch high-level players. Pay close attention to where they stand in relation to the monster. Positioning is often more important than reaction time.
- Settings Optimization: Ensure your camera sensitivity and control layout are tuned for fast, accurate movement. In a game that relies heavily on positioning, having a camera that moves too slowly or too erratically can lead to unnecessary deaths.
- Consistent Practice: Don't get discouraged by failed hunts. Every failure in Monster Hunter Outlanders provides data on the monster's attack patterns. Use that information to refine your approach, adjust your gear, and return to the hunt stronger than before.

Free Monster Hunter Outlanders Codes
Current active codes and how to redeem them.

Michael Smith
Michael covers live-service games, events, reward systems, and efficient daily routines, turning frequent updates into clear actions for players.
COMMUNITY
Player Comments
124 players commented on this guide.
The explanation is clear, especially for beginners.
Nice guide. I am checking the other Monster Hunter Outlanders articles next.
Can you add more details about resources in a future update?
This helped me understand resources much better.