
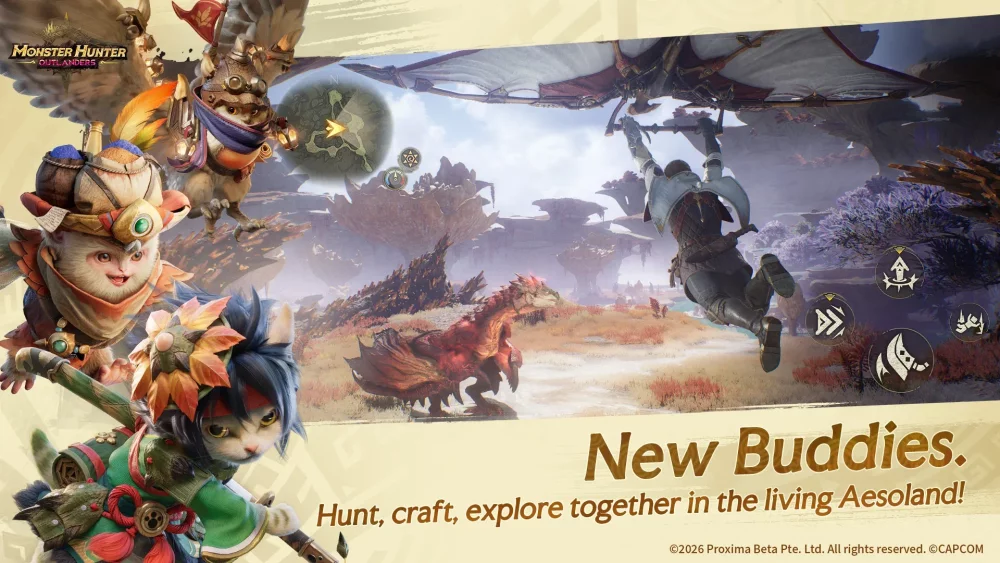
In Monster Hunter Outlanders, success on the field is defined by your mastery of character-specific skill kits. Unlike traditional entries in the franchise where combat identity is tied almost exclusively to weapon selection, Monster Hunter Outlanders introduces distinct hunter-bound abilities, active skills, and powerful ultimates. Understanding these mechanics is the key to transitioning from a novice hunter to an elite combatant capable of taking down the most fearsome monsters, such as the Radiant Prismatic Dragon.
Mastering Hunter-Specific Combat Abilities
Every hunter in Monster Hunter Outlanders possesses a unique mechanical identity. Some hunters are built for hyper-aggressive, high-mobility playstyles, while others serve as anchors, providing defensive utility or sustained damage.
To master your hunter, you must treat your skill kit as a choreographed dance rather than a simple button-mashing exercise. Each active ability has a specific "animation commitment." This refers to the time your character is locked into a move, unable to dodge or reposition. You must learn the visual cues for these animations to identify the "safe zones" in a monster's attack pattern. If you commit to a high-damage, long-animation skill while a monster like the Radiant Prismatic Dragon is winding up a tail swipe, you will be punished. The most skilled players treat their skill animations as a resource to be spent only when they are certain of a monster's recovery frame.
Evaluating Active Skill Utility and Cooldown Management
Active skills serve as your primary toolkit for part-breaking and stagger-locking monsters. Because these abilities operate on cooldowns, they should never be used haphazardly. Instead, think of your skill rotation as a strategic flow chart:
- Gap Closers: Use these to initiate combat or recover your position when a monster leaps away.
- Stagger Builders: Focus these skills on specific monster parts (head, tail, legs) to maximize the likelihood of a trip or flinch.
- Cooldown Syncing: Do not dump all your active skills at once unless the monster is incapacitated. By staggering your skill usage, you ensure that you always have a tool available to counter a monster's unexpected aggression.
- Distance Management: For ranged hunters, your active skills often have "sweet spot" ranges. Practice in the training area to understand the effective distance of your projectiles, as hitting from too far or too close often results in reduced damage multipliers.
Leveraging Ultimate Abilities for Maximum Impact
Ultimate abilities are the most powerful moves in Monster Hunter Outlanders, and they represent your highest potential for burst damage. Because they require a full charge through successful combat engagement, treating them as disposable moves is a major strategic error.
To maximize your Ultimate’s effectiveness:
- Wait for the Knockdown: The best time to deploy an ultimate is when the monster is downed or staggered. This guarantees that your full animation connects with the monster’s weakest hit zones.
- AI Pattern Tracking: If you cannot wait for a knockdown, observe the monster's AI. Most large monsters in Monster Hunter Outlanders have predictable "idle" windows after performing a massive area-of-effect attack. Use your ultimate immediately following these windows.
- Risk vs. Reward: If your ultimate involves a long wind-up, recognize that you are essentially trading your mobility for damage. Only commit if your health pool is sufficient to survive a potential trade, or if you are confident that the monster’s next move is a non-threatening roar or repositioning phase.
Managing Combat Limitations and Stamina
The depth of Monster Hunter Outlanders lies in the interplay between your skill kit and your basic combat maneuvers. New players often fall into the trap of over-relying on active skills, ignoring the fundamental need for standard weapon attacks.
Standard attacks are your "filler" moves. They allow you to stay engaged with the monster, build your ultimate gauge, and observe attack patterns without locking yourself into long, vulnerable animations. If you burn all your skills immediately and find yourself out of position, you have no way to defend yourself. Maintaining a "hybrid rhythm"—weaving two or three standard attacks between each skill activation—keeps your character mobile and your damage flow consistent. Always keep a portion of your stamina bar reserved; if you empty it entirely, you lose the ability to dodge, which is a death sentence against high-tier bosses.
Strategic Selection for Team Composition
In cooperative multiplayer, your hunter selection becomes a strategic asset. Monster Hunter Outlanders rewards teams that balance their roles effectively. Before a hunt begins, assess the team lobby:
- The Damage Dealer: If your team has heavy crowd control (e.g., hunters with traps or paralysis skills), select a hunter with high-burst ultimate damage to capitalize on the openings your teammates create.
- The Support/Utility: If your team is struggling with mobility, choose a hunter who can force staggers or provide crowd control to keep the monster grounded.
- The Ranged Anchor: In fights against mobile or flying monsters, a ranged hunter is essential to maintain DPS uptime while melee characters are busy repositioning.
Your role is not static. Being a "senior" hunter means having at least two hunters mastered: one melee-focused and one ranged. This versatility allows you to adapt to the team composition and the specific weaknesses of the monster you are hunting, ensuring that your group clears the encounter with as little risk as possible.
Final Pro-Tips for Combat Optimization
- Settings Adjustment: Ensure your camera sensitivity and target-lock settings are configured for your preferred playstyle. If you play a melee hunter, high sensitivity is vital for tracking monsters that move behind you.
- Training Room Usage: Never take a new hunter into a high-stakes hunt without testing their animation locks in the training room. Understanding the "cancel frames" of your skills can be the difference between a successful hunt and a cart back to camp.
- Part-Break Focus: Always prioritize breaking monster parts over raw damage output. Breaking parts not only grants additional rewards but also reduces the threat level of the monster by limiting its attack range or mobility.
By internalizing these mechanics, you will find that Monster Hunter Outlanders offers a deep, rewarding combat experience that rewards patience, timing, and strategic team play. Whether you are hunting solo or in a squad, your ability to manage your skills and respect the monster’s patterns will determine your success in the wilds.

Free Monster Hunter Outlanders Codes
Current active codes and how to redeem them.

Emily Johnson
Emily writes practical mobile strategy guides with a focus on resource planning, base progression, and the early decisions that shape a long-term account.
COMMUNITY
Player Comments
97 players commented on this guide.
This guide answered the exact question I had.
This helped me understand strategy much better.
Nice guide. I am checking the other Monster Hunter Outlanders articles next.
This saved me time in the early game.