
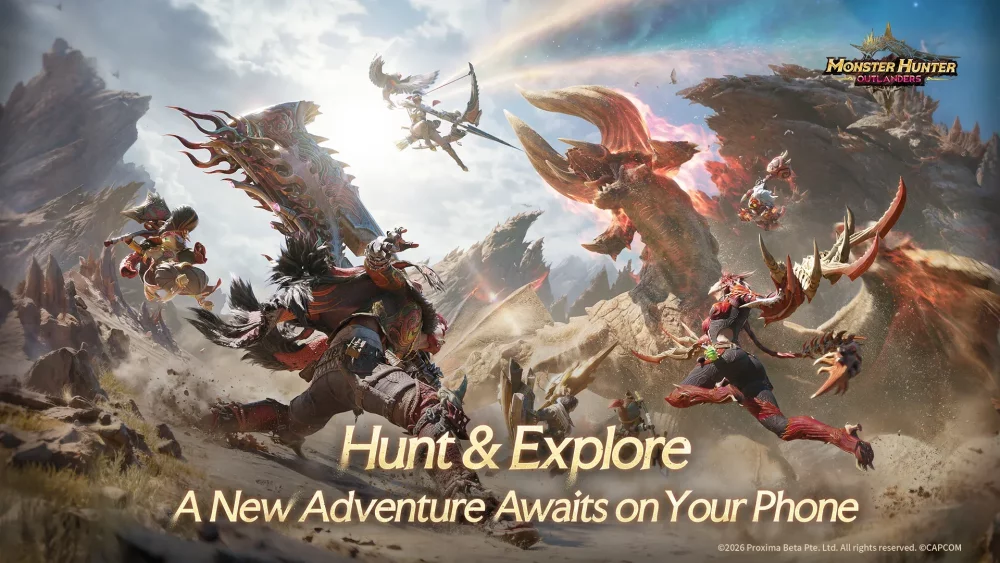
In Monster Hunter Outlanders, your weapon is more than just a tool for dealing damage; it is the primary engine of your gameplay identity. Each weapon class functions on a specific "combat loop"—a cadence of movement, special actions, and recovery that defines how you engage with the game’s apex predators. Mastering these weapons requires moving beyond simple button-mashing to understand the specific mechanical windows and tactical advantages inherent in your gear.
This guide provides an authoritative breakdown of the four featured weapons in Monster Hunter Outlanders, detailing how to leverage their unique special actions to dominate every hunt.
Great Sword: Precision and Heavy Impact
The Great Sword is the quintessential "hit-and-run" weapon, rewarding players who possess deep knowledge of monster behavior. In Monster Hunter Outlanders, its identity is built around the charge-up mechanic.
The Mechanics of the Charge
The Great Sword’s power lies in its ability to charge strikes to varying levels. A fully charged attack deals significantly more damage than a standard swing, but it leaves you vulnerable. The key to effectiveness is "anticipatory positioning"—predicting where the monster’s head or weak point will be in three seconds, rather than where it is now.
- Recovery Management: Never commit to a full charge combo if the monster is mid-enrage. Use the weapon’s weight to your advantage by timing single, high-damage strikes just as the monster finishes an animation.
- The Power Sheathe Strategy: If you find yourself out of position, do not hesitate to sheathe. The Great Sword’s mobility is limited when drawn; sheathing allows you to reposition rapidly, keeping you safe until the next opening presents itself.
Dual Blades: Speed and Elemental Application
Dual Blades are designed for players who thrive on high-tempo gameplay. They rely on "Demon Mode," a state that transforms your movement and attack speed at the cost of constant stamina consumption.
Maintaining Demon Mode Uptime
The goal with Dual Blades is to reach a state of "Archdemon" or "Demon" status where your hit count becomes overwhelming. Because this weapon excels at applying elemental damage and status effects, your primary objective is to keep your blades in contact with the monster as often as possible.
- Stamina Discipline: The most common mistake is entering Demon Mode with a full bar and draining it completely, leaving you unable to dodge. Learn to toggle Demon Mode off just before your stamina hits zero. This allows for a faster regeneration window while keeping you in the fray.
- Targeting Weakness: Because you hit so frequently, Dual Blades are the best tool for chipping away at monster weak points or breaking parts that require multiple hits, such as tails or claws.
Heavy Bowgun: Ranged Dominance and Positioning
The Heavy Bowgun is a tactical powerhouse that shifts the game from a melee brawl to a ranged engagement. Success here relies on battlefield awareness and ammunition management.
Battlefield Control
While melee hunters must worry about hitboxes, the Heavy Bowgun user must worry about line-of-sight and reload timing. You are the team’s artillery; your job is to keep the monster at a distance while cycling through specialized ammo types.
- The Reload Cycle: Every Heavy Bowgun has a specific reload speed. Never attempt a full reload while a monster is focused on you. Use environment objects, such as large pillars or elevated ledges, to break the monster's line-of-sight before committing to a reload.
- Ammo Economy: Know your inventory. Save your high-damage or status-effect rounds (like Sleep or Paralysis) for when the monster is enraged or when the team needs an opening to break a difficult part.
Long Sword: Counter-Attacking and Fluidity
The Long Sword is the master of "flow." It is perhaps the most technical weapon in the game because it turns the monster’s offense into your own opportunity.
Mastering the Spirit Gauge
The Long Sword relies on the Spirit Gauge, which fills as you land successful hits. By performing the correct special inputs, you can spend this gauge to unleash powerful Spirit Slashes or, more importantly, execute counter-attacks that negate incoming damage.
- The Counter Window: The Long Sword features a "parry" or counter-move that, when timed with a monster’s attack, results in zero damage taken and an immediate follow-up strike. This is the weapon’s highest skill ceiling.
- Maintaining Momentum: Do not let your Spirit Gauge drop. If you find yourself forced to retreat, use your sheath-dash moves to close the distance instantly. The Long Sword is at its best when you are stuck to the monster like glue, constantly parrying its attacks to keep your damage multiplier at its peak.
Strategic Comparison: Which Weapon to Main?
Choosing the right weapon in Monster Hunter Outlanders depends on your preference for risk and engagement range.
| Weapon | Complexity | Primary Role | Best For |
|---|---|---|---|
| Great Sword | Moderate | Burst Damage | Players who enjoy tactical, calculated strikes. |
| Dual Blades | Low/Med | Sustained DPS | Aggressive players who enjoy mobility. |
| Heavy Bowgun | High | Ranged Support | Tacticians who prefer controlling the field. |
| Long Sword | High | Counter-Offense | Players who enjoy rhythmic, defensive play. |
Common Mistakes and Pro-Tips
- Ignoring the Environment: In Monster Hunter Outlanders, the terrain is part of your kit. Use ledges for jumping attacks and slopes for sliding strikes.
- Healing Too Early: Many players panic-heal the moment they take a hit. Observe the monster; often, there is a "safe" window after an attack where you can heal without being interrupted.
- Over-committing: Whether you are using the Great Sword or the Long Sword, the biggest cause of failure is finishing a combo when the monster is clearly telegraphing a counter-attack. A "greedy" player is a carted player.
By focusing on these mechanical identities, you will find that Monster Hunter Outlanders becomes less about reacting to chaos and more about dictating the terms of the hunt. Spend time in the training area to normalize the inputs for your chosen weapon, and you will see your hunt times drop significantly as your proficiency grows.

Free Monster Hunter Outlanders Codes
Current active codes and how to redeem them.

Michael Smith
Michael covers live-service games, events, reward systems, and efficient daily routines, turning frequent updates into clear actions for players.
COMMUNITY
Player Comments
111 players commented on this guide.
This saved me time in the early game.
This helped me understand strategy much better.
I wish I had read this before upgrading the wrong thing.
The explanation is clear, especially for beginners.