
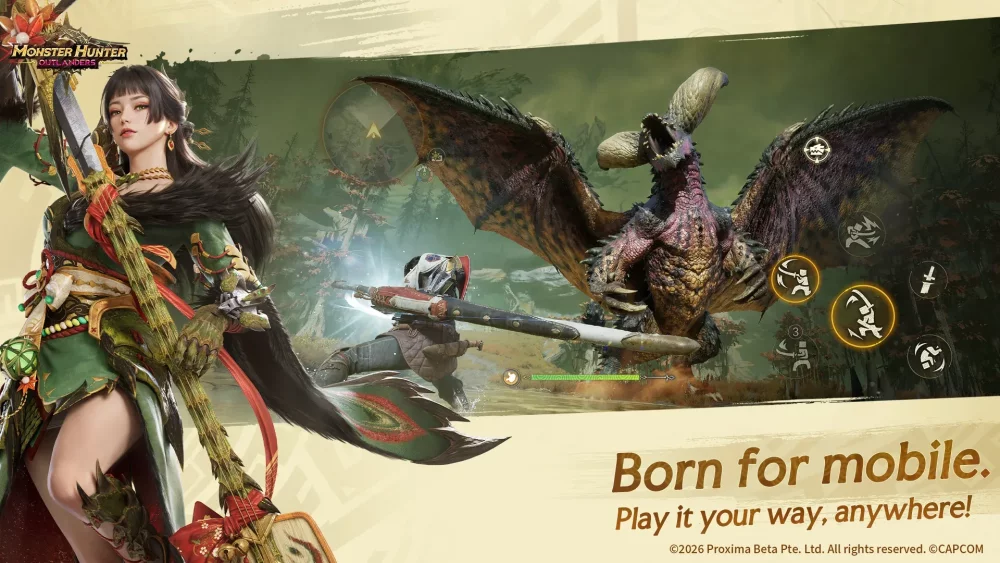
In Monster Hunter Outlanders, Peipei functions as a premier Heavy Bowgun specialist because her kit directly bypasses the weapon's primary drawback: slow mobility. While the customizable protagonist suffers from sluggish walking speeds, prolonged animation locks, and vulnerable reload phases, Peipei incorporates rapid wire maneuvers to disengage, bypass ground hitboxes, and deliver heavy artillery strikes from above.
Peipei vs. Protagonist: Heavy Bowgun Handling
The choice between Peipei and the default protagonist determines how safely and aggressively you can fire heavy ammunition. The protagonist relies on traditional grounded positioning, demanding support allies, shields, or distraction companions to safely fire and reload. In contrast, Peipei generates her own safety windows through vertical displacement.
| Combat Metric | Protagonist (Heavy Bowgun) | Peipei (Heavy Bowgun) |
|---|---|---|
| Movement Style | Ground rolls and standard walking pace | High-speed wire zip and aerial gliding |
| Recoil Handling | Stationary recovery locks | Aerial recoil cancellation and directional repositioning |
| Targeting Angles | Ground-level angles constrained by terrain | Overhead aim targeting wings, backs, and horns |
| Reload Safety | Vulnerable to direct monster rushes | Vertical clearance allows safer reload setup |
| Community Rating | Mid-tier due to defensive vulnerabilities | Tier 0 (T0) ranged damage dealer |
Core Wire Maneuvers and Mechanics
Peipei’s combat flow relies on integrating wire propulsion into offensive and defensive actions:
- Vertical Clearance: Launching upward elevates Peipei above low sweeping strikes, monster charges, and tail whips.
- Aerial Fire: While airborne or descending, Peipei can aim and fire artillery shells downward directly onto elevated weak spots, including backs, wings, and head horns.
- Recoil Cancellation: Triggering a wire maneuver immediately after firing high-knockback explosive ammo cuts short the standard multi-second recovery animation.
- Stamina Conservation: Wire jumps allow rapid repositioning away from closing monsters without draining standard dodge stamina.
Step-by-Step Combat Rotation
To maximize damage uptime and maintain personal safety, execute Peipei's actions in a consistent cycle:
- Establish Initial Range: Approach within optimal shell distance before drawing monster aggression.
- Open with Grounded Bursts: Fire high-impact burst rounds from the ground until the monster begins its turn or attack animation.
- Launch on Attack Startup: The moment the monster winds up a charge, leap, or forward projectile, activate Peipei's wire lift to clear the incoming hitbox.
- Fire Downward Volleys: Adjust your crosshairs while falling to strike vulnerable hitzones with spread or explosive shells.
- Reload on Landing: Use the landing window to chamber fresh ammunition while the monster recovers from its missed charge animation.
- Repeat the Loop: Re-engage from the ground, saving at least one wire charge for the next evasion.
Limitations and Survival Checks
While Peipei offers superior positioning, reckless play can still result in quick carts:
- No Aerial Invulnerability: Peipei's wire launch provides physical clearance, not invulnerability frames. High-reaching breath attacks, elevated wing sweeps, and tall vertical hitboxes will knock her out of the air.
- Touchscreen Aim Adjustments: Firing accurately during descent requires fast camera corrections on mobile controls to avoid wasting valuable explosive ammo.
- Wire Charge Conservation: Never spend all wire charges for map travel. If caught grounded without a wire charge during a monster enrage, Peipei suffers the same punishing recovery delays and slow movement as any standard Heavy Bowgun user.

Free Monster Hunter Outlanders Codes
Current active codes and how to redeem them.

Sarah Williams
Sarah specializes in RPG and collection games, explaining team building, character growth, and beginner-friendly ways to avoid expensive early mistakes.
COMMUNITY
Player Comments
110 players commented on this guide.
This guide answered the exact question I had.
Good guide for Monster Hunter Outlanders players. The strategy part was useful.
This helped me understand strategy much better.
This saved me time in the early game.