
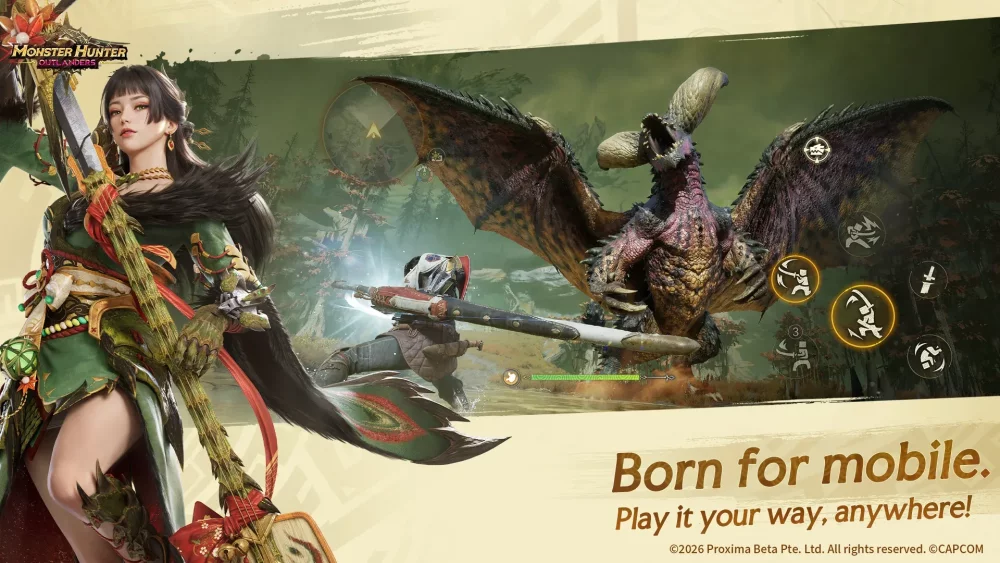
Pull for Midori in Monster Hunter Outlanders if your roster lacks a dedicated Fire attacker and you prefer agile, counter-driven Long Sword combat. If you already have reliable Fire coverage or prefer heavy burst damage to exploit monster downs, save your currency for Feia in Phase 2. Summon progress and guarantee counters carry over between limited banners, so investing pulls into Midori does not waste resources if you stop before obtaining her.
How Limited Banner Pity and Inheritance Work
Limited character banners in Monster Hunter Outlanders share a continuous pity counter that transfers across banner cycles. Pulls made on Midori’s Phase 1 banner count directly toward the pity threshold on Feia’s Phase 2 banner.
- Beginner Banner Isolation: The discounted beginner banner runs on a separate pool designed to provide baseline adventurers. Rolls spent there do not advance pity on limited featured banners.
- The 50/50 System: When you trigger an SSR pull on a limited banner, there is a 50% chance of receiving the featured promotional hunter and a 50% chance of pulling a standard SSR adventurer.
- Guarantee Carryover: Losing the 50/50 to a standard SSR character guarantees that your next SSR on any limited featured banner will be the promotional rate-up character. If you fail the 50/50 on Midori's banner, that guarantee remains active for Feia.
Midori vs. Feia: Role and Weapon Differences
Midori focuses on continuous uptime, elemental exploitation, and defensive parrying. Her kit generates Spirit Gauge rapidly to fuel Fire-infused slashes, rewarding hunters who learn monster attack windups. However, missing counter windows against enraged monsters leaves her open to severe damage, and she adds little value if standard summons already gave you a strong Fire DPS.
Feia trades agility for raw burst potential and part-breaking power. Her Greatsword kit relies on landing charged attacks during vulnerable windows when a monster is trapped, paralyzed, or knocked down. She uses super armor tackles to trade through incoming hits, making her effective at shearing tails and staggering monsters. Her main failure point is animation lock: missing a fully charged slash against mobile wyverns causes a massive drop in damage output.
| Feature | Midori (Phase 1 Limited) | Feia (Phase 2 Limited) |
|---|---|---|
| Weapon Archetype | Long Sword | Greatsword |
| Primary Combat Role | Sustained DPS & Parry Counters | Burst Damage & Stagger Punishing |
| Elemental Role | Fire Damage Dealer | High Physical & Part-Break Focus |
| Execution Demand | Precise Counter Timing | Charge Spacing & Read-Based Positioning |
| Utility Focus | Fluid Repositioning & Gauge Uptime | Rapid Part Severing & Stagger Buildup |
Step-by-Step Summoning Plan
Use this decision order to budget pulls across Phase 1 and Phase 2 without stranding premium currency:
- Clear beginner summons first: Spend only free progression tickets and discounted rolls on the beginner banner. Do not convert premium currency for standard pools.
- Review your Fire roster: Check whether your initial summons provided a competent Fire damage dealer. If your Fire coverage is sufficient, skip Midori to preserve weapon variety.
- Use the 50/50 stopping point: If you want Midori, pull until you receive an SSR. If you win Midori, stop. If you pull an off-banner standard SSR, halt summoning immediately to hold the 100% featured guarantee for Feia.
- Save with low reserves: If you have fewer than 70 pulls and prefer Greatsword burst combat, skip Phase 1 entirely to secure Feia in Phase 2.

Free Monster Hunter Outlanders Codes
Current active codes and how to redeem them.

Michael Smith
Michael covers live-service games, events, reward systems, and efficient daily routines, turning frequent updates into clear actions for players.
COMMUNITY
Player Comments
107 players commented on this guide.
Good guide for Monster Hunter Outlanders players. The strategy part was useful.
The explanation is clear, especially for beginners.
This guide answered the exact question I had.
Can you add more details about strategy in a future update?