
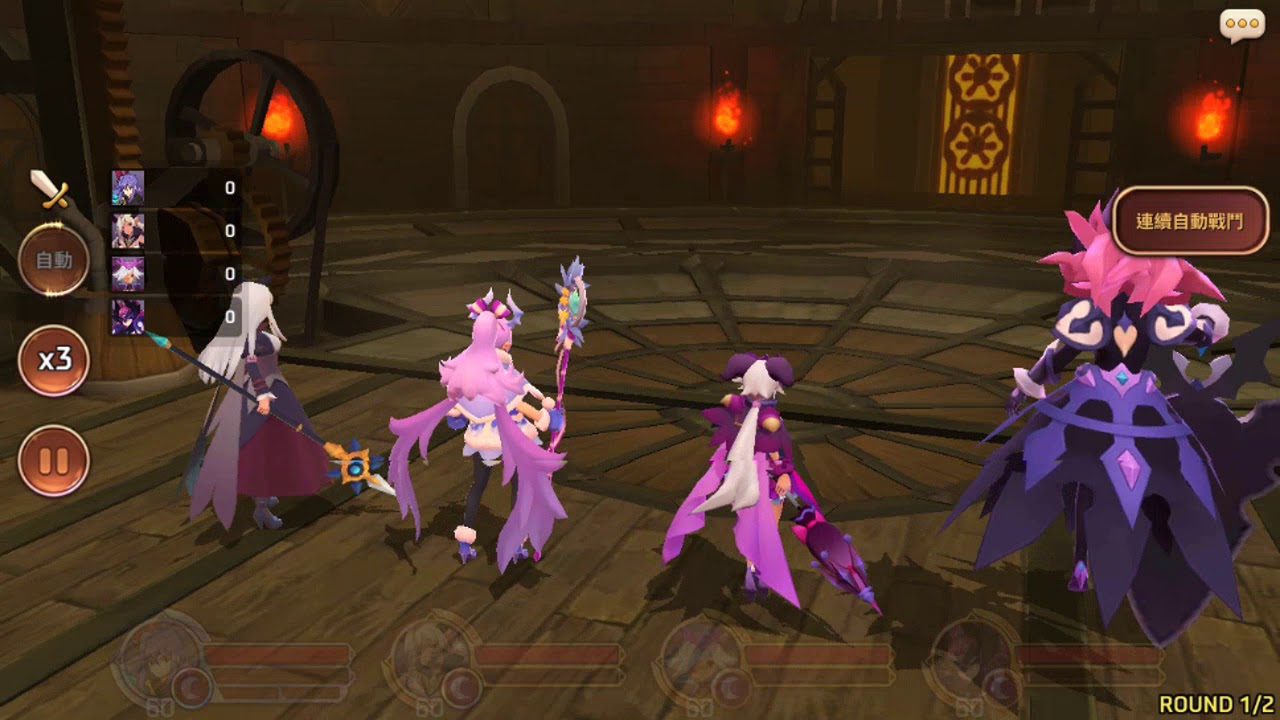
To clear Dark Element Tower floors 31 to 35 in Monster Super League, anchor your team with HP or Defense aggressors, protect the squad with high-resistance shield buffers, and eliminate side minions before attacking the floor 35 boss. Because the Tower of Elements enforces mono-element team restrictions, you cannot bring off-element tanks to absorb incoming burst. Dark Astromons deal 100% increased damage to Light targets but take 100% increased damage in return, turning unshielded attackers into easy targets for critical hits.
Recommended Team Roles and Astromon Options
Stat aggressors form the safest backbone for this floor bracket because their damage scales directly from HP or Defense. This scaling allows them to stack defensive gems without lowering their damage output. Pairing defensive anchors with energy generators, defense breakers, and shield healers stabilizes wave clearing and boss execution.
| Role | Recommended Astromons | Key Mechanics | Stage Function |
|---|---|---|---|
| HP / DEF Aggressor | Dark Miho, Dark Seastar | Aggression (HP or DEF), Taunt | Soaking Light focus fire, dealing steady area damage |
| Wave Sweeper | Dark Mona, Dark Gatito | Morale Boost, Predator | Clearing mob waves rapidly, generating blue souls |
| Defense Breaker | Dark Thor, Dark Yuki | 100% Defense Down, Sap | Stripping boss armor, accelerating single-target focus |
| Sustain Buffer | Dark Cupid, Dark Hana | HP-scaling Shield, Passive Heal, Vigor | Absorbing burst crits, preserving party HP pools |
Controlling Damage Spikes With Shields and Crowd Control
Because Light enemies naturally prioritize Dark units with heavy focus fire, letting whole waves attack freely leads to rapid squad wipes. Stun and Shock debuffs neutralize high-threat mob leaders while your damage dealers thin the remaining ranks.
For healing, shield mechanics provide superior protection over reactive percentage heals. Dark Cupid’s shield scales with maximum HP and creates a damage buffer that absorbs incoming elemental critical hits before they deplete your base health. Stagger multi-hit normal attacks across several enemies to generate blue souls and recharge these shields before entering the next wave.
Floor-by-Floor Tactical Execution
Progression through stages 31 to 35 requires shifting your focus from fast wave clears to controlled minion suppression.
- Floors 31 to 33 (Wave Management): Identify and focus single-target Light attackers first. Once only weakened enemies remain, finish them with basic attacks to fully charge your squad's SP bars before advancing.
- Floor 34 (High Defense Attrition): Mobs on this floor possess higher Defense and Resistance. Stagger your area-of-effect active skills across turns rather than blowing all bursts simultaneously, ensuring you do not waste damage on nearly dead targets.
- Floor 35 (Minion Suppression): Do not attack the boss immediately. Target the side minions first using crowd control or focused burst to eliminate incoming auxiliary debuffs and healing interference.
- Floor 35 (Boss Burst): Once all minions fall, apply Defense Down to the boss. Follow immediately with all stored active skills in a coordinated burst turn to secure the clear.
Gem Configurations and Stat Priorities
Because Dark Astromons possess a base 100% Critical Damage modifier, maximizing Critical Rate and Resistance provides consistent results without relying on favorable combat randomness.
- Aggressors (Dark Miho, Dark Seastar): Equip triple HP% or triple DEF% gems on Protection or Ruin sets. Aim for 50% to 70% Resistance to avoid debuffs and stuns.
- Attackers (Dark Mona, Dark Gatito): Equip Crit Rate, ATK%, and HP% on Ruin or Intuition sets. The dedicated HP% main stat prevents them from dying to stray Light critical hits.
- Healers and Supports (Dark Cupid, Dark Hana): Equip HP%, HP%, and Recovery% on Conviction sets. Push for 60% or higher Resistance to ensure support units do not lose action turns to enemy crowd control.

Free Monster Super League Codes
Current active codes and how to redeem them.

Sarah Williams
Sarah specializes in RPG and collection games, explaining team building, character growth, and beginner-friendly ways to avoid expensive early mistakes.
COMMUNITY
Player Comments
117 players commented on this guide.
I wish I had read this before upgrading the wrong thing.
This helped me understand strategy much better.
Nice guide. I am checking the other Monster Super League articles next.
Can you add more details about strategy in a future update?