
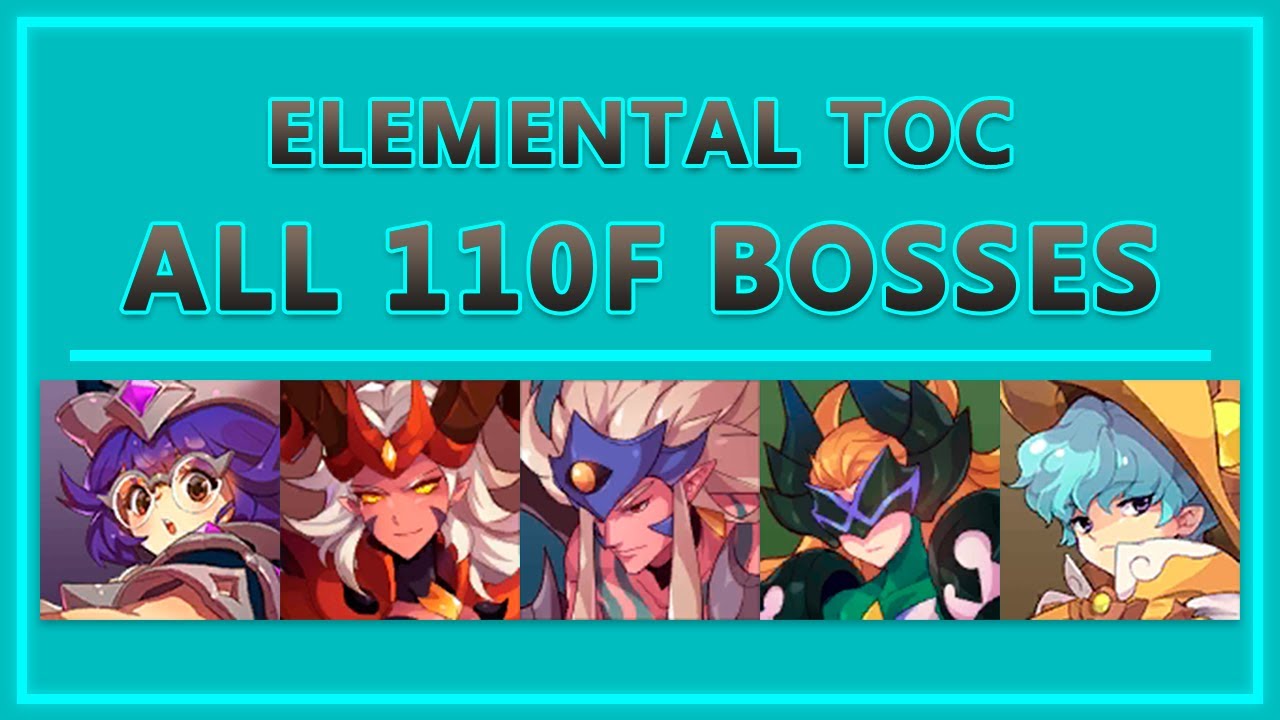
To beat Floor 110 in any of the five Elemental Towers in Monster Super League, build a monoelement team that pairs hard crowd control with element-appropriate sustain, charge full SP gauges before Wave 3, and manually eliminate buffing or healing minions before targeting the boss. Because Floor 110 bars cross-element units and pits teams against high boss resistance and burst damage, success relies on hitting strict resistance stat thresholds and managing skill timing.
Core Rules and Wave Management
Elemental Tower limits entries strictly to Astromons matching the tower's native element. Universal rainbow carries cannot be used to patch elemental weaknesses. Floor 110 encounters consist of two mob waves followed by the boss chamber on Wave 3.
- Farm SP on Waves 1 and 2: Disengage auto-combat during the first two waves. Use standard attacks to gather blue SP orbs so all Astromons enter the boss floor with fully charged active skills.
- Control Boss Minions First: Boss encounters feature flanking minions that apply shields, heals, or crowd control. Incapacitate or burst down these side units on turn one before focusing the main boss.
- Conserve Actives on Barriers: If an enemy deploys a shield, break it with basic strikes. Firing high-cost burst actives into an active barrier wastes damage potential.
Element-Specific Team Builds
Each tower requires a team archetype built around the element's specific support and offensive tools.
| Element | Recommended Astromons | Core Roles | Tactical Focus |
|---|---|---|---|
| Fire | Fire Cura, Fire Arthur, Fire Draka | Active Shielder, Stun CC, Puncture Attacker | Active shields absorb burst; Draka's Puncture ignores high boss defense. |
| Water | Water Persephone, Water Arthur, Water Balrona | Passive Healer, Stun / SP Siphon, Defense Breaker | Persephone sustains every turn via basic attacks while Arthur denies enemy SP. |
| Wood | Wood Hana, Wood Enkidu or Nightmare, Wood Merlin or Garuda, Wood Banshee | Defense Buffer, Skill Sealer, Single-Target Burst, Defense Breaker | Seal passives like Vengeance and Morale Boost; stack Hana's defense buff. |
| Light | Light Nike (Victoria), Light Arthur | Defense Aggressor, Shock CC | High defense counters Light-on-Light damage; Arthur's Shock amplifies party burst. |
| Dark | Dark Miho (Ran), Dark Cupid, Dark Mona | HP Aggressor, HP Shielder, Wave Clear Attacker | Mona clears minions; Cupid shields scale off HP to let Miho absorb Light crits safely. |
Fire Tower 110F
Fire teams lack reliable passive turn-by-turn healers, making active shielders mandatory. Fire Cura shields the squad while generating team SP. Fire Arthur locks down dangerous side minions with single-target Stun. Because 110F bosses carry massive defense ratings, Fire Draka serves as the primary damage carry by using Puncture to bypass defense values entirely.
Water Tower 110F
Water setups favor slow, reliable attrition. Water Persephone is the cornerstone anchor; her passive ability heals the team every turn based on a percentage of her maximum HP without consuming SP. Water Arthur provides Stun and SP siphoning to prevent the boss and minions from discharging active skills, while Water Balrona applies Defense Down to break through the boss's health pool.
Wood Tower 110F
Wood 110F features enemies reliant on high-impact passive triggers such as Morale Boost and Vengeance. Bring Wood Enkidu or Wood Nightmare to apply Seal or Silence, disabling enemy passives. Wood Hana supplies the necessary survivability through her active team defense buff. Once Wood Banshee applies Defense Down, Wood Merlin or Wood Garuda can eliminate the boss with concentrated active burst.
Light and Dark Towers 110F
Because Light and Dark deal mutual bonus damage, bosses can wipe squishy attackers with single critical hits. Mitigate this risk by fielding Aggressor Astromons, which scale damage directly from defensive stats.
- Light: Run Defense Aggressors like Light Nike (Victoria) alongside Light Arthur. Arthur's Shock debuff incapacitates targets while increasing the damage they take from Nike's defense-scaled attacks.
- Dark: Deploy HP and Defense Aggressors like Dark Miho (Ran). Pair Miho with Dark Cupid for HP-scaled shield barriers and Dark Mona for rapid minion clearing.
Gem Benchmarks and Turn Sequence
Status resistance is the primary defensive requirement for all Floor 110 content. Bosses and minions frequently cast Stun, Silence, Petrification, and continuous Sap damage.
- Target Resistance: Equip all Astromons to reach between 68% and 85% effective Resistance. Use Conviction gem sets to gain a flat 20% Resistance bonus, or roll high Resistance substats.
- Support Gemming: Gem pure healers and shielders with HP/HP/Defense configurations to maximize shield durability and raw survivability.
- Aggressor Gemming: Gem Defense and HP Aggressors with high Critical Rate substats or dedicated Critical Rate gems to maintain consistent damage output.
Wave 3 Turn Order
- Target Support Adds: Immediately apply Stun, Shock, or Seal to any minion carrying healing or shielding skills.
- Deploy Defensive Buffs: Activate shields (Cura, Cupid) or defense buffs (Hana) before enemy SP gauges fill completely.
- Apply Armor Shred: Land Defense Down (Balrona, Banshee) or Shock (Light Arthur) on the target.
- Discharge Single-Target Burst: Direct your primary damage dealer's active skill into the debuffed target to secure the kill.

Free Monster Super League Codes
Current active codes and how to redeem them.

Sarah Williams
Sarah specializes in RPG and collection games, explaining team building, character growth, and beginner-friendly ways to avoid expensive early mistakes.
COMMUNITY
Player Comments
52 players commented on this guide.
I tried this today and it worked better than my old setup.
This saved me time in the early game.
The explanation is clear, especially for beginners.
This guide answered the exact question I had.