
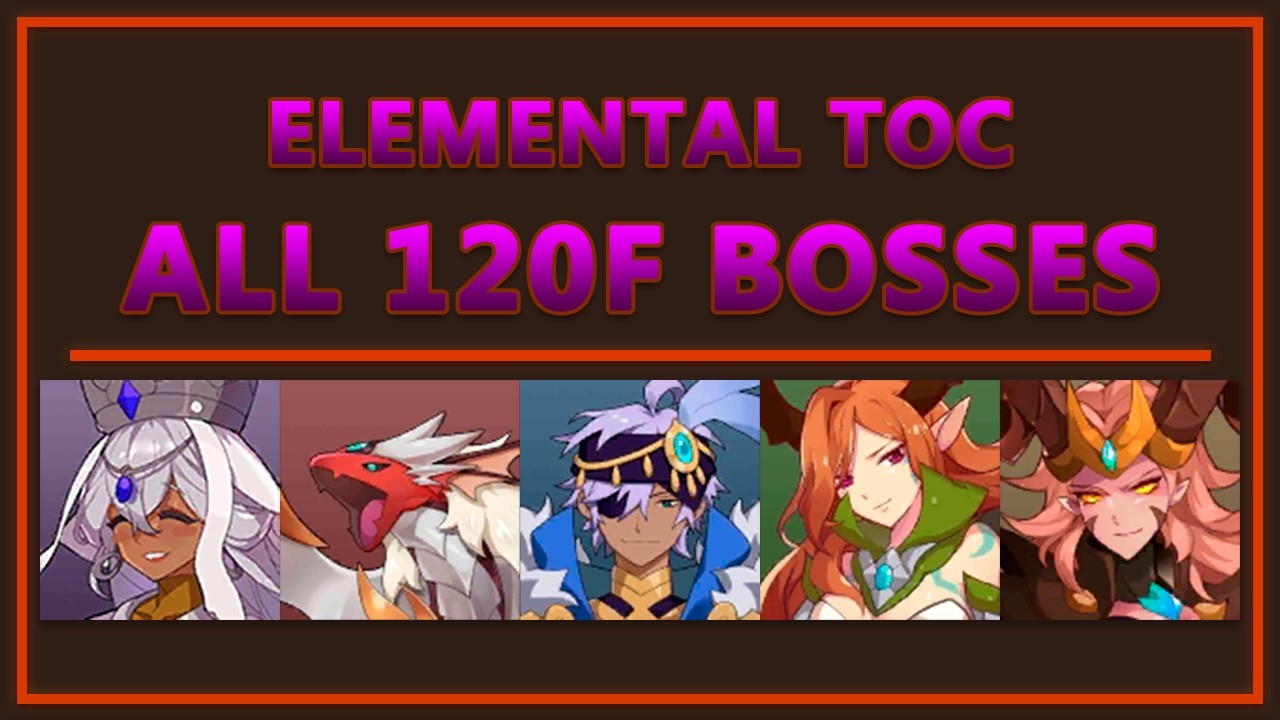
To clear Floor 120 of any Elemental Tower in Monster Super League, build a mono-element team featuring one dedicated shielder or passive healer, one defense debuffer, and two high-burst damage dealers. Turn off auto-battle on Wave 2 to store full SP gauges, then open Wave 3 by deploying defensive shields and eliminating threatening side minions before focusing on the boss.
Required Stat Benchmarks and Gem Sets
Bosses on 120F deal heavy burst damage and frequently apply debilitating crowd control such as Stun, Silence, Sleep, and Petrification. Glass-cannon builds consistently wipe on incoming critical hits. Offensive units should equip an HP% gem alongside a Def% gem to survive wave mechanics.
If your team struggles to survive, replace offensive Siphon sets with Conviction sets for bonus Resistance or Protection sets for Defense.
| Metric | Target Benchmark | Priority Roles | Strategic Purpose |
|---|---|---|---|
| Resistance | 50% – 70% | Healers and Supports | Blocks boss Stun, Petrification, and Silence |
| Critical Rate | 100% (or capped) | Dark Attackers and Crit Scalers | Secures critical damage multipliers and Morale Boost |
| Effective HP | 65,000+ HP / 2,800+ Def | All Frontline and DPS Units | Survives unmitigated Wave 3 boss attacks |
| Trinkets | 6-Star Max Level | Entire 4-Astromon Team | Adds flat survivability and critical strike resistance |
Team Compositions by Element
Because the Elemental Tower enforces strict mono-element requirements, you cannot rely on neutral carries. Tailor your four-Astromon roster to the element's specific strengths:
- Fire Tower 120F: Prioritize high burst damage and SP generation. Fire Draka serves as the primary attacker by using Puncture to bypass the boss's high defense. Fire Shinobi or Fire Arthur adds single-target crowd control and damage, while Fire Cura or Fire Cupid sustains the team with active shields and Morale Boost.
- Water Tower 120F: Focus on continuous passive healing and attrition. Water Persephone acts as the team's anchor by restoring 10% of team maximum HP every turn with her passive skill. Water Indra or Water Valkyrie supplies SP reduction and steady damage, while Water Bast provides attack buffs and supplemental shields.
- Wood Tower 120F: Emphasize shield uptime and defense breaks. Wood Hana is essential for her active skill shield and teamwide Defense buff. Pair Wood Phibian or Wood Garuda for reliable Defense Down on normal attacks, and run Wood Merlin or Wood Enkidu for single-target burst and self-charging SP skills.
- Light Tower 120F: Manage incoming burst damage from Dark enemies, who deal 150% damage against your Light units. Light Hana or Light Venus provides vital shield coverage, Light Arthur or Light Shiva supplies self-sustaining durability and stuns, and Light Griffin, Light Valkyrie, or Light Fennec delivers damage with balanced defensive substats.
- Dark Tower 120F: Maximize burst damage through innate critical scaling. Dark Astromons start with 100% Critical Damage, meaning units like Dark Mona, Dark Seastar, and Dark Mandragora must hit 100% Critical Rate through Ruin or Intuition sets. Protect them against Light minion damage by running Dark Venus or Dark Cernunnos to maintain continuous barrier coverage.
Wave 2 to Wave 3 Turn Management
Clearing 120F consistently requires precise manual control during the final wave transition:
- Conserve SP on Wave 2: Once only low-health enemies remain on Wave 2, disable active skills and finish the wave using basic attacks. Enter Wave 3 with full blue SP gauges on all four Astromons.
- Deploy Defensive Barriers Immediately: Cast your shielder’s active skill on the very first turn of Wave 3 (such as Wood Hana or Light Venus) to absorb the boss's opening attack.
- Apply Defense Down: Use your debuffer on turn one to reduce the target's defense before spending your primary attacker's burst skill.
- Target Side Adds First: Manually focus down the companion minions on Wave 3 to eliminate their incoming damage and buffs before committing full damage to the floor boss.

Free Monster Super League Codes
Current active codes and how to redeem them.

Emily Johnson
Emily writes practical mobile strategy guides with a focus on resource planning, base progression, and the early decisions that shape a long-term account.
COMMUNITY
Player Comments
121 players commented on this guide.
The explanation is clear, especially for beginners.
This helped me understand strategy much better.
This saved me time in the early game.
I wish I had read this before upgrading the wrong thing.