
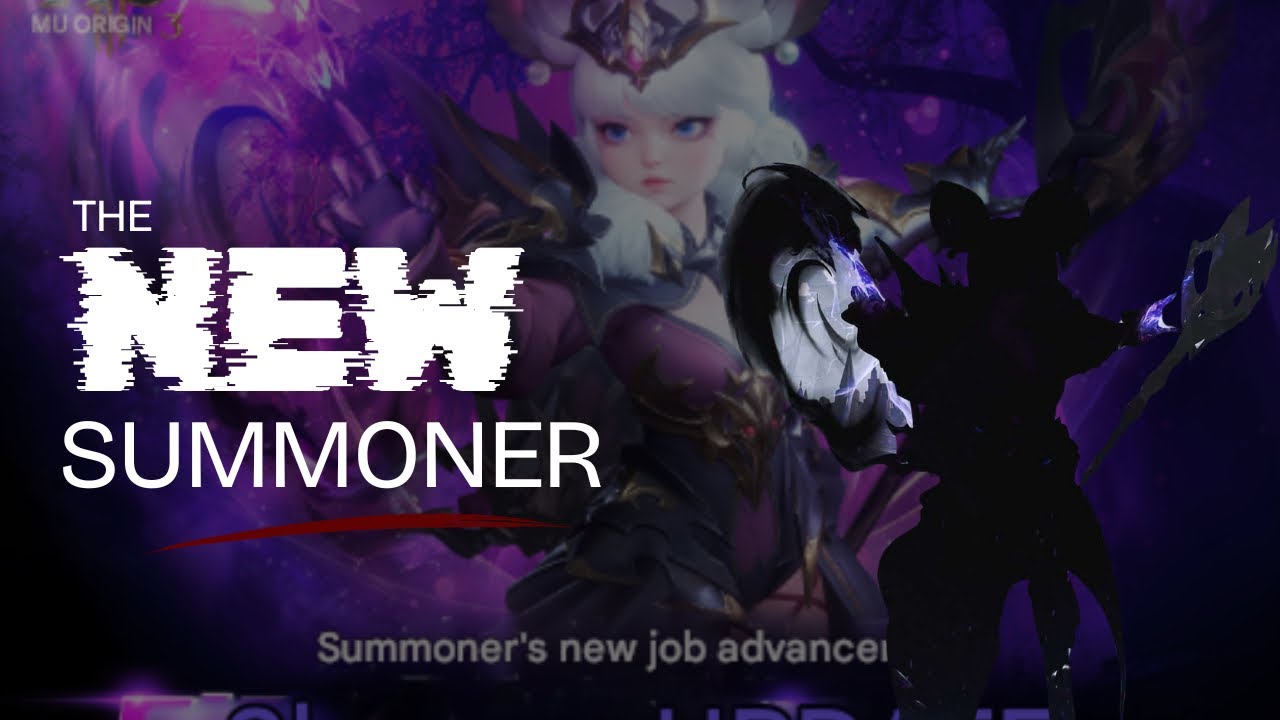
The Summoner Necromancer in MU ORIGIN 3 represents a sophisticated departure from the standard "point-and-click" DPS classes. By utilizing a suite of autonomous entities, the Necromancer excels at battlefield manipulation, turning the tide of combat through attrition and positional control. Unlike classes that rely on direct burst damage, the Necromancer thrives in scenarios where they can maintain distance while their minions dismantle the opposition. This guide provides the tactical framework required to transition from a novice summoner to a master of the dark arts in the expansive world of MU ORIGIN 3.
Understanding the Necromancer’s Core Mechanics
The Necromancer is defined by its "commander" playstyle. In MU ORIGIN 3, your summons function as independent units with their own health pools and threat-generating capabilities. The core loop revolves around maintaining a persistent presence on the battlefield.
When you engage an enemy, your summons serve three distinct purposes:
- Aggro Anchoring: By deploying your primary minion first, you force the AI to target the summon rather than your character. This is your primary defensive mechanism.
- Sustained Damage Output: Unlike direct spells that have long cooldowns, your summons provide a steady "DPS floor" that persists even while you are repositioning or casting utility debuffs.
- Spatial Disruption: Your summons create physical obstacles that enemies must navigate around, effectively slowing down melee-focused opponents.
Deploying and Managing Your Summons Effectively
The most common mistake novice Necromancers make is deploying all summons simultaneously at the start of a fight. This leads to a "burst-and-lull" cycle where you have immense pressure for three seconds, followed by a vulnerable period where your minions are either dying or on cooldown.
The Staggered Deployment Strategy
- The Anchor: Lead with your most durable, high-health minion. This establishes the frontline.
- The Harasser: Once the target is focused on the Anchor, deploy your faster, lower-health minions to deal critical damage.
- The Reserve: Always keep one utility summon or a secondary damage-dealer in reserve to replace a fallen minion or to peel for yourself if an enemy closes the gap.
Monitoring your summons' health bars is non-negotiable. In high-level PvE or intense PvP, your minions will go down. If you lose your frontline anchor, your character becomes the immediate target. You must treat your summon management as a resource-tracking exercise, similar to monitoring mana or ability cooldowns.
The Optimized Necromancer Skill Rotation
To maximize your efficiency, your rotation should prioritize synergy over raw damage. You want to weave your direct damage spells into the windows where your summons are already actively engaged.
- Initiation: Cast your primary defensive summon to establish the perimeter.
- Debuff Application: Use your AoE (Area of Effect) debuffs early. By weakening enemy resistance, you amplify the damage output of every minion currently attacking the target.
- Active Buffing: If your class build includes spells that increase minion attack speed or critical hit chance, cast these after your minions have successfully engaged.
- Burst Window: Use your high-damage personal spells while the enemy is preoccupied with your summons. This is when the enemy is least likely to interrupt your casting animations.
Tactical Positioning and Spatial Control
In MU ORIGIN 3, the space between you and your target is your most valuable asset. Because the Necromancer lacks the inherent tankiness of a Knight or the high-mobility escapes of an Assassin, you must rely on "Kiting through Minions."
If an enemy breaks your front line and moves toward you, do not panic and run in a straight line. Instead, move behind your secondary summons or reposition to a location where the enemy must path through your minions to reach you. By utilizing the game’s pathing logic, you can force enemies to move inefficiently, buying you the seconds needed for your defensive cooldowns to reset.
Overcoming Combat Limitations
The Necromancer does have inherent weaknesses that you must mitigate through strategy:
- Target AI Dependency: Sometimes your minions will target the wrong mob. Use your "tagging" abilities or manual targeting prompts to redirect their focus.
- Slow Ramp-up Time: Because the Necromancer relies on building a "summon army," you are at a disadvantage in extremely short, burst-heavy fights. In these scenarios, prioritize your most aggressive, high-damage summon immediately rather than trying to build a full field of minions.
- Environmental Constraints: Be wary of tight corridors or map geometry where your minions might get stuck or fail to path correctly. Always position yourself in open areas whenever possible.
Endgame Scaling and Progression
As you reach the endgame content of MU ORIGIN 3, your stats must transition from basic survivability to specialized scaling. Your gear should focus on two main pillars:
- Summon Survivability: Early-game gear often ignores this, but in high-level Totem Realm runs, your minions will die instantly if they aren't equipped with gear that boosts their HP and resistances.
- Minion Utility Modifiers: Look for gear sets that add secondary effects to your summons, such as "Slow on Hit" or "Damage Over Time." These modifiers turn your minions from simple damage sponges into tactical crowd-control units, allowing you to survive against bosses that would otherwise overwhelm you.
Always remember that even with the best gear, a Necromancer is only as good as their positioning. Keep your gear updated, keep your summons between you and the threat, and maintain your rotation rhythm to dominate in any combat scenario. By mastering these mechanics, you will find that the Necromancer is one of the most versatile and rewarding classes in MU ORIGIN 3.

Free MU ORIGIN 3 Codes
Current active codes and how to redeem them.

Sarah Williams
Sarah specializes in RPG and collection games, explaining team building, character growth, and beginner-friendly ways to avoid expensive early mistakes.
COMMUNITY
Player Comments
158 players commented on this guide.
I wish I had read this before upgrading the wrong thing.
This guide answered the exact question I had.
This helped me understand strategy much better.
The explanation is clear, especially for beginners.