
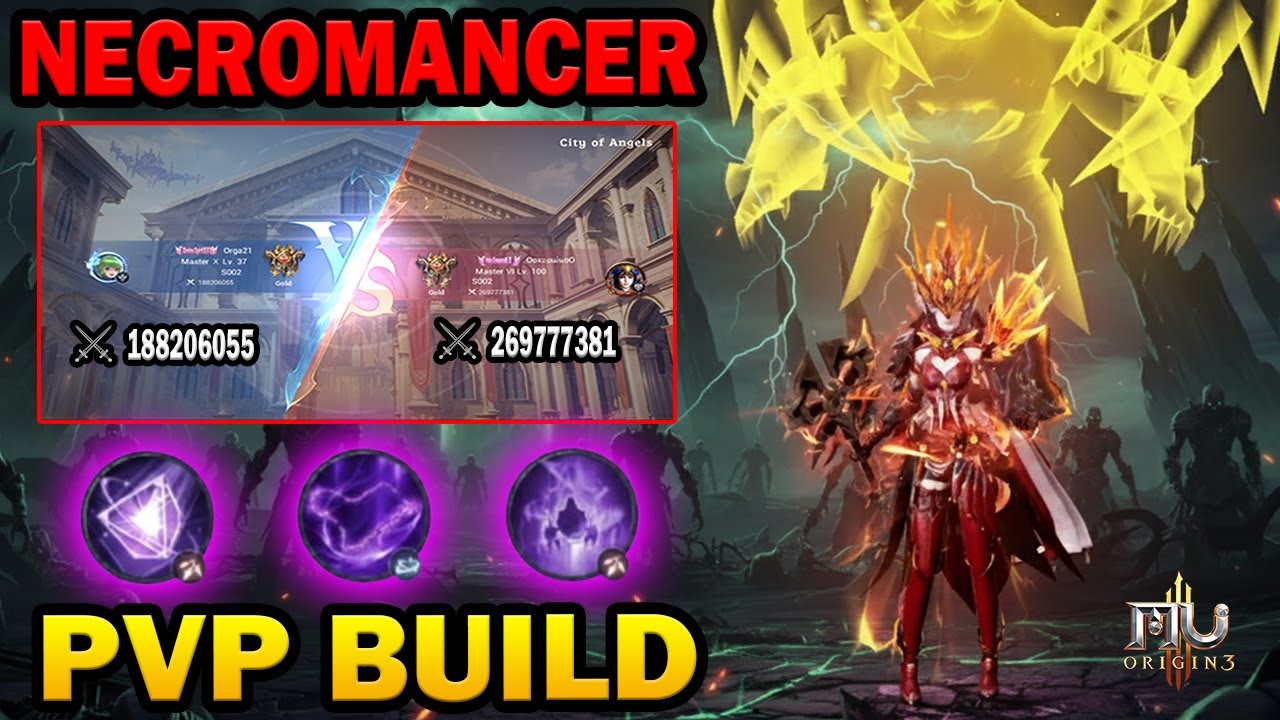
To dominate PvP encounters as a Necromancer in MU ORIGIN 3, you must treat your skill bar as a cohesive "kill chain" rather than a set of independent abilities. The Necromancer excels as a high-burst, high-pressure caster, but its effectiveness is entirely dependent on your ability to synchronize crowd control (CC) with your maximum damage output. By prioritizing cooldown management and forced positioning, you can neutralize even the most durable melee opponents before they close the gap.
Understanding the Necromancer’s PvP Identity
In the current MU ORIGIN 3 meta, the Necromancer acts as a "glass cannon" with high utility. Unlike the more durable classes, you cannot afford to trade blows face-to-face. Your power lies in Area Denial and Burst Windows.
When playing this class in PvP, you are essentially playing a game of "bait and punish." You want your opponent to burn their mobility skills or defensive shields on your secondary abilities, allowing you to land your primary burst combo when they have no means of escape. If you are playing defensively, your goal is to force the opponent into disadvantageous terrain where your AOE spells can trap them in a corner.
Essential Skill Loadout for Competitive Play
A top-tier Necromancer build is not static; however, there are three categories of skills you must always prioritize to remain competitive in 1v1 and group skirmishes:
1. The Engagement (Crowd Control)
- Purpose: These skills create the "window of opportunity."
- Strategy: Never lead with your highest damage skill if the opponent has their dash or blink available. Use your root or slow effects first to ensure your primary damage spells land in their entirety.
2. The Execution (Burst Damage)
- Purpose: These are your high-cooldown, high-impact spells.
- Strategy: These should only be activated after a successful CC proc. If you miss your CC, hold your burst skills. It is better to wait 5 seconds for a cooldown than to waste your entire rotation on an opponent who simply walks away.
3. The Survival (Defensive Displacement)
- Purpose: Damage reduction and repositioning.
- Strategy: These skills are your "get out of jail free" cards. Use them to reset the distance between you and a melee attacker. Once you have created space, immediately re-engage with your movement speed buffs to resume the kiting process.
The Perfect PvP Rotation: A Step-by-Step Execution
To maximize damage, follow this universal engagement loop:
- Initiate (CC): Deploy your primary slow or root skill. Watch the opponent’s movement closely; if they use a dash to avoid it, wait for their dash to finish before committing further.
- Pressure (AOE): Drop your large-area damage zones. This forces the opponent to either take damage or move into a specific area of the arena.
- Burst (Kill Combo): Once the opponent is locked in place or forced into a corner, activate your full burst rotation.
- Disengage (Kite): If the opponent survives the burst, use your defensive cooldown or displacement skill immediately. Do not attempt to finish them with basic attacks if your heavy hitters are on cooldown.
Managing Cooldowns and "Dead Zones"
Every Necromancer player will experience "dead zones"—the periods where your primary skills are on cooldown. During these 5–10 seconds, you are at your most vulnerable.
- The Perimeter Strategy: Stay near the edge of the arena. This limits the angles from which an opponent can attack you and makes it easier to predict their pathing.
- Baiting: Move toward the center to bait an opponent's gap-closer, then immediately use your displacement skill to teleport or dash back toward the edge. This often leaves the opponent stranded in the middle of the arena with their mobility skills on cooldown.
Distinguishing Between Builds: Arena vs. Group Combat
Your build should shift based on the game mode:
- 1v1 Arena: Focus on Targeted Burst. You need skills that guarantee hits to prevent opponents from dodging your damage. Prioritize single-target heavy hitters and reliable CC.
- Group/Guild Combat: Focus on Area Denial. In team fights, your goal is to blanket the battlefield in persistent AOE damage. You want to make it impossible for the enemy team to group up, effectively splitting their force and allowing your team to pick them off one by one.
Common Mistakes to Avoid
- Over-committing: The most common mistake Necromancer players make is chasing a kill. If an opponent has low health but your cooldowns are empty, stop chasing. You are a caster, not a tank.
- Ignoring Defensive Utility: Do not use your teleport or defensive buff for extra damage. Always save these for when you are being targeted by a melee class.
- Mismanaging Mana/Resources: Keep an eye on your resource bar. If you run out of energy mid-combo, you lose your ability to kite, which is usually a death sentence.
Final Recommendations for Growth
To climb the ranks in MU ORIGIN 3, you must learn to analyze your deaths. If you find yourself consistently dying to a specific class (like the Pugilist), look at your skill loadout: are you missing a displacement skill? Are you failing to land your CC?
The Necromancer is a high-skill-ceiling class. Its strength is not in raw defense but in the player's ability to control the pace of the fight. Spend time in the training arena to master the timing of your animations; knowing exactly how long your "wind-up" is for your strongest spells will allow you to pre-cast them with surgical precision, ensuring you remain the most dangerous caster on the battlefield.

Free MU ORIGIN 3 Codes
Current active codes and how to redeem them.

James Brown
James focuses on Android gaming on PC, emulator setup, controls, performance tuning, and practical troubleshooting for longer play sessions.
COMMUNITY
Player Comments
126 players commented on this guide.
This helped me understand strategy much better.
This guide answered the exact question I had.
I tried this today and it worked better than my old setup.
Good guide for MU ORIGIN 3 players. The strategy part was useful.