
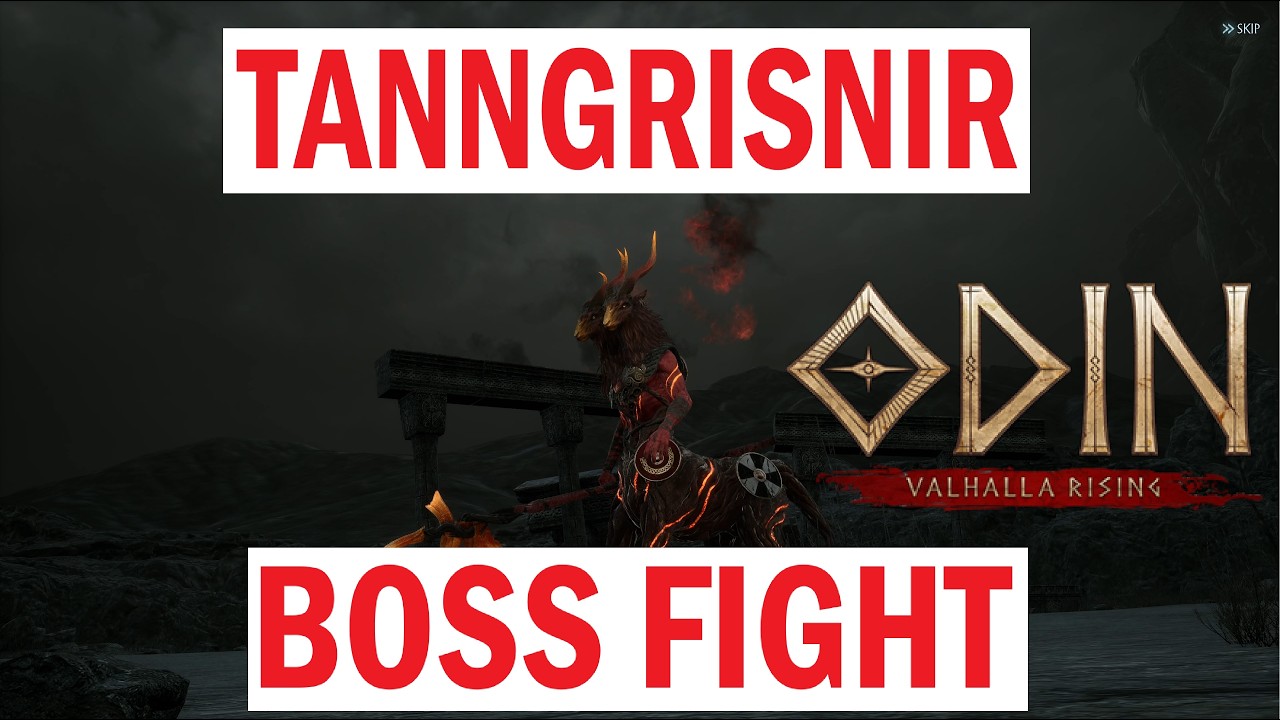
To defeat Tanngrisnir in ODIN:VALHALLA RISING, disable automated combat and position your character along the boss's rear flank. Relying on auto-battle leads to rapid wipes because Tanngrisnir's telegraphed slams and charges outpace automatic potion healing. Success requires manual evasion, maintaining a high auto-potion threshold, and saving your burst damage for the boss's attack recovery pauses.
Recommended Combat Settings and Inventory Setup
Tanngrisnir inflicts heavy burst damage that standard potions cannot instantly offset. Before entering the arena, adjust your interface options and consumables:
- Disable Auto-Evade and Mobility Skills: Take manual control of your dodge roll and gap-closers. If auto-combat triggers your dodge roll at random, you will lack stamina when a lethal red zone appears.
- Set Auto-Potion Recovery to 75%–80%: Health potions restore HP gradually over time rather than all at once. Triggering potions early prevents sudden one-shot deaths from subsequent hits.
- Stock High-Tier Health Potions: Maximize your potion carrying capacity so your sustained regeneration does not run dry during the encounter.
- Equip Short-Cast Skills: Unequip slow-channeling abilities that root your character in place, swapping in rapid-cast skills, shields, or crowd-control breaks.
- Activate Food Buffs: Consume food and elixirs that increase attack power, defense, and attack speed to reduce fight duration.
Tanngrisnir Attack Telegraphs and Counters
Tanngrisnir signals its primary mechanics using red floor indicators. Learn each visual cue to respond correctly before the damage executes:
| Attack | Visual Telegraph | Danger Level | Recommended Response |
|---|---|---|---|
| Ground Tremor Slam | Large red circle centered on boss | Severe | Roll backward immediately to exit the circle |
| Charging Stomp | Long rectangular red lane | High | Dodge perpendicular (left or right) out of the lane |
| Frontal Horn Sweep | Red cone directly ahead of boss | Moderate | Sidestep or walk toward the boss's rear flank |
| Rear Kick | Short semi-circle behind boss | Low–Moderate | Step laterally toward the side flanks |
The Ground Tremor Slam is the encounter's most dangerous mechanic. When Tanngrisnir rears up and the circular indicator expands, you have roughly one to two seconds to clear the perimeter. Lingering inside inflicts massive physical damage and a knockdown, leaving you exposed to follow-up strikes.
Evasion and Positioning Rules
Preserving evade stamina is essential throughout the fight:
- Fight from the 45-degree rear flank. Standing just behind Tanngrisnir's front shoulders keeps you clear of frontal sweeps while providing enough room to circle when the boss turns.
- Walk to dodge standard turns. Save your active evade roll strictly for red floor indicators. Relying on dodge rolls for basic movement depletes stamina and leaves you defenseless against sudden charges.
- Dodge charges laterally. When the rectangular lane appears, roll strictly left or right. Rolling backward along the path of the charge keeps you inside the damage box.
- Disengage if health drops below 40%. If you take heavy damage, run along the arena's outer edge. Tanngrisnir turns slowly between moves, allowing your auto-potion ticks to safely restore your health pool back above 70% before you re-engage.
Capitalizing on Damage Windows
Tanngrisnir pauses in a recovery animation for roughly two to three seconds after executing heavy abilities like the Ground Tremor Slam and Charging Stomp.
Open your strongest skill rotations and channeled attacks immediately when the boss finishes these heavy moves. For ranged classes, stay close enough to clearly see the boss's orientation; fighting from the extreme boundary impairs camera visibility against incoming charge paths. If your build uses proactive defensive shields or damage-reduction buffs, trigger them right before unavoidable pressure rather than after your health is already depleted.

Free ODIN:VALHALLA RISING Codes
Current active codes and how to redeem them.

Emily Johnson
Emily writes practical mobile strategy guides with a focus on resource planning, base progression, and the early decisions that shape a long-term account.
COMMUNITY
Player Comments
33 players commented on this guide.
I wish I had read this before upgrading the wrong thing.
I tried this today and it worked better than my old setup.
This saved me time in the early game.
This guide answered the exact question I had.