
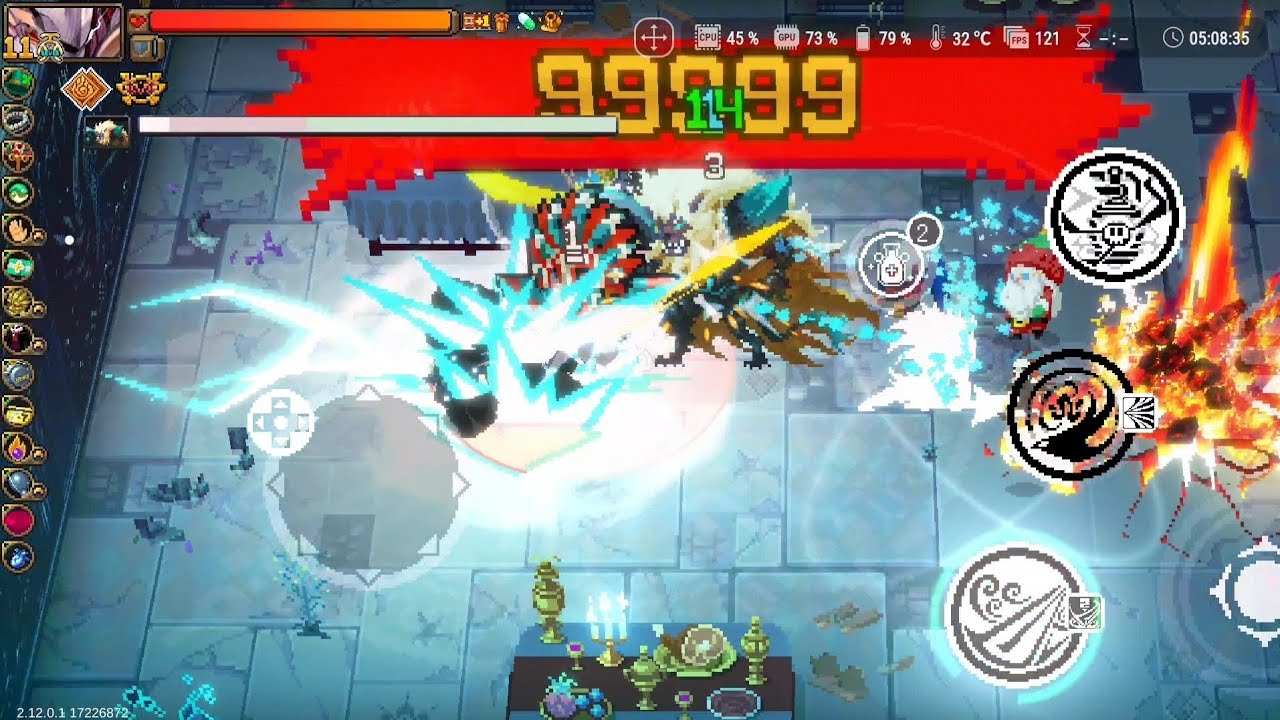
To defeat Demented Luther using Alasdair's one-hit burst setup in Otherworld Legends, plan for a minimum of two fully charged strikes rather than attempting a single fatal blow. While a properly optimized burst build deals enough damage to delete an entire boss health bar in one swing, Demented Luther's second phase functions as an independent entity with a separate health bar. Damage from your initial hit does not carry over into the second form, making a true single-strike kill impossible.
Why Demented Luther Requires Two Slashes
No matter how much overkill damage Alasdair inflicts during the opening strike, the encounter structure prevents skipping the transition:
- Independent Health Bars: Phase two is coded as an entirely separate entity. Overkill damage dealt to phase one simply terminates when the first health pool hits zero.
- Transition Invulnerability: When phase one falls, Luther enters an invulnerable transition animation where attacks deal no damage.
- Resource Preservation: Expending all secondary buffs, burst modifiers, or cooldowns on phase one leaves Alasdair unbuffed and defenseless when phase two activates.
Your plan must conserve resources to execute a two-stage attack rotation: one charged strike to eliminate the first bar, followed by a repositioning step and a second charged strike once phase two becomes targetable.
Executing the Triple Purify Burst Rotation
Maximizing Alasdair’s damage on Chaos 11 and high Pandemonium configurations relies on stacking three layers of Purify to concentrate all output into a single frame of contact.
- Position Outside Aggro Range: Bait Luther into committing to a forward attack or charge. Step diagonally outside his strike path to establish a safe charging zone.
- Charge Triple Purify: Anchor your stance and hold your charge input until all three Purify thresholds accumulate and the blade reaches peak charge.
- Trigger Secondary Buffs: Activate any auxiliary attack or stat-boosting skills immediately before releasing the slash so the multipliers apply directly to the impact frame.
- Disengage on Phase Break: As soon as the first slash shatters phase one, dodge roll away to an arena corner. Do not linger near the boss during the phase transition.
- Re-engage for Phase Two: Wait for the second phase model to fully materialize and become vulnerable. Charge your second Purify strike from safe spacing and release it to finish the encounter.
If an unexpected boss swing threatens to interrupt your charge windup, cancel out immediately with a dodge roll. Releasing an undercharged attack fails to reach the damage threshold needed to clear the phase, leaving Alasdair vulnerable in point-blank melee range.
Item Build Priorities for One-Hit Slashes
A burst build must prioritize single-instance scaling over combo ramp-up or multi-hit utility. Gear should either amplify the first strike or protect Alasdair while he holds his ground.
| Item Trait | Priority | Function in Burst Setup |
|---|---|---|
| First-Hit Amplifiers | Essential | Guarantees critical damage or heavy percentage spikes against full-health targets. |
| Charged Attack Modifiers | Essential | Multiplies base skill values specifically during held heavy weapon releases. |
| Super Armor / Poise | Recommended | Prevents incoming chip damage or projectiles from staggering your charge windup. |
| Damage-over-Time Effects | Avoid | Auxiliary poison, burn, or summon darts consume first-hit buffs before your blade connects. |
Avoid any item that spawns passive damaging familiars or emits stray projectile ticks. If an auxiliary projectile strikes Luther a fraction of a second before Alasdair's greatsword lands, it expends full-health critical triggers and ruins the burst sequence. Keep your item passive loadout strictly concentrated on your main attack swing.

Free Otherworld Legends Codes
Current active codes and how to redeem them.

Michael Smith
Michael covers live-service games, events, reward systems, and efficient daily routines, turning frequent updates into clear actions for players.
COMMUNITY
Player Comments
96 players commented on this guide.
Nice guide. I am checking the other Otherworld Legends articles next.
The explanation is clear, especially for beginners.
I tried this today and it worked better than my old setup.
This guide answered the exact question I had.