
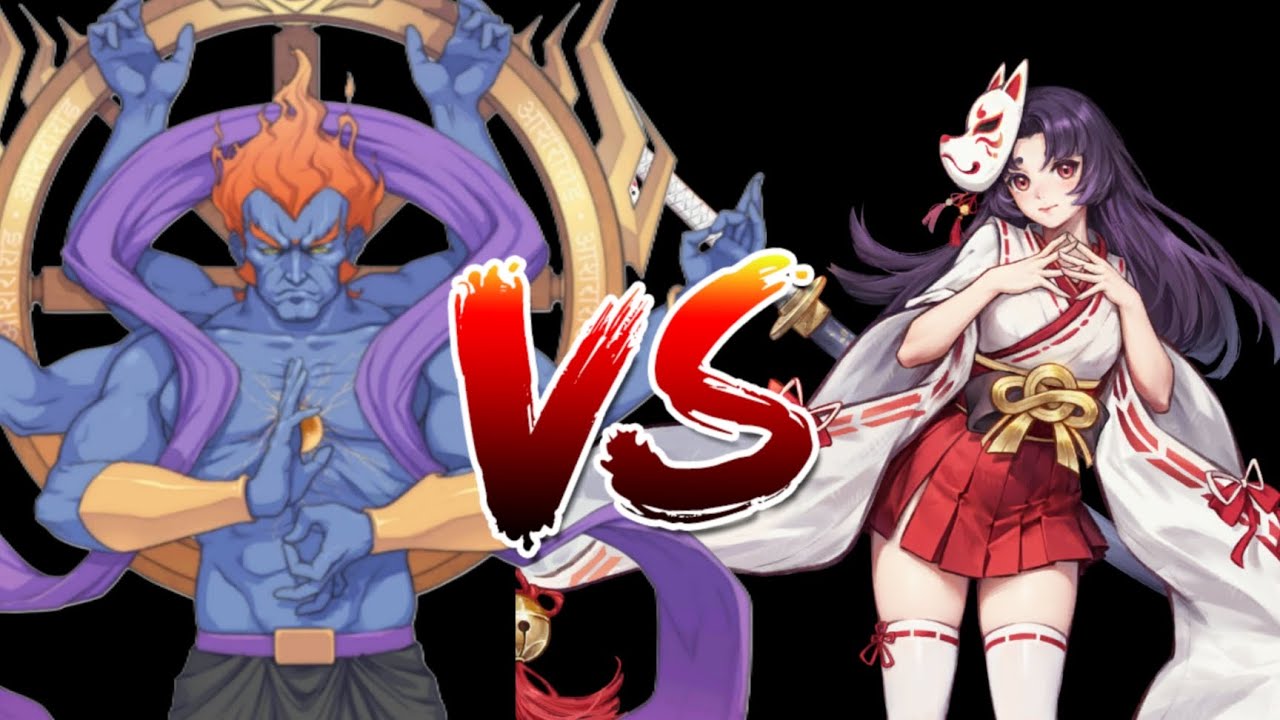
To defeat Asura on Anguish 7 Pandemonium with Yoiko in Otherworld Legends, use her invulnerability frames to dodge through active hitboxes, land brief skill burst combos behind him, and disengage immediately before he recovers. Anguish 7 maximizes boss health and incoming damage, turning single mistimed dodges into lethal hits. Surviving the encounter requires strict spatial discipline across all three boss phases and zero reliance on long basic attack strings.
Yoiko Combat Kit and Skill Rotation
Yoiko relies on fluid repositioning and hit-and-run engagement rather than sustained melee exchanges. Because Asura’s recovery windows on high difficulty are short, execute this standardized combat loop whenever you commit to an attack:
- Bait the Attack: Stand at mid-range to prompt Asura into a committed forward strike, projectile wave, or beam animation.
- Dodge Behind: Use Yoiko's dodge roll to pass directly through the boss's hitbox during his active wind-up, stopping behind his back.
- Trigger Burst Skills: Immediately fire your primary damage skill and chain your secondary ability or style skill into his back during his attack recovery.
- Disengage to Mid-Range: Dash or roll backward toward open arena space before Asura turns around to track you.
Never linger to finish basic attack combos while active skills are on cooldown. Squeezing in extra basic attacks locks Yoiko in recovery animations long enough to absorb fatal counterattacks.
Item and Build Priorities for Anguish 7
Anguish 7 and Pandemonium modifiers scale boss health and aggression, making flat base damage less effective than cooldown reduction, burst scaling, and defensive safety nets.
| Priority | Category | Function | Target Mechanics |
|---|---|---|---|
| Top | Mobility & Cooldowns | Maximizes invulnerability uptime and repositioning speed | Extra dodge charges, skill cooldown reduction, movement speed |
| High | Burst & Critical Damage | Amplifies damage delivered during short backstab windows | Critical strike chance, critical damage multipliers, burst procs |
| Medium | Defensive Buffers | Prevents instant knockouts from stray arena projectiles | Fatal damage shields, temporary barrier generation |
| Low | Passive Damage Over Time | Chips boss health while maintaining evasive distance | Poison, burn, or bleed triggers on hit |
Minimizing skill cooldowns directly improves survivability, as it allows Yoiko to spend more combat time inside invincible or high-speed skill states.
Phase-by-Phase Asura Strategy
The battle spans three distinct phases, each requiring different dodge angles and attack timing.
Phase 1: Humanoid Stance
In his opening form, Asura attacks with dashing punches, forward flurries, and sweeping energy waves.
- Circle around the arena at mid-range to keep his movement predictable.
- When he initiates a dash punch, roll diagonally toward and through him to end up behind his back.
- Execute your burst rotation into his rear, then immediately roll away.
- Avoid standing in front of him; his fist flurries inflict heavy hitstun that leaves Yoiko vulnerable to the full combo.
Phase 2: Stationary Colossus
Asura transforms into a massive stationary boss that uses falling ceiling debris, elemental fists, and wide eye-beam sweeps across the floor.
- Track floor shadows constantly to avoid falling pillars while maneuvering into position.
- When the wide laser sweeps horizontally across the room, roll straight through the beam toward Asura’s base.
- Unload your skills into his central hitbox while the laser finishes sweeping.
- Once your burst finishes, pull back to mid-range where falling hazards are easier to see and dodge.
Phase 3: True Asura
The final phase introduces rapid teleportation, floating orb projectiles, and arena-wide phantom slashes.
- Hold all skills while Asura prepares to vanish or channel; do not attack empty space.
- When he teleports directly adjacent to Yoiko, dodge the initial strike immediately, then counterattack from behind.
- If Asura channels a full-screen energy storm, disengage completely and focus entirely on weaving between visual telegraph markers until the attack concludes.
Defensive Rules and Common Failure Points
Most failed runs on Anguish 7 stem from avoidable execution errors rather than insufficient damage:
- Panic Dodging: Spamming the dodge button burns through stamina, leaving Yoiko without defensive options when multi-hit attacks arrive. Dodge only on confirmed boss wind-ups.
- Corner Trapping: Fighting near the arena walls restricts your roll angles. Reset your footing toward the center whenever Asura repositions.
- Overstaying Openings: Trying to deal damage outside of verified recovery windows guarantees taking contact damage. Respect the hit-and-run cycle through the final phase.

Free Otherworld Legends Codes
Current active codes and how to redeem them.

Emily Johnson
Emily writes practical mobile strategy guides with a focus on resource planning, base progression, and the early decisions that shape a long-term account.
COMMUNITY
Player Comments
142 players commented on this guide.
This saved me time in the early game.
This guide answered the exact question I had.
I wish I had read this before upgrading the wrong thing.
I tried this today and it worked better than my old setup.