
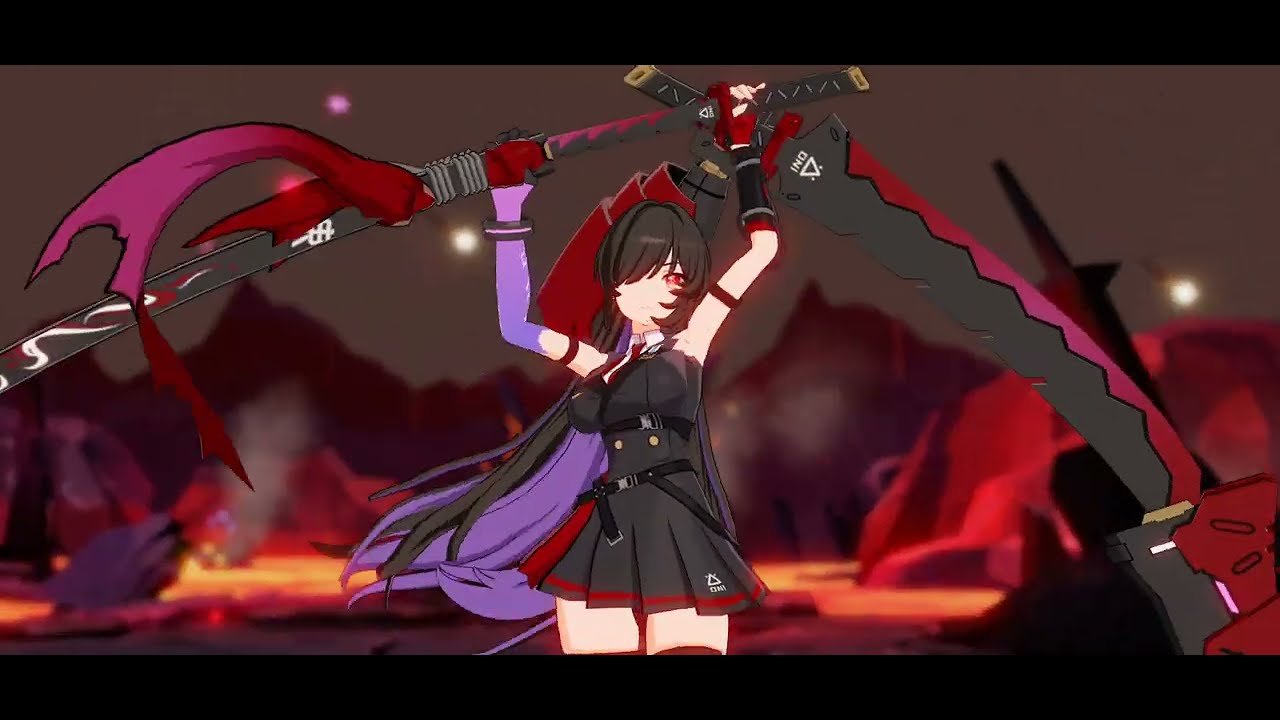
To defeat Flame Knight Meteus in License Stage 8, build Resonance Rin as your primary Water burst attacker to exploit Meteus's Fire affinity. A 6-star Resonance Rin gains the baseline offensive stats required to deplete the boss's Weakness Gauge, triggering a Break window where her Burst Level 3 skill can deal decisive damage before Meteus activates his enrage shield.
Stat Targets and Gear Setup
Resonance Rin requires high Critical Hit Chance and Critical Hit Damage to function effectively. Against Fire enemies, Rin receives a built-in 15% critical strike consistency bonus and a 30% elemental damage advantage, which lowers her gear burden slightly.
Equip her with either a four-piece Attack Set paired with a two-piece Critical Hit Set, or a four-piece Critical Hit Damage Set. Prioritize reaching the following stat benchmarks before allocating stats into raw Attack:
- Critical Hit Chance: 70% unbuffed (reaches 100% when factoring in elemental advantage and team buffs)
- Critical Hit Damage: 250% or higher
- Speed: 160 minimum to cycle turns ahead of Meteus
| Equipment Slot | Recommended Main Stat | Target Substat Priority |
|---|---|---|
| Weapon | Flat Attack | Critical Hit Damage, Critical Hit Chance, Attack % |
| Armor | Flat Defense | Critical Hit Damage, Critical Hit Chance, Speed |
| Helmet | Flat Health | Critical Hit Damage, Critical Hit Chance, Attack % |
| Necklace | Critical Hit Damage % | Critical Hit Chance, Attack %, Speed |
| Ring | Attack % | Critical Hit Damage, Critical Hit Chance, Flat Attack |
| Boots | Speed or Attack % | Critical Hit Damage, Critical Hit Chance, Attack % |
If you run Rin alongside dedicated buffers such as Tamara who grant team-wide Critical Hit Chance boosts, swap excess critical chance substats for additional Attack percentage and Critical Hit Damage.
Stage 8 Boss Mechanics: Flame Knight Meteus
Flame Knight Meteus challenges your team through stacking burn debuffs and an elemental barrier:
- Burn Stacks: Meteus repeatedly applies Fire-affinity damage-over-time debuffs that will overwhelm your team if left unaddressed.
- Enrage Barrier: If Meteus completes his turn cycle while his barrier remains intact, he unleashes a retaliatory area-of-effect strike capable of wiping offensive units.
- Weakness Gauge: Depleting Meteus's gauge induces a Break state. In this state, the boss takes increased damage, his action is delayed, and his retaliatory mechanics are temporarily disabled.
Recommended Team Composition
Because Resonance Rin focuses purely on single-target damage, her teammates must provide defense reduction, action point generation, dual attacks, and burn removal.
| Role | Character | Core Function |
|---|---|---|
| Main Attacker | Resonance Rin | Shreds the Weakness Gauge and executes the primary burst |
| Offensive Buffer | Tamara | Supplies Critical Hit buffs, Defense Down, and turn meter push |
| Dual Attack Enabler | Veronica or Valentine | Triggers dual attacks to accelerate chain building and gauge depletion |
| Cleanser / Healer | Saeran or Tio | Cleanses stacking burns; Saeran provides Action Point fueling |
Turn Rotation and Break Execution
Follow this combat sequence to secure the clear:
- Phase 1: Setup and Meter Building
Use standard skills to chip down Meteus's Weakness Gauge while reserving Rin's Action Points. Apply Defense Down using Tamara, and use Saeran or Tio to cleanse burn debuffs immediately after Meteus attacks.
- Phase 2: Triggering Break
Use dual attacks from Veronica or Valentine to speed up the depletion of the Weakness Gauge. Time your hits so that Meteus enters the Break state before his enrage shield sequence finishes.
- Phase 3: Burst Level 3 Execution
Once Meteus is in the Break state, trigger Rin's Burst Level 3 sequence while Tamara's offensive buffs and Defense Down are active. Follow up with your Chain Finisher to capitalize on the vulnerability window before Meteus recovers.

Free OUTERPLANE Codes
Current active codes and how to redeem them.

Emily Johnson
Emily writes practical mobile strategy guides with a focus on resource planning, base progression, and the early decisions that shape a long-term account.
COMMUNITY
Player Comments
42 players commented on this guide.
Nice guide. I am checking the other OUTERPLANE articles next.
I wish I had read this before upgrading the wrong thing.
The explanation is clear, especially for beginners.
I tried this today and it worked better than my old setup.