
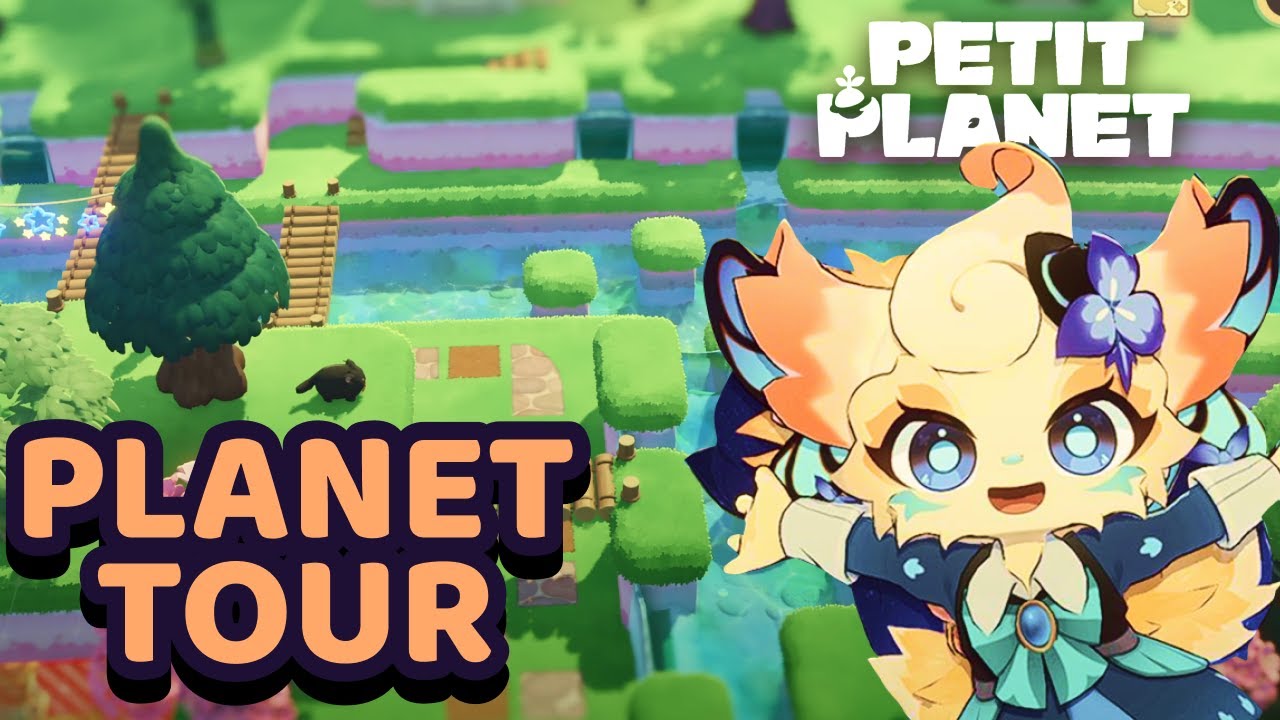
To create a visually stunning island in Petit Planet, you must look beyond flat-ground building and master the verticality offered by the game’s terraforming tools. By manipulating elevation, you can create cascading water features and layered landscapes that define your island’s unique aesthetic. This guide covers how to effectively use terrain height adjustments to craft realistic waterfalls and cliffside architecture, ensuring your island stands out through thoughtful spatial planning and environmental layering.
Sculpting Multi-Tiered Terrain for Visual Depth
The primary way to elevate your island’s design in Petit Planet is by utilizing the height-adjustment tools to create distinct, intentional plateaus. Instead of relying on a single, expansive ground level, experienced designers create multiple elevations to break up the horizon. This strategy allows you to categorize different areas of your island, such as separating high-altitude residential zones from low-lying coastal beaches.
When planning your terrain, start by carving out large, elevated platforms before placing structures. This approach ensures that your buildings sit naturally on the landscape rather than looking like they are floating or awkwardly embedded. By mixing various heights, you create natural sightlines that draw the player's eye upward, making the island feel significantly larger and more complex than a flat layout.
Strategies for Effective Elevation:
- The "Base-Up" Method: Always sculpt your terrain tiers before laying down paths or structures. It is significantly harder to adjust cliff heights once buildings are already placed.
- Gradual Stepping: Use a three-tier system (low, mid, high) to manage transitions. Avoid abrupt "walls" unless they are intended to be major design focal points.
- Sightline Optimization: Position your highest tiers in the back of the island to create a sense of scale, and keep the foreground lower to maintain an open, welcoming perspective.
Engineering Natural Waterfalls and River Flow
Water features are the cornerstone of a high-end Petit Planet island, but they require precise terrain sculpting to look intentional. To create a waterfall, you must establish at least two distinct levels of land. The water source should be placed on the higher elevation, allowing the game engine to generate a downward flow when the water meets the edge of the cliff.
For the most realistic results, avoid straight, boxy rivers. Nature is rarely perfectly linear; use the terrain tools to create jagged, natural-looking edges along the riverbanks. If your waterfall looks static, try adjusting the surrounding terrain to include rocks or foliage near the base, which helps blend the water transition into the rest of the environment. Always check your flow direction from a top-down view to ensure the water path remains consistent across different heights.
Pro-Tips for Water Flow:
- Avoid Grid-Lock: Use rounded brushes when sculpting riverbanks to prevent the "man-made canal" look.
- The Splash Zone: Add "moisture-themed" assets like mossy rocks or reeds at the bottom of a waterfall to hide the transition point where water hits the lower tier.
- Flow Consistency: Always ensure the higher elevation terrain is perfectly flat at the edge; a slope at the cliff's edge can cause the water animation to flicker or cut off prematurely.
Integrating Architecture with Cliffside Landscapes
Once you have established your cliffs and waterfalls, the next step is to integrate your furniture and buildings into these features. Placing staircases or pathways that navigate the elevation changes is essential for both traversal and aesthetics. Use the gaps between terrain tiers to tuck in garden displays or smaller decorative items, which adds a sense of "lived-in" detail to your island.
When building near waterfalls, consider the moisture-themed assets available in your catalog. Placing lush, aquatic-style plants or stone-based decorations at the base of your cliffs highlights the water feature as the centerpiece of your design. This layering technique not only improves the look of your island but also creates clear, logical paths for visitors to explore your multi-level creations.
Architectural Best Practices:
- Vertical Utility: Use staircases to connect tiers rather than relying on jumping mechanics. This makes the island feel more "navigable" for visitors.
- Shelf Gardening: Use the middle-tier ledges to create "shelf gardens" where you can place small flowers or lanterns, drawing attention to the vertical height of your cliffside.
- Anchor Points: Place your largest buildings on the highest plateaus to act as a "crown" for that section of the island.
Managing Limitations and Terrain Constraints
While terraforming offers immense creative freedom in Petit Planet, it is important to work within the game’s spatial constraints. Rapidly changing elevation can sometimes lead to clipping issues or pathfinding errors for NPCs or player characters. To mitigate this, always test your terrain by walking through it after each major modification. If an area feels too cramped, widen the pathways or reduce the height of the cliff to ensure smooth movement.
Furthermore, remember that your island has a finite amount of space and object capacity. Over-sculpting your terrain with too many individual tiers can limit how many decorations or buildings you can place later. Aim for a balanced design where your vertical features serve a purpose—such as creating a private retreat or a scenic overlook—rather than just adding height for the sake of complexity.
Avoiding Common Pitfalls:
- Pathfinding Errors: Avoid creating cliffs that are too steep or narrow for character models to traverse comfortably. A good rule of thumb is to ensure paths are at least three grid-tiles wide.
- Object Capacity Awareness: Every cliff block occupies a portion of your total island memory. Don't fill your entire map with complex terraforming; leave space for decorations and interactive objects.
- The "Clutter" Trap: Avoid placing too many decorations on the edges of cliffs. This can cause the camera to struggle with clipping, making it difficult for players to navigate or view the features clearly.
Final Decision: Prioritizing Your Build
When deciding how much terraforming to undertake, consider your ultimate goal for the island. If you are building a Petit Planet island focused on high-traffic visitation, prioritize wide, accessible paths and clearly marked vertical transitions. If you are building for aesthetic screenshots, you can push the limits with tighter, more intricate cliffside designs.
Always place your most intricate waterfall designs in high-visibility areas—near the entrance or the center of the map—to maximize their impact. By balancing your vertical ambitions with the practical movement needs of the player, you will create an island that is as functional as it is beautiful. Remember: in Petit Planet, verticality is your best friend for making a small space feel like a sprawling, professional-grade world.

Free Petit Planet Codes
Current active codes and how to redeem them.

Emily Johnson
Emily writes practical mobile strategy guides with a focus on resource planning, base progression, and the early decisions that shape a long-term account.
COMMUNITY
Player Comments
57 players commented on this guide.
I tried this today and it worked better than my old setup.
This helped me understand strategy much better.
The explanation is clear, especially for beginners.
Good guide for Petit Planet players. The strategy part was useful.