
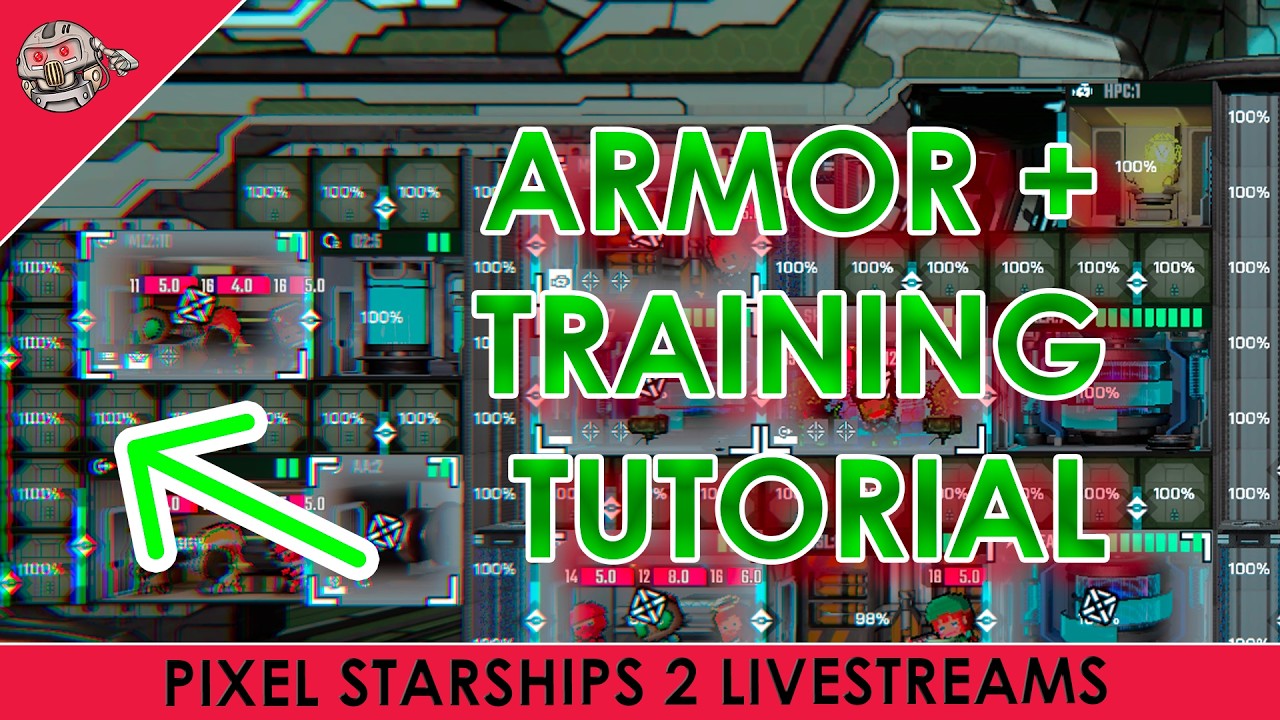
To protect your ship and win engagements in Pixel Starships 2, concentrate armor blocks along the edges of fragile, low-health modules and train crew members into specialized, single-stat roles. Armor operates strictly through direct room adjacency rather than shipwide passive defense, while pawn effectiveness peaks when crew attributes align with their specific operational stations.
How Armor Adjacency Works
Armor blocks do not grant global hull defense. An individual armor tile provides damage reduction only to modules that physically touch its horizontal or vertical edges. Placing an armor block against an empty hallway or the outer vacuum wastes ship interior grid space.
Key placement rules include:
- Diminishing returns per tile: The first two to three armor blocks bordering a room provide the highest percentage increase in damage resistance. Adding subsequent blocks yields progressively smaller defensive gains.
- Multi-touch efficiency: Position armor tiles between two or three operational compartments. Sandwiching blocks creates dual-touch or triple-touch placements, maximizing damage reduction across multiple systems without consuming excess grid squares.
Room Armor Priorities
Rooms possess distinct baseline hit points. Low-durability systems will collapse under focused fire if unarmored, causing system downtime and killing crew inside. High-durability rooms can sustain incoming hits naturally and require minimal adjacent armor.
| Room Type | Base Durability | Armor Priority | Strategic Function |
|---|---|---|---|
| Shield Generator | Low to Moderate | Top Priority | Keeps shipwide shields operational; losing shields exposes the hull. |
| Teleporter / Boarding | Low | High | Prevents quick disables that disrupt assault timing and trap boarders. |
| Weapons (Lasers/Bolters) | Low to Moderate | High | Sustains damage output and prevents hostile shields from regenerating. |
| Reactors & Power | Very High | Low | Large base health pools absorb stray fire without needing heavy armor belts. |
Route your armor belts to surround low-capacity weapons, shield generators, and teleporters first. Leave reactors with little to no armor coverage to save layout space for weapons and power.
Pawn Training Facilities and Stat Caps
Pawns have baseline values across six primary attributes: Health, Attack, Repair, Weapon, Science, and Engine. Assigning idle crew to facilities like the Gym or Training Academy permanently increases these stats, subject to several mechanics:
- Resource and time costs: Each training session requires time and dedicated currency or resources.
- Attribute ceilings: A pawn's maximum potential is governed by its rarity, level, and individual stat caps. As an attribute nears its cap, session duration increases and stat gains diminish.
- Crew rotation: Training pawns are unavailable for combat duty. Rotate crew between your active combat roster and training facilities to maintain full operational staffing during missions.
Recommended Training Profiles by Role
Avoid spreading training points across multiple attributes. Hybrid builds underperform against specialized setups. Instead, train each pawn toward a single focused duty:
- Gunners (Weapon): High Weapon stats directly shorten room reload times, allowing laser and missile batteries to fire faster.
- Engineers (Repair and Health): High Repair stats drastically cut module downtime, while secondary Health investments prevent splash damage from killing engineers while they work.
- Shield Technicians (Science): The Science stat accelerates shield recharge rates, ensuring the ship's protective shield recovers quickly between salvos.
- Boarders and Security (Attack and Health): Boarding combat requires raw Attack power to clear defenders quickly, backed by sufficient Health to survive defensive fire.
Combining Armor Placement with Crew Assignments
Armor and pawn training function together. Highly trained engineers cannot repair a destroyed module if an unarmored burst instantly wipes the room and its occupants. Armor blocks blunt burst damage, creating the necessary delay for high-Repair engineers to restore room integrity under sustained fire.
Place your most heavily trained specialists in your most heavily armored compartments. If grid constraints leave a necessary combat system lightly armored, avoid stationing your primary specialists inside; instead, manage the module with automated AI directives or mobile repair crew instructed to fall back when room health drops.

Free Pixel Starships 2 Codes
Current active codes and how to redeem them.

Emily Johnson
Emily writes practical mobile strategy guides with a focus on resource planning, base progression, and the early decisions that shape a long-term account.
COMMUNITY
Player Comments
77 players commented on this guide.
This helped me understand strategy much better.
Good guide for Pixel Starships 2 players. The strategy part was useful.
I wish I had read this before upgrading the wrong thing.
The tips are practical and easy to follow.