
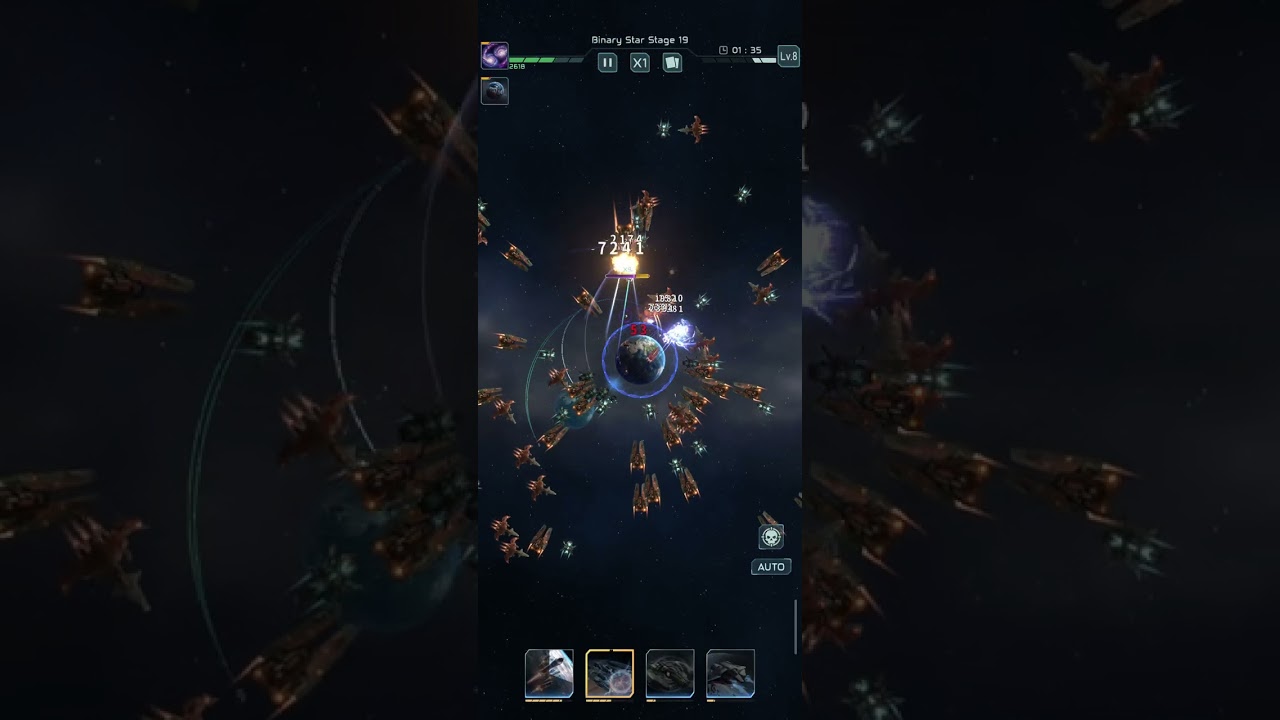
To clear Binary Stage 19 in Planet Defense: Space TD game, establish symmetrical baseline defenses across both planetary cores before investing in high-tier upgrades, and anchor heavy beam weapons in the overlapping center lane. Because enemy waves alternate between heavy vanguard cruisers on one flank and fast swarms on the other, overcommitting resources to a single lane leaves the secondary core vulnerable to sudden breaches.
Turret Placement and Zone Priorities
Binary Stage 19 requires defending two separate cores that draw from a shared energy pool. To maximize damage per energy unit, place long-range anti-armor weapons where the firing arcs cross the orbital mid-band, allowing a single battery to target invaders entering from either corridor.
| Placement Zone | Primary Turret Type | Strategic Function | Priority Tier |
|---|---|---|---|
| Interlocking Mid-Band | Heavy Beam / Laser | Melts sustained cruiser hulls across shared flight paths | High |
| Outer Perimeter Nodes | Kinetic Cannons | Strips energy shields and clears early vanguard craft | High |
| Core Hub Rings | Point-Defense Flak | Intercepts high-speed breach runners and missile volleys | Medium |
| Rear Hardpoints | Shield Generators / Buff Nodes | Bolsters structural integrity and increases rate of fire | Medium |
Deploy kinetic cannons along outer nodes to strip incoming barrier shields before enemy ships reach the center. Position point-defense flak directly adjacent to each core hub to catch fast skirmishers or missiles that slip through the perimeter.
Wave Progression and Upgrade Cadence
Avoid maxing out individual turrets early. Rushing a single top-tier weapon starves the opposite core of basic field coverage.
- Early Waves (Baseline Coverage): Place basic kinetic cannons and low-tier beam emitters on both lanes. Ensure both cores have at least three active firing points before spending resources on utility structures or advanced upgrades.
- Mid-Stage (Armor Penetration and Area Damage): As armored hulls increase, upgrade mid-band beam turrets to boost armor-melt duration. Add area-of-effect munitions to strip escort frigates and keep heavy cruisers from absorbing all incoming fire.
- Late Stage (Overcharge and Core Shields): Invest surplus resources into fire-rate overcharges and dedicated shield projection nodes to withstand sustained capital ship bombardment.
Countering Elite Cruisers and Split Pushes
The main failure point on Stage 19 occurs during late-wave elite cruiser incursions. These capital ships launch screening drones that draw automated targeting away from the main threat.
- Manual Hull Targeting: When an elite cruiser enters, immediately retarget high-damage beam batteries onto the capital hull rather than allowing weapons to track disposable drone escorts.
- Crowd Control Chokepoints: Deploy localized stasis fields or disruption pulses while the vanguard sits in the overlapping mid-band, keeping the boss pinned where both sectors can engage it simultaneously.
- Managing Simultaneous Pushes: If elite hulls advance down both corridors at once, trigger defensive abilities on the weaker flank while manually concentrating turret fire on the stronger target. Once the first flagship falls, pivot central batteries to finish the remaining cruiser.
Common Mistakes to Avoid
- Asymmetrical Spending: Upgrading one core to maximum tier while leaving the other with baseline turrets causes an instant wipe when the AI surges down the neglected flank.
- Omitting Kinetic Turrets: Relying solely on beam weapons slows down shield clearance against shielded vanguard ships.
- Isolated Turret Placement: Placing weapons outside shared firing angles prevents batteries from supporting the adjacent wing during heavy single-lane pushes.
- Hoarding Defensive Cooldowns: Saving orbital abilities until a core is actively breached usually comes too late; trigger support abilities preemptively as heavy waves group up.

Free Planet Defense: Space TD game Codes
Current active codes and how to redeem them.

James Brown
James focuses on Android gaming on PC, emulator setup, controls, performance tuning, and practical troubleshooting for longer play sessions.
COMMUNITY
Player Comments
84 players commented on this guide.
I tried this today and it worked better than my old setup.
The tips are practical and easy to follow.
Can you add more details about strategy in a future update?
I wish I had read this before upgrading the wrong thing.