
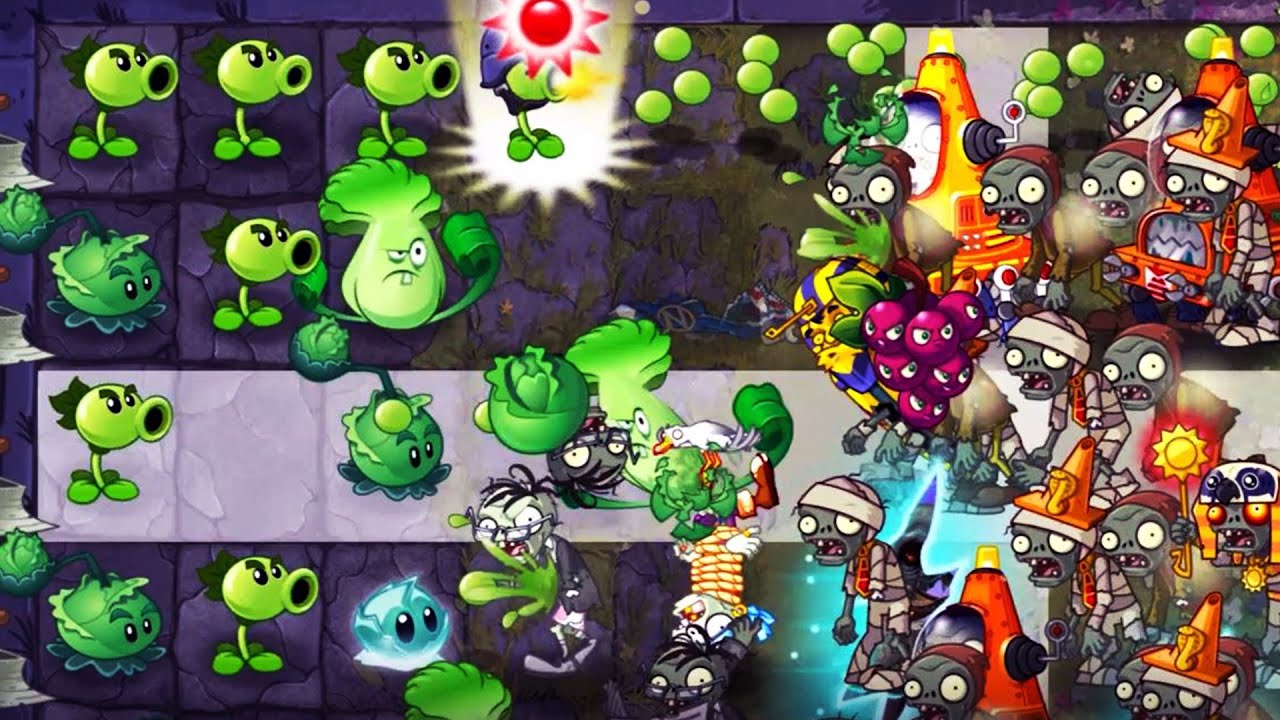
To defeat Gargantuars and earn competitive scores in Plants vs. Zombies™ 2 Arena tournaments, you must eliminate them in the far-right scoring zone while preventing their thrown Imps from breaching your rear columns. Gargantuars possess massive health pools and an instant-kill smash attack, making lane control and layered plant placement essential.
Lawn Positioning and Plant Roles
Arena mode divides the lawn into three scoring zones. Defeating zombies in the outermost right zone awards the highest score multiplier, while letting them advance into the middle or back rows significantly reduces your point yield.
Single-target projectiles fail against heavy Arena waves because basic support zombies absorb the hits, allowing Gargantuars to march forward unharmed. Instead, build your defense around piercing damage, crowd control, and mid-lawn interception.
| Plant Role | Primary Function | Placement | Strategic Value |
|---|---|---|---|
| Piercing / AoE Attacker | Damages Gargantuars and surrounding fodder simultaneously | Columns 1–2 | Bypasses meat-shield zombies to whittle high health pools |
| Mid-Lawn Imp Catcher | Intercepts or eliminates launched Imps behind the front line | Columns 3–4 | Prevents flanking attacks on fragile shooters and sun producers |
| Crowd Control / Staller | Freezes, stuns, or pushes back to disrupt movement and smashes | Columns 4–6 | Keeps Gargantuars pinned in the maximum-multiplier scoring zone |
| Instant Burst / Emergency | Delivers immediate lethal damage to tightly packed threats | Front-line tiles | Resets lanes when multiple Gargantuars threaten to break through |
Countering the Gargantuar Imp Throw
When a Gargantuar drops to half health, it launches an Imp directly into columns 3 and 4. Because this projectile zombie bypasses front-line obstacles entirely, an unprotected backline will quickly lose sun producers or attackers, triggering lawnmowers and causing severe score penalties.
Protect your mid-lawn tiles with these specific adjustments:
- Reinforce Landing Tiles: Place multi-directional attackers, ground traps, or low-cost defensive blockers in columns 3 and 4 to engage Imps the moment they land.
- Disrupt the Flight Path: Use slowing effects or knockback plants to alter the Imp trajectory or blow airborne targets off the lawn before they touch down.
- Drop Instant Removal: Reserve fast-arming explosive plants for tiles where Imps are about to land to wipe them out instantly.
Pre-Plant Setup
Arena matches grant starting sun and unlimited preparation time before you tap "Let's Rock." Use this planning phase to establish your core offense and economy so you are not forced into reactive spending.
- Secure the Backline: Fill columns 1 and 2 with your primary piercing damage dealers.
- Position Sun Production: Place sun producers where thrown Imps cannot reach them, or rely on instant sun-generating options that provide immediate resources at match start.
- Establish Initial Crowd Control: Plant an active slowing or stalling unit in every lane across columns 4 through 6 to trap the opening Gargantuar wave in the high-score zone.
Plant Food Timing and Emergency Recovery
Do not spend Plant Food on isolated Gargantuars. Plant Food is limited in Arena matches and produces the highest value when used against multi-Gargantuar cluster waves. Save your activations until two or more Gargantuars converge in adjacent or identical lanes, then trigger a piercing attacker or board-wide crowd control plant to halt enemy momentum across the entire lawn.
If a Gargantuar breaches your defensive perimeter and smashes a plant, do not immediately spend large amounts of sun to replace that expensive unit. Drop an inexpensive, fast-recharge stalling plant directly in front of the advancing zombie. This sacrificial placement resets the Gargantuar's smash animation, buying your surviving backline attackers the time needed to finish off the target before you rebuild the tile.

Free Plants vs. Zombies™ 2 Codes
Current active codes and how to redeem them.

James Brown
James focuses on Android gaming on PC, emulator setup, controls, performance tuning, and practical troubleshooting for longer play sessions.
COMMUNITY
Player Comments
70 players commented on this guide.
This helped me understand strategy much better.
This guide answered the exact question I had.
Nice guide. I am checking the other Plants vs. Zombies™ 2 articles next.
I tried this today and it worked better than my old setup.