
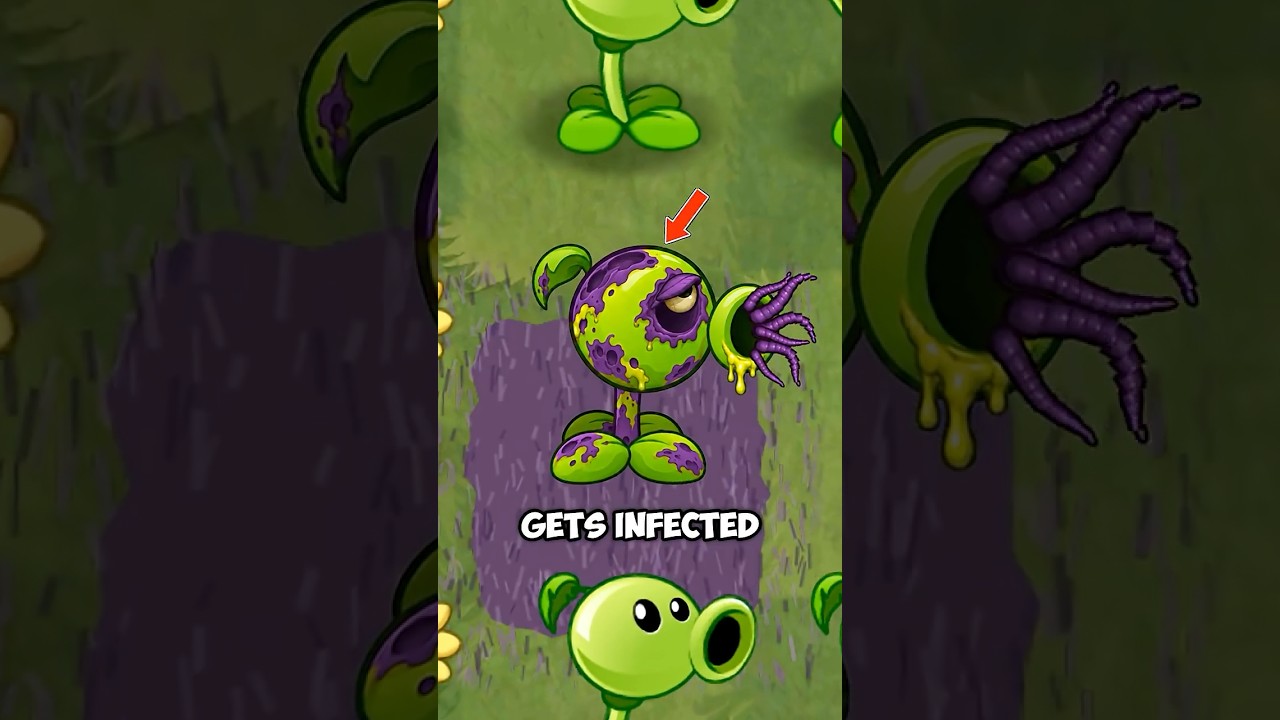
To beat the zombie infection challenge in Plants vs. Zombies™ 2, you must eliminate incoming threats from a distance without allowing a single melee bite. In this mode, any zombie bite converts your plants into hostile hazards or enemy spawners. Traditional barrier plants like Wall-nut and Tall-nut become immediate liabilities that turn your own defenses against you.
Survival requires shifting completely to ranged knockback, slowing effects, and instant-kill burst damage while keeping the front of your lawn open as a buffer zone.
Eliminating Melee Contact and Defensive Stalls
Standard stalling strategies fail under infection rules because high-durability plants provide easy conversion targets for Conehead Zombies, Buckethead Zombies, and basic threats. Once bitten, an infected plant obstructs outgoing projectile lanes and damages adjacent units.
Implement these field rules to maintain zero contact:
- Remove all blocking barriers: Exclude Wall-nut, Tall-nut, and similar stalling flora from your seed selection.
- Maintain a deep kill zone: Leave columns six through nine completely clear of permanent plants so your ranged attackers have time to neutralize targets.
- Shovel threatened plants: If a zombie enters melee range of an occupied tile, dig the plant up with the shovel immediately. This reclaims a portion of your sun investment and denies the zombie a conversion target.
Sustaining Knockback and Chill Effects
Because enemies cannot be allowed to touch your defense, your primary firing line must stop forward movement through continuous kinetic impact and movement-speed debuffs.
Stacking Primal Peashooter in column five forms your baseline barrier. Each heavy rock projectile deals damage, applies a micro-stun, and physically repels targets back toward the spawn zone. Pairing this knockback with cold effects increases safety significantly: chilled targets recover from knockback much more slowly, giving your attackers ample time to complete subsequent attack animations before zombies regain momentum.
| Plant | Sun Cost | Role | Function Under Infection Rules |
|---|---|---|---|
| Primal Peashooter | 175 | Single-target knockback | Pushes zombies back and applies micro-stuns from range. |
| Winter Melon | 500 | Area-of-effect chill | Slows enemy movement by 50 percent across a 3x3 area. |
| Hurrikale | 100 | Full-lane reset | Blown wind pushes an entire row back to the spawn edge. |
Deploying Instant-Kill Explosives
Single-use explosive plants bypass infection risks when placed properly because their detonations execute before approaching enemies can complete a bite animation.
Use instant burst options according to the threat type:
- Cherry Bomb: Place directly into dense clusters of high-health Bucketheads or sudden wave spikes for immediate 3x3 clearance.
- Jalapeno: Deploy when an enemy slips past a weakened column to incinerate the entire horizontal lane instantly.
- Primal Potato Mine: Deploy for a low-cost 50-sun explosive option. Because it requires a short underground arming sequence, never plant it directly adjacent to an approaching zombie. Always place it at least two tiles ahead of incoming targets so it finishes arming safely before contact occurs.
Lawn Architecture and Sun Management
Supporting high-cost artillery like Winter Melon requires an efficient sun core placed as far back as possible to prevent breach cascades. Use Primal Sunflower for immediate 75-sun drops or Sun-shroom for an inexpensive 25-sun early curve.
Organize your lawn into distinct functional zones:
- Columns 1–2 (Economic Core): Fill exclusively with sun producers so they remain protected behind all attack lines.
- Columns 3–4 (Artillery and Chill): Position Winter Melon or Laser Bean units to ensure maximum horizontal firing range across the board.
- Column 5 (Kinetic Frontline): Establish a line of Primal Peashooters to knock back and stall single targets in their tracks.
- Columns 6–9 (Open Kill Buffer): Keep this space completely vacant for projectile travel distance, armed Primal Potato Mines, and emergency instant drops.
Handling Swarms and Gargantuar Imps
Fast runners and thrown projectiles bypass single-target knockback mechanisms and must be answered with piercing damage or targeted Plant Food reactions.
Fast Runners (Zombie Chickens and Ice Weasels)
Due to their rapid movement and high volume, Zombie Chickens and Ice Weasels will overwhelm single-target firing rates and trigger cascading infections. Counter these swarms by deploying piercing attackers like Laser Bean or Lightning Reed across the middle columns. Their piercing beams and electrical arcs strike multiple targets simultaneously, vaporizing dense packs before they reach melee range.
Gargantuar Imp Throws
When a Gargantuar sustains sufficient damage, it throws its Imp directly into columns two or three. An Imp landing on an economic or artillery plant causes an immediate backline infection.
To prevent this breach, save a Plant Food burst for the Gargantuar's throwing animation. Activating Plant Food on a Primal Peashooter unleashes a heavy barrage that knocks back the Gargantuar and eliminates the airborne Imp before it lands. If an Imp successfully reaches a rear tile, immediately shovel the threatened plant or place an instant explosive on the tile to stop the infection from spreading across your backline.

Free Plants vs. Zombies™ 2 Codes
Current active codes and how to redeem them.

Emily Johnson
Emily writes practical mobile strategy guides with a focus on resource planning, base progression, and the early decisions that shape a long-term account.
COMMUNITY
Player Comments
92 players commented on this guide.
The explanation is clear, especially for beginners.
Can you add more details about strategy in a future update?
I wish I had read this before upgrading the wrong thing.
The tips are practical and easy to follow.