
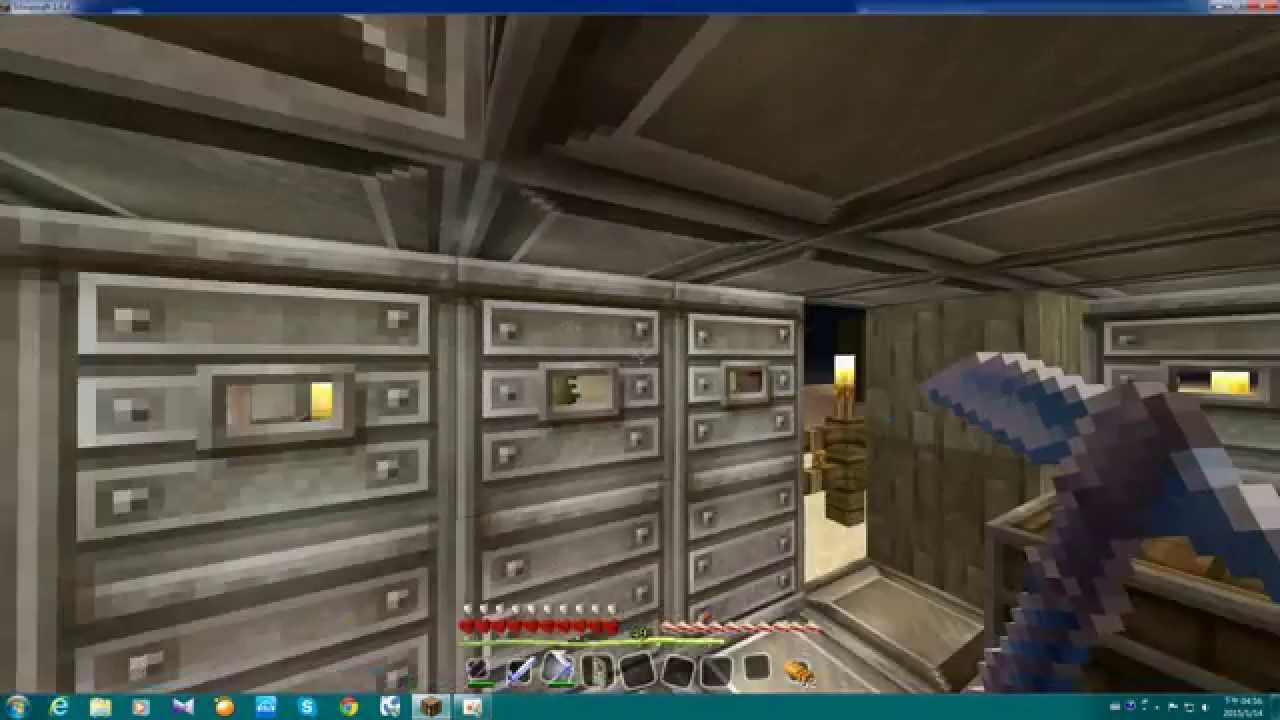
To survive high-density waves in Portal Defense on the Sonias Continent map, build your primary perimeter directly against natural terrain boundaries and force incoming mobs through artificial, narrow corridors. Concentrating upgraded towers along a controlled funnel ensures continuous damage output while protecting your base core.
Anchoring Base Perimeters Using Terrain
Building in open terrain forces you to divide your defenses across multiple angles. On the Sonias Continent map, position your base perimeter against existing natural barriers to restrict mob pathing automatically.
- Cliff Edges and Ravines: Place your back walls along deep ravines or cliffs to block enemy movement from that direction entirely without spending extra resources.
- Pre-Built Ruins: Incorporate existing ruin structures into your outer wall layout to create sturdy anchor points.
- Border Consolidation: By reducing the exposed sides of your base, you can consolidate your available towers into a single high-lethal defense zone rather than spreading fire thin.
Constructing Two-Block Funnel Corridors
Mobs move toward your core along the shortest open route. You can manipulate this pathing by leaving deliberate openings in your wall layout and forming a winding hallway of towers.
- Set Corridor Width: Keep defensive corridors at least two blocks wide. This width prevents enemy units from glitching or getting stuck while keeping them tightly grouped under target fire.
- Layer the Walkway: Force mobs into single-file or tight lines so that area-of-effect and piercing projectile towers hit multiple targets simultaneously.
- Extend Path Uptime: Lengthen the corridor with staggered wall segments to keep enemies inside your tower ranges for as long as possible.
Tower Placement and Resource Management
Maximize your funnel's efficiency by matching tower types to specific positions along the walkway and prioritizing upgrades over raw tower count.
| Corridor Zone | Recommended Tower Class | Primary Objective |
|---|---|---|
| Entrance | Crowd Control (Slow / Freeze) | Delays mob entry and groups units tightly inside the bottleneck. |
| Mid-Section | Area-of-Effect / Piercing | Strikes multiple grouped targets repeatedly as they walk the line. |
| Rear | High Single-Target / Armor-Piercing | Eliminates surviving high-health enemies before they reach the core. |
Upgrading vs. Tower Spamming
- Prioritize Tier Upgrades: A small group of high-tier, fully upgraded towers in a tight funnel consistently deals more damage than dozens of low-level towers scattered around the perimeter.
- Maintain Gold Reserves: Always hold a reserve of gold during active waves. If a corridor wall takes severe damage, immediate repairs are necessary to prevent mobs from breaking through the bottleneck.
Adapting Layouts to Escalating Waves
As enemy spawn density and speed increase in later stages, adjust your defensive setup before rounds begin:
- Repurpose Peripheral Towers: Dismantle weak or out-of-range towers on the outer perimeter and reinvest their refund value into your core funnel walls and main damage turrets.
- Swap Target Variants: Inspect incoming wave compositions before each round starts. If heavy armor units are incoming, replace standard damage towers inside the funnel with armor-piercing variants.

Free Portal Defense Codes
Current active codes and how to redeem them.

Michael Smith
Michael covers live-service games, events, reward systems, and efficient daily routines, turning frequent updates into clear actions for players.
COMMUNITY
Player Comments
84 players commented on this guide.
The tips are practical and easy to follow.
I tried this today and it worked better than my old setup.
Can you add more details about base building in a future update?
I wish I had read this before upgrading the wrong thing.