
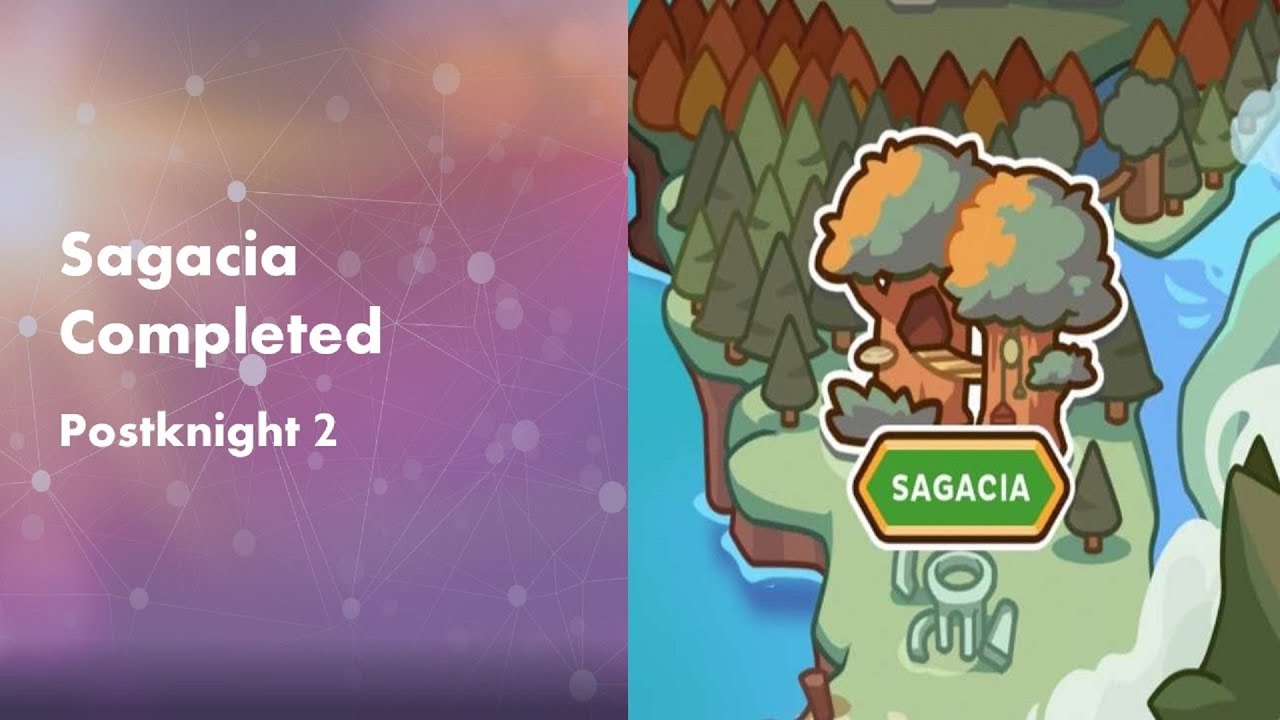
To defeat the Sagacia storyline boss in Postknight 2, mitigate incoming magic projectile salvos, break protective wards using rapid attacks, and drink potions during post-cast recovery pauses rather than waiting for critical health.
Choose the Right Weapon Loadout
Your weapon choice determines how safely you can survive projectile barrages and punish vulnerability windows:
- Sword and Shield: The safest option for clearing the fight. Raising your shield blocks multi-hit magic attacks, negates knockback, and reduces burst damage to manageable chip amounts. Follow up successful blocks with a shield charge to close the distance quickly.
- Dual Daggers: Best suited for high mobility. Daggers grant invulnerability frames during lunges and aerial dodges, allowing you to bypass dense projectile fields and reach the boss's flank to deal critical damage.
- Heavy Hammer: Deals substantial posture damage and raw burst. A fully charged smash can interrupt certain channeling animations and induce staggers, though the slower swing speed leaves you open to chip damage from ranged spells.
If you are struggling to survive the boss's spell combinations, choose the Sword and Shield to minimize the risk of mistimed dodges.
Countering Boss Phases and Spell Patterns
The Sagacia boss relies heavily on space control and ranged spells rather than direct melee strikes:
- Opening Phase: The boss alternates between tracking energy projectiles and area-of-effect magical ground traps. Do not charge blindly into active projectile clusters. When the boss hovers or channels glowing energy rings, stop attacking and raise your guard or execute a dodge.
- Enraged Later Phase: Attack speed and cast frequency increase significantly. The boss layers ground hazards with rapid projectile salvos that can pin your character against the edge of the arena screen. Prioritize defensive positioning and wait for attack animations to end before attempting to close the gap.
Breaking Shields and Punishing Openings
The boss periodically casts an energy ward that absorbs incoming damage and deflects normal offensive pressure:
- Strip the barrier: Switch to fast, multi-hit basic attacks or rapid skills. Multi-hit sequences deplete the ward faster than slow, heavy hits.
- Unload burst skills: As soon as the barrier shatters, trigger your strongest burst abilities, such as shield charges, hammer smashes, or dagger flurry strikes, while the boss is exposed to true damage.
- Disengage cleanly: Back away before overcommitting. The boss regularly unleashes a close-range shockwave shortly after recovering from a broken ward.
Potion Timing and Health Thresholds
Because the boss casts multi-hit combinations that can rapidly deplete your health bar, managing potion cooldowns is vital:
| Combat Scenario | Optimal Action | Primary Hazard |
|---|---|---|
| Channeling Magic Volley | Block or dodge through projectiles | High burst damage and knockback |
| Active Shield Ward | Fast, high-cadence basic attacks | Absorbed hits and deflected skills |
| Post-Cast Cooldown | Consume potion and counterattack | Minimal immediate threat |
| Enraged Final Phase | Pre-heal above 70% health | Lethal projectile combos |
Do not save potions solely for low-health emergencies below 20%. Drink a potion during post-cast pauses to ensure your health pool stays high enough to survive mistimed hits during multi-projectile salvos.
What to Do After the Fight
After defeating the boss, allow the concluding dialogue sequence to finish completely so regional quest flags register. Once the cutscenes conclude, return to the headquarters hub to turn in regional progression milestones, collect rank rewards, and access newly opened Sagacia delivery routes and merchant inventories.

Free Postknight 2 Codes
Current active codes and how to redeem them.

Michael Smith
Michael covers live-service games, events, reward systems, and efficient daily routines, turning frequent updates into clear actions for players.
COMMUNITY
Player Comments
126 players commented on this guide.
Can you add more details about strategy in a future update?
Nice guide. I am checking the other Postknight 2 articles next.
I wish I had read this before upgrading the wrong thing.
The explanation is clear, especially for beginners.