
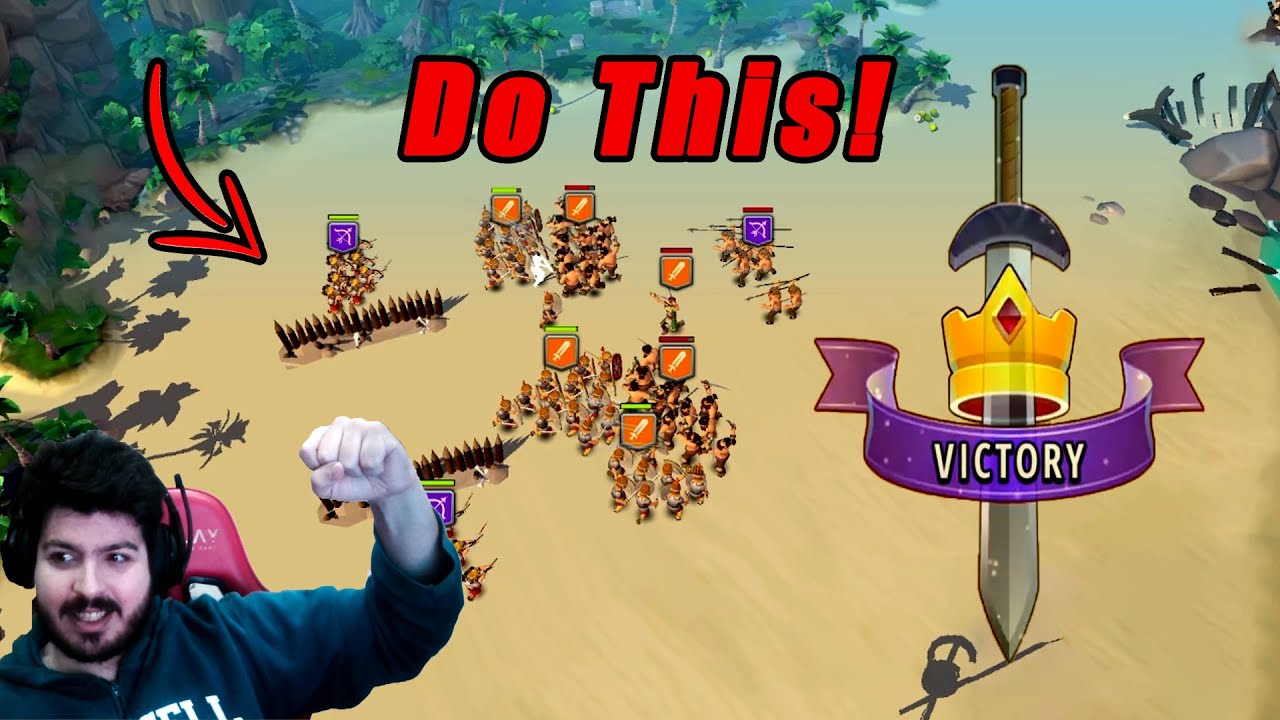
To win difficult combat encounters in Rise of Cultures: Kingdom game without over-leveling your army, configure your pre-battle grid to manipulate automated enemy targeting. Deploy cavalry along unobstructed outer flanks to take out enemy archers, place Heavy Infantry directly in front of incoming hostile cavalry, and delay commander abilities until melee lines converge.
Exploiting Automated Lane Targeting
Combat in Rise of Cultures: Kingdom game follows automated targeting rules decided during the pre-battle deployment phase. Melee units advance straight forward down their assigned lane into the nearest enemy in their forward sightline. If a lane contains no direct opposing target, the squad pivots horizontally toward the nearest adjacent enemy.
A standard symmetrical formation—placing melee squads directly opposite enemy infantry with archers behind—turns combat into a pure stat check. Against higher-tier campaign or Allied Culture armies, this approach causes high squad attrition. Instead, manipulate movement lanes:
- Leave select central or inner lanes empty to force opposing melee squads to spend time marching diagonally toward your defensive line.
- Cluster defensive units on designated flanks to draw enemy attention away from your ranged units.
- Allow your archers free attack cycles while redirected enemy units cross the extra distance before making contact.
Cavalry Flank Tactics Against Ranged Units
Hostile archers inflict consistent damage throughout an encounter if protected by a frontline. Placing cavalry in central lanes often traps them behind friendly infantry or draws them into opposing spearmen. Deploying cavalry on the extreme outer columns allows them to bypass the frontline entirely.
To execute a flank run:
- Check the enemy backline during the scouting phase to locate unprotected archer squads.
- Select an unobstructed outer lane that has no enemy Heavy Infantry or spearmen in the direct forward path.
- Deploy cavalry on the edge so they sprint straight toward the backline when combat begins.
- Avoid lanes blocked by heavy infantry, as frontline defensive units counter cavalry and eliminate them before they reach the archers.
Intercepting Hostile Cavalry Charges
Hostile cavalry prioritize straight runs toward vulnerable backline archers. If an archer squad sits exposed in a direct charge corridor, cavalry will eliminate it in the opening seconds of the fight.
Neutralize incoming cavalry by placing a squad of Heavy Infantry directly in their charge path or staggered one tile forward in the adjacent lane. The hostile cavalry will collide with your infantry, canceling their momentum and locking the riders into sustained melee combat. This shield allows your backline archers to focus down the immobilized cavalry without taking return fire.
| Target Encounter | Deployment Position | Primary Objective |
|---|---|---|
| Opposing Backline Archers | Unobstructed outer flank lanes | Bypass frontline and burst down ranged squads |
| Hostile Cavalry Charges | Heavy Infantry directly in the charge corridor | Absorb impact and lock riders into melee |
| Clustered Enemy Frontline | Offset defensive line with an open center | Funnel units into a dense group for area abilities |
| Mixed Melee and Ranged | Flank Heavy Infantry with central protected Archers | Divert melee squads away from your damage core |
Timing Commander Abilities
Activating commander abilities at the opening horn wastes their effectiveness against moving, dispersed targets. Skills like Boulder Strike and the catapult ability require dense target clustering to achieve maximum value.
- Wait 3 to 5 seconds before casting damage skills: Let opposing melee squads collide with your Heavy Infantry. As both frontlines engage, units compress into a tight scrum. Drop area-of-effect skills directly onto this cluster to hit multiple full squads at once.
- Hold defensive abilities for the initial clash: Trigger skills like the healing horn only after your frontline has absorbed the initial charge impact, restoring lost health before individual squad models fall.
- Conserve skills in multi-wave stages: In multi-wave encounters such as Treasure Hunt battles, save your highest-impact abilities for the second wave, which generally features denser and stronger enemy squads.
Preventing Barracks Attrition
Minimizing squad wipeouts preserves your city's economy. Fully eliminated squads require food and worker time to retrain at the barracks, which diverts resources away from research, culture unlocks, and city expansion. Squads that survive combat with partial model losses regenerate automatically between battles at zero resource cost. If an initial deployment goes poorly due to unexpected targeting, pause and reconfigure your lane assignments before committing further troops.

Free Rise of Cultures: Kingdom game Codes
Current active codes and how to redeem them.

Sarah Williams
Sarah specializes in RPG and collection games, explaining team building, character growth, and beginner-friendly ways to avoid expensive early mistakes.
COMMUNITY
Player Comments
43 players commented on this guide.
This saved me time in the early game.
The explanation is clear, especially for beginners.
Nice guide. I am checking the other Rise of Cultures: Kingdom game articles next.
This guide answered the exact question I had.