
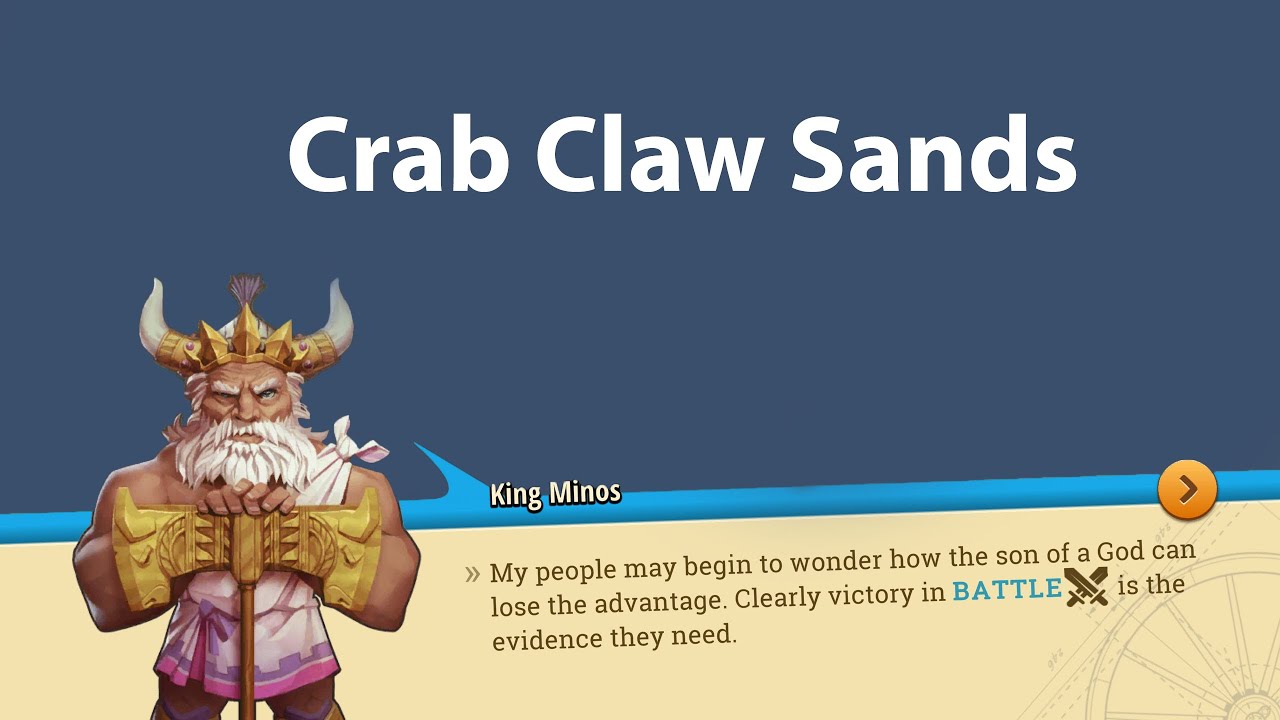
To conquer the Crab Claw Sands province in the Minoan Era Campaign of Rise of Cultures: Kingdom game, you must win five consecutive tactical battles. Anchor the front-center tiles with heavy infantry to absorb incoming charges, place ranged archers and siege engines in the back row to deal steady damage, and deploy heavy cavalry on the outer flanks to bypass the enemy vanguard and eliminate dangerous backline archers.
Recommended Army Setup and Unit Roles
Because enemy garrisons in the Minoan Era combine heavy frontline charges with protected archers, fielding a single troop type leads to severe losses. Balance your army across defensive frontlines, sustained damage dealers, and rapid flanking units.
| Unit Class | Placement Slot | Tactical Function | Target Priority |
|---|---|---|---|
| Heavy Infantry | Front row, center tiles | Absorbs charges and forms a defensive wall | Opposing frontline infantry and melee chargers |
| Ranged (Archers) | Middle or rear row, behind infantry | Deals sustained single-target damage safely | Enemy melee units engaged with your frontline |
| Heavy Cavalry | Extreme left or right flank slots | Routes around the main melee line to dive the backline | Hostile archers and unsupported siege engines |
| Siege Engines | Deep back row or protected rear corner | Provides long-range area-of-effect damage | Clustered enemy squads and static ranged groups |
Formations for the Five Encounters
The five sequential encounters in Crab Claw Sands divide naturally into early melee-heavy waves and late multi-threat formations.
Battles 1 Through 3: Defeating Frontal Rushes
The first three fights rely on direct melee pushes with minimal backline protection.
- Place two to three squads of heavy infantry directly opposite the main enemy vanguard to catch their forward rush.
- Station your archers directly behind your infantry line so they can deliver uninterrupted fire without having to reposition.
- Deploy your cavalry on the flank with the fewest obstacles so they can circle the center collision and clean up remaining hostile units from behind.
Battles 4 and 5: Neutralizing Mixed Formations
The fourth and fifth encounters introduce higher enemy density, reinforced frontline units, and backline archers.
- Split your cavalry across both outer wings rather than stacking them on one side. A dual-flank deployment forces the enemy formation to divide its attention and ensures at least one cavalry squad reaches the hostile rear without getting body-blocked.
- Keep your heavy infantry tightly centered to stop opposing melee units from breaking through toward your ranged core.
- Position your siege units in a protected rear corner where stray enemy cavalry cannot peel onto them.
Commander Ability Timing
Automated unit pathing controls regular attacks, but manually triggering commander abilities prevents your defensive line from breaking under pressure.
- Target high-density ranged clusters early: Cast offensive area-of-effect abilities directly onto groups of enemy archers as soon as the frontlines make contact. Weakening backline damage dealers early lets your cavalry finish them off before your infantry line collapses.
- Reinforce struggling frontline squads: If an elite enemy squad pushes through your center, place crowd-control or reinforcement abilities directly in front of your damaged infantry to absorb incoming strikes.
- Save cooldowns on isolated low-health targets: Never use major tactical abilities to finish off stragglers at near-zero health. Reserve your cooldowns exclusively for full-strength squads that pose an active threat to your formation.
Common Combat Mistakes
- Deploying cavalry in the center: Placing cavalry directly behind or alongside the frontline causes them to charge straight into hostile melee infantry, nullifying their mobility advantage. Always keep them on the outermost deployment edges so they path around the main clash.
- Leaving ranged wings unguarded: Setting archers or siege weapons on an exposed outer edge leaves them open to diagonal charges. Ensure your frontline infantry formation covers the diagonal approach angles to protect your ranged squads throughout the fight.

Free Rise of Cultures: Kingdom game Codes
Current active codes and how to redeem them.

James Brown
James focuses on Android gaming on PC, emulator setup, controls, performance tuning, and practical troubleshooting for longer play sessions.
COMMUNITY
Player Comments
57 players commented on this guide.
I wish I had read this before upgrading the wrong thing.
I tried this today and it worked better than my old setup.
This helped me understand strategy much better.
Good guide for Rise of Cultures: Kingdom game players. The strategy part was useful.