
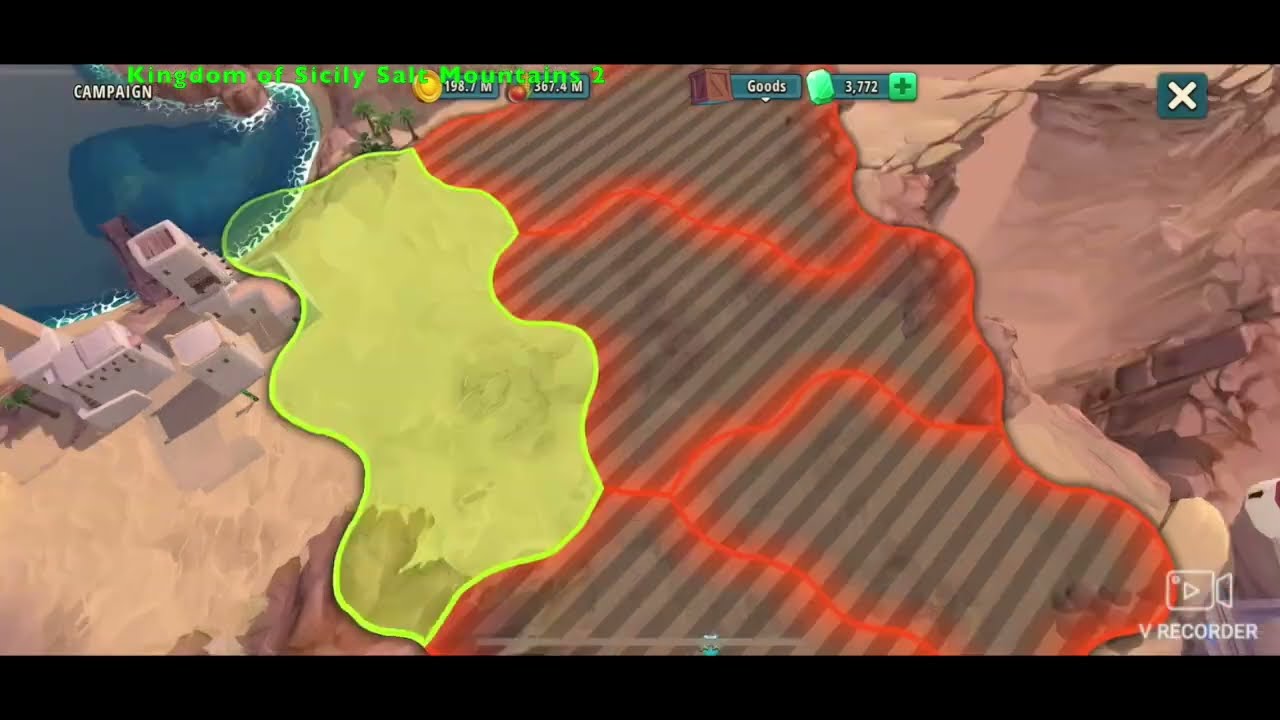
To defeat the Salt Mountains 2 encounter—also designated as the Jewel of the Salt Mountains in the Kingdom of Sicily campaign—anchor the center with two heavy infantry squads to absorb the initial melee charge, deploy cavalry on the outer flank to target hostile archers, and delay offensive commander abilities until the opposing vanguard clusters.
Enemy Threat and Tactical Layout
The hostile army in Salt Mountains 2 uses a dense, mixed formation featuring a sturdy melee frontline backed by protected ranged lines and fast flanking units. If you advance without a fixed center, enemy rushers wrap around your front and disrupt your ranged assets. Because the terrain funnels both armies into close-quarters collisions along the midline, enemy squads naturally condense shortly after the opening charge.
Recommended Army Composition and Grid Deployment
A balanced army containing heavy infantry, ranged units, light infantry, and cavalry counters the Sicilian setup by separating damage absorption from backline disruption.
| Unit Role | Grid Position | Combat Objective |
|---|---|---|
| Heavy Infantry (2 Squads) | Frontline Center | Absorb the opening charge and hold the central enemy cluster in place. |
| Ranged Troops (2 Squads) | Backline Center | Deliver sustained piercing fire against frontline tanks and hostile archers. |
| Light Infantry (1 Squad) | Midline Offset | Intercept secondary rushers after enemy targets lock onto your heavy infantry. |
| Cavalry (1 Squad) | Outer Flank | Ride around the central melee clash to strike exposed enemy archers. |
Set your heavy infantry directly in the front row where the hostile melee concentration is heaviest. Place your ranged troops behind them, leaving an empty tile buffer if grid space allows to prevent enemy area-of-effect attacks from damaging both lines at once. Station your cavalry on the extreme outer flank so their movement path leads directly into the enemy backline rather than tangling with the central frontline brawl.
Commander Ability Timing and Target Priority
Execute commander skills and target prioritization in the following order:
- Hold offensive spells until lines clash. Triggering barrage or stun abilities during the initial approach wastes damage because mobile targets are still spreading out. Wait until the opposing vanguard hits your heavy infantry and condenses into a tight group.
- Target the backline ranged batteries. Direct offensive area-of-effect abilities onto hostile archers first. Eliminating enemy ranged damage stops continuous attrition against your front wall.
- Intercept flanking cavalry. Use light infantry or targeted skills to neutralize fast rushers before they wrap around your heavy shields.
- Clean up surviving melee defenders. Once opposing damage dealers fall, focus remaining archer fire and commander abilities on the surviving frontline tanks.
Stagger unit timing so your heavy infantry take the initial impact. When light infantry arrive a moment later, enemy units will already be committed to attacking your armored front, keeping your secondary damage dealers intact throughout the fight.
Next Steps After Clearing the Node
Once the battle is won, take these immediate kingdom management steps:
- Replenish your barracks. Queue replacement soldiers immediately to restore depleted squads before scouting into subsequent nodes in the Kingdom of Sicily.
- Advance military research. Upgrade troop levels in your research tree to match the rising defense values of upcoming campaign nodes.
- Balance settlement production. Ensure your home city maintains steady goods output to support continuous military retraining and province expansion.

Free Rise of Cultures: Kingdom game Codes
Current active codes and how to redeem them.

Emily Johnson
Emily writes practical mobile strategy guides with a focus on resource planning, base progression, and the early decisions that shape a long-term account.
COMMUNITY
Player Comments
79 players commented on this guide.
This helped me understand strategy much better.
The explanation is clear, especially for beginners.
This saved me time in the early game.
I wish I had read this before upgrading the wrong thing.