
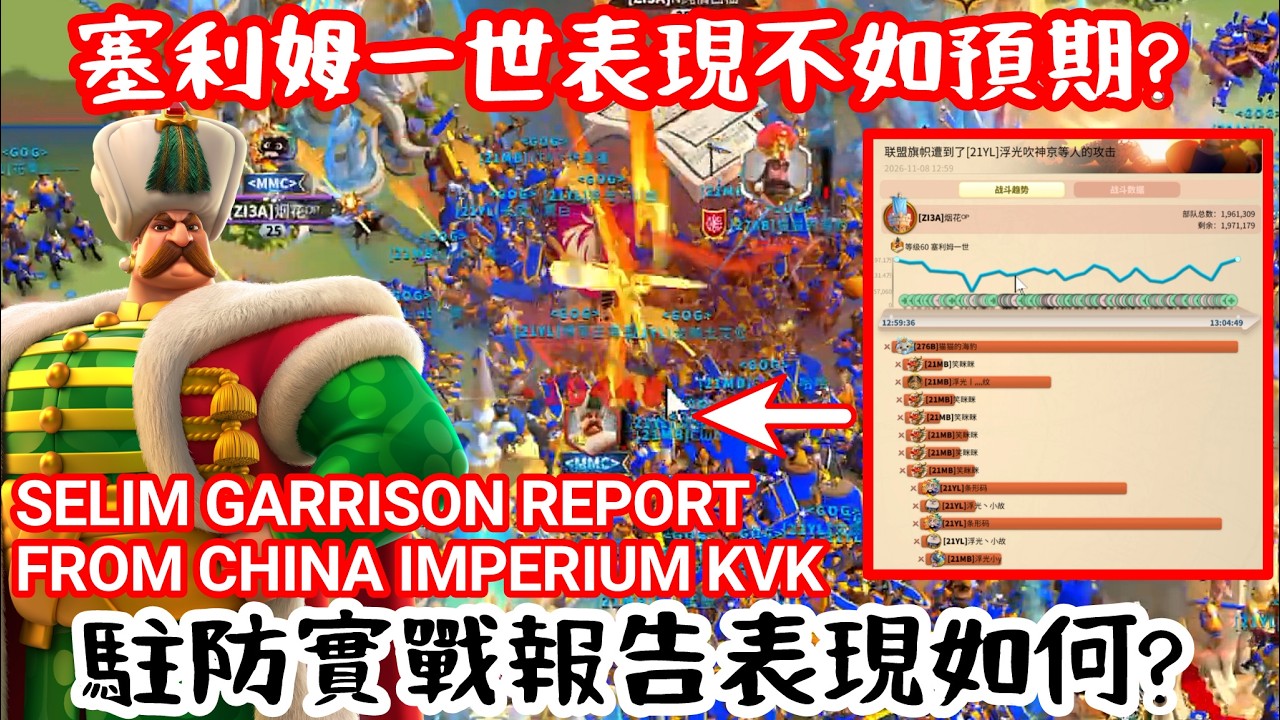
Do not invest universal legendary commander sculptures into Selim I as a primary garrison lead in Rise of Kingdoms Season of Conquest. Live combat reports show that he trades at parity or at a deficit against optimized meta rallies, while heavy open-field swarms quickly overwhelm his defenses. Unless your kingdom already possesses fully developed garrison staples and specifically seeks an experimental secondary option, keep your sculptures reserved for higher-priority commanders.
Combat Analysis: Rally Trades and Swarm Vulnerability
Selim I falls short of expectations when defending contested structures in Kingdom vs. Kingdom (KvK) combat due to two core weaknesses:
- Inefficient Rally Trades: Against offensive rallies running high skill damage, defense debuffs, or silence effects, Selim I lacks the active damage mitigation required to absorb sustained pressure. His defensive cycle fails to stabilize the structure during enemy burst windows, producing rapid severe wound accumulation and unfavorable kill-point trades.
- Severe Vulnerability to Swarms: High-tier defensive anchors counter swarms through surging counterattack punishment or stacking shields. Selim I lacks sufficient area-of-effect reduction and counterattack determent. When multiple field marches join an incoming rally to swarm a flag or holy site, the garrison troop count melts rapidly, often burning the structure before allied reinforcements can arrive.
Because the garrison takes elevated damage, allied players reinforcing a Selim I structure suffer heavy hospital filling and accelerated dead counts. In extended zone wars, defending behind him drains alliance healing speed-ups and resources far faster than holding territory with established meta defenders.
Primary vs. Secondary Viability
Selim I functions noticeably better in the secondary slot than as a primary commander, though he remains inferior to reigning meta defensive pairs.
As a primary lead, his talent setup and skill timing leave the garrison exposed to early-turn burst damage before key defensive buffs activate. Placing a durable partner in the primary slot smooths out the rage cadence and provides early sustain, but the overall pairing still struggles to match proven combinations.
| Garrison Setup | Rally Trade Efficiency | Swarm Resilience | Deployment Recommendation |
|---|---|---|---|
| Selim I Primary | Poor to Even | Low | Avoid entirely; vulnerable to burst damage and debuffs. |
| Selim I Secondary | Even to Moderate | Moderate | Usable as a secondary tech choice with strong gear. |
| Meta Anchors (e.g., Gorgo / Heraclius / Flavius) | High | Very High | Maintain as primary kingdom garrison investments. |
While hybrid combinations featuring Selim I alongside anchors like Heraclius or Gorgo offer better stability than fielding him alone, these setups rarely match the output of established pairings like Gorgo with Flavius or Heraclius paired with anti-swarm specialists.
Investment Verdict by Account Role
Awakening a Season of Conquest garrison commander demands 690 Legendary Commander Sculptures, dedicated legendary defensive gear, and refined armaments. Because Selim I does not surpass the current defensive meta, allocate your resources based on your account role:
- Free-to-Play and Low Spenders: Skip Selim I completely. Dedicated garrison defense is the domain of high-spending accounts. Your universal sculptures are strictly better spent on versatile open-field marches.
- Mid-Tier Fighters and Reinforcers: Skip Selim I. Focus your sculptures on open-field meta commanders or flexible rally leads that deliver consistent value across multiple KvK cycles.
- Dedicated Garrison Specialists: Low priority. Selim I represents an experimental, niche secondary option at best. If you already field awakened defensive staples like Gorgo and Heraclius, hold your sculptures for upcoming commander releases with broader tactical impact.

Free Rise of Kingdoms Codes
Current active codes and how to redeem them.

James Brown
James focuses on Android gaming on PC, emulator setup, controls, performance tuning, and practical troubleshooting for longer play sessions.
COMMUNITY
Player Comments
95 players commented on this guide.
This guide answered the exact question I had.
The explanation is clear, especially for beginners.
This saved me time in the early game.
The tips are practical and easy to follow.