
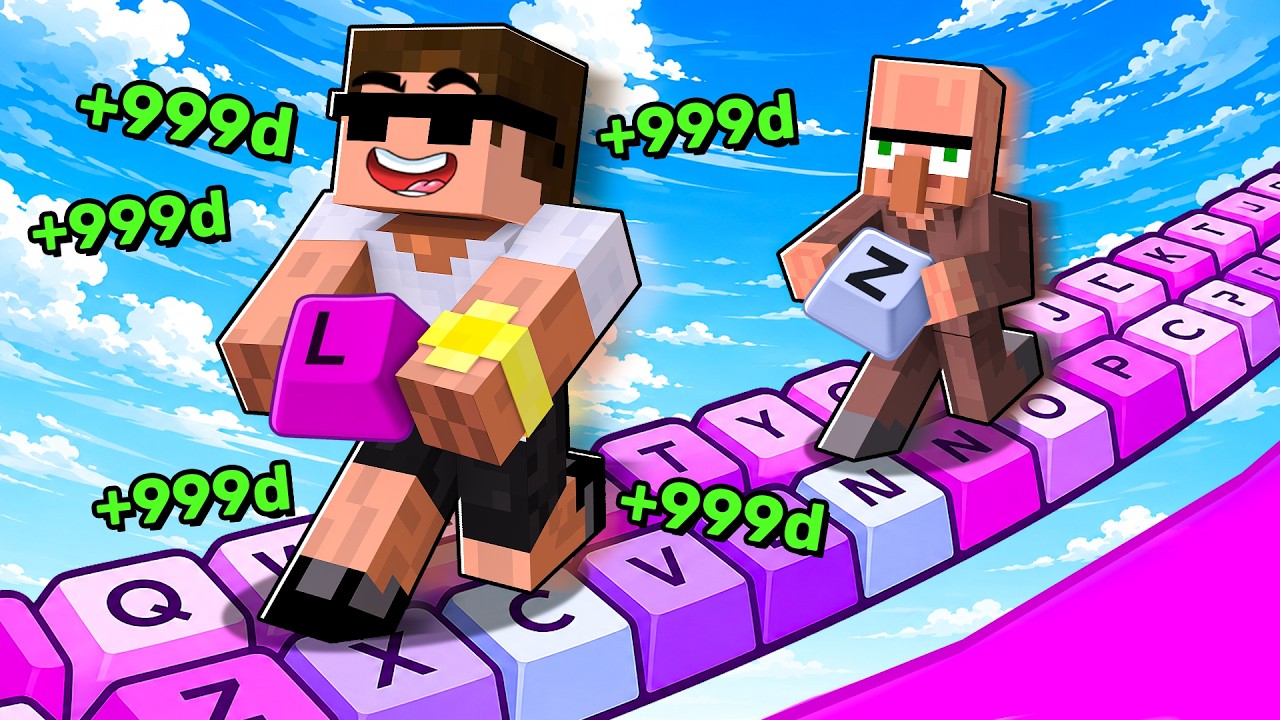
The Keyboard Bridge is a staple challenge in many Roblox obbies (obstacle courses), requiring players to navigate a precarious path formed by oversized computer keys. Because these platforms often feature irregular shapes, slanted edges, and varying sizes, they present a unique physics challenge compared to standard square blocks. To conquer the Keyboard Bridge, you must transition from reactive jumping to calculated, rhythmic movement, focusing on spatial awareness and camera management to ensure every landing is secure.
Mastering Movement Mechanics on Keyboard Platforms
The primary difficulty of the Keyboard Bridge lies in the geometry of the keys. Unlike standard platforms, many key models in Roblox have beveled or slanted edges. If your avatar lands on the outer perimeter of a key, the physics engine may cause your character to "slip" off the edge, resulting in a fall.
To mitigate this, you must prioritize center-mass landing. Aim for the absolute center of each key, regardless of its size. When jumping, do not hold the movement key continuously; instead, tap your forward movement key (usually 'W') in short bursts to regulate your character’s velocity. This prevents the "overshoot" effect, where your avatar gains too much momentum and slides off the platform upon impact.
The "Jump-Pause-Jump" Cadence
Many players fail the Keyboard Bridge because they treat it like a sprint. Instead, adopt a "jump-pause-jump" cadence. After landing on a key, release all movement inputs for a split second to allow your character's physics model to come to a complete stop.
This short pause serves three critical functions:
- Stability: It resets your character's velocity, ensuring you aren't carrying forward momentum into the next jump.
- Alignment: It provides a moment to rotate your camera and ensure your character is facing the next key squarely.
- Buffer: It accounts for potential "lag" or minor server-side latency that can cause your character to feel floaty.
Visualizing Key Spacing and Depth
Depth perception is the biggest enemy of a Roblox platformer. Because keys vary in size—from small letter keys to the expansive Spacebar and Shift keys—your brain may struggle to judge the distance between them.
Pro Tip: Switch your camera perspective to a "top-down" or "high-angle" view. By tilting your camera until you are looking almost directly down at your avatar, you flatten the 3D space into a 2D plane. This makes the gaps between the keys much easier to judge, allowing you to gauge exactly how far you need to jump to clear the distance between the keys.
Managing Momentum and Fall Recovery
In Roblox, movement is physics-based. If you land on a key while holding forward, your character will naturally slide. If you find yourself overshooting, use the "counter-tap" technique: the instant your feet touch the platform, tap the opposite movement key (the 'S' key) for a fraction of a second. This acts as an "air-brake," instantly killing your forward velocity and locking your character in place.
Furthermore, always look for Checkpoints. Most well-designed Roblox obbies place a checkpoint at the end of every major keyboard segment (e.g., after the Function keys or the Numpad). If the keys change color or feature a glowing pad, step on it immediately to save your progress.
Identifying Pathing Hazards and Traps
Not all keys on a Roblox Keyboard Bridge are static or safe. Developers often implement "fake" keys—platforms that disappear, tilt, or rotate when touched. Before jumping, observe the environment for these visual indicators:
- Texture Mismatch: If a key looks slightly more transparent or has a different texture than the ones around it, it is likely a trap.
- Animation Cues: Watch the bridge for a few seconds. If a key wiggles or glows periodically, it is likely a disappearing platform that triggers on contact.
- The "Wobble" Test: If you are unsure about a key's stability, perform a small "test jump" to land near the edge of it. If it moves, you have identified a trap and should look for an alternate route.
Camera Optimization for Precision
Your camera is your most important tool. For the Keyboard Bridge, you should use a Tight-Zoom setting.
- Zoom in: Use your mouse wheel to zoom until the camera is just behind your character's shoulder.
- Angle of Attack: Keep the camera low behind your character's back when jumping to longer keys (like the Spacebar) to get a better sense of the landing zone.
- Shift-Lock: If your Roblox settings allow, enable Shift-Lock. This locks your camera to your movement direction, ensuring that when you press forward, your character moves in the exact direction the camera is facing. This is significantly more precise than the default camera mode when navigating narrow obstacles.
Common Mistakes to Avoid
Even experienced Roblox players fall victim to these common errors:
- Over-committing: Attempting to jump multiple keys in one fluid motion. Unless the layout is perfectly linear, always land on every key to reset your trajectory.
- Ignoring the Shadow: In many Roblox environments, the shadow cast by your character is a better indicator of where you will land than your character's feet. Watch your shadow to align your jump.
- Panic Jumping: If you land near the edge, do not immediately jump again. You are likely already sliding. Instead, attempt to walk back toward the center of the key before initiating your next jump.
By focusing on these mechanics—specifically the combination of top-down camera angles, counter-tap movement, and the jump-pause-jump rhythm—you will find the Keyboard Bridge in Roblox becomes much more manageable. Patience is your greatest asset; stay calm, verify your landing, and take your time to ensure your avatar stays on the keys and off the floor.

Free Roblox Codes
Current active codes and how to redeem them.

Sarah Williams
Sarah specializes in RPG and collection games, explaining team building, character growth, and beginner-friendly ways to avoid expensive early mistakes.
COMMUNITY
Player Comments
55 players commented on this guide.
This helped me understand strategy much better.
This saved me time in the early game.
I wish I had read this before upgrading the wrong thing.
Nice guide. I am checking the other Roblox articles next.